.png)

I Hate When Building Simple Onboarding Feels Like a Whole New App
As a developer, I've spent countless hours wrestling with custom onboarding logic. The state management, the routing, the persistence, the conditional steps... it's a headache most libraries just ignore, leaving you to piece together a complex state machine from scratch.
You're trying to ship a great product, but instead, you're deep in the weeds of boilerplate code, managing all the possible states your app could be in as users navigate back and forth, or worse, worrying about losing their progress on a simple page refresh.
The truth is: You shouldn't have to build a complex state machine for every single onboarding flow. OnboardJS does it for you.
In this post, you'll learn how to leverage OnboardJS to create robust, maintainable onboarding experiences in minutes, not days. We'll build a simple two-step flow from scratch using Next.js and React.
Introducing OnboardJS: The Headless Advantage
OnboardJS is a headless, type-safe, and extensible engine designed specifically for managing multi-step user flows. What does "headless" mean? It means OnboardJS gives you the powerful "brain" to manage your flow's state, logic, and persistence, while you provide the "beauty" – your own React UI components.
This separation is crucial:
- Your UI, Your Rules: Use any component library (Tailwind, Chakra UI, Shadcn UI, custom components!).
- Built-in Logic: Handle complex navigation, conditional steps, and data collection effortlessly.
- Automatic Persistence: Store user progress seamlessly, preventing frustrating restarts.
- Type-Safe: Catch errors early with full TypeScript support, making your flows more robust.
Combined with the @onboardjs/react package, it becomes incredibly intuitive to integrate OnboardJS into your Next.js application.
Hands-On: Building Your First Flow (The 10-Minute Challenge!)
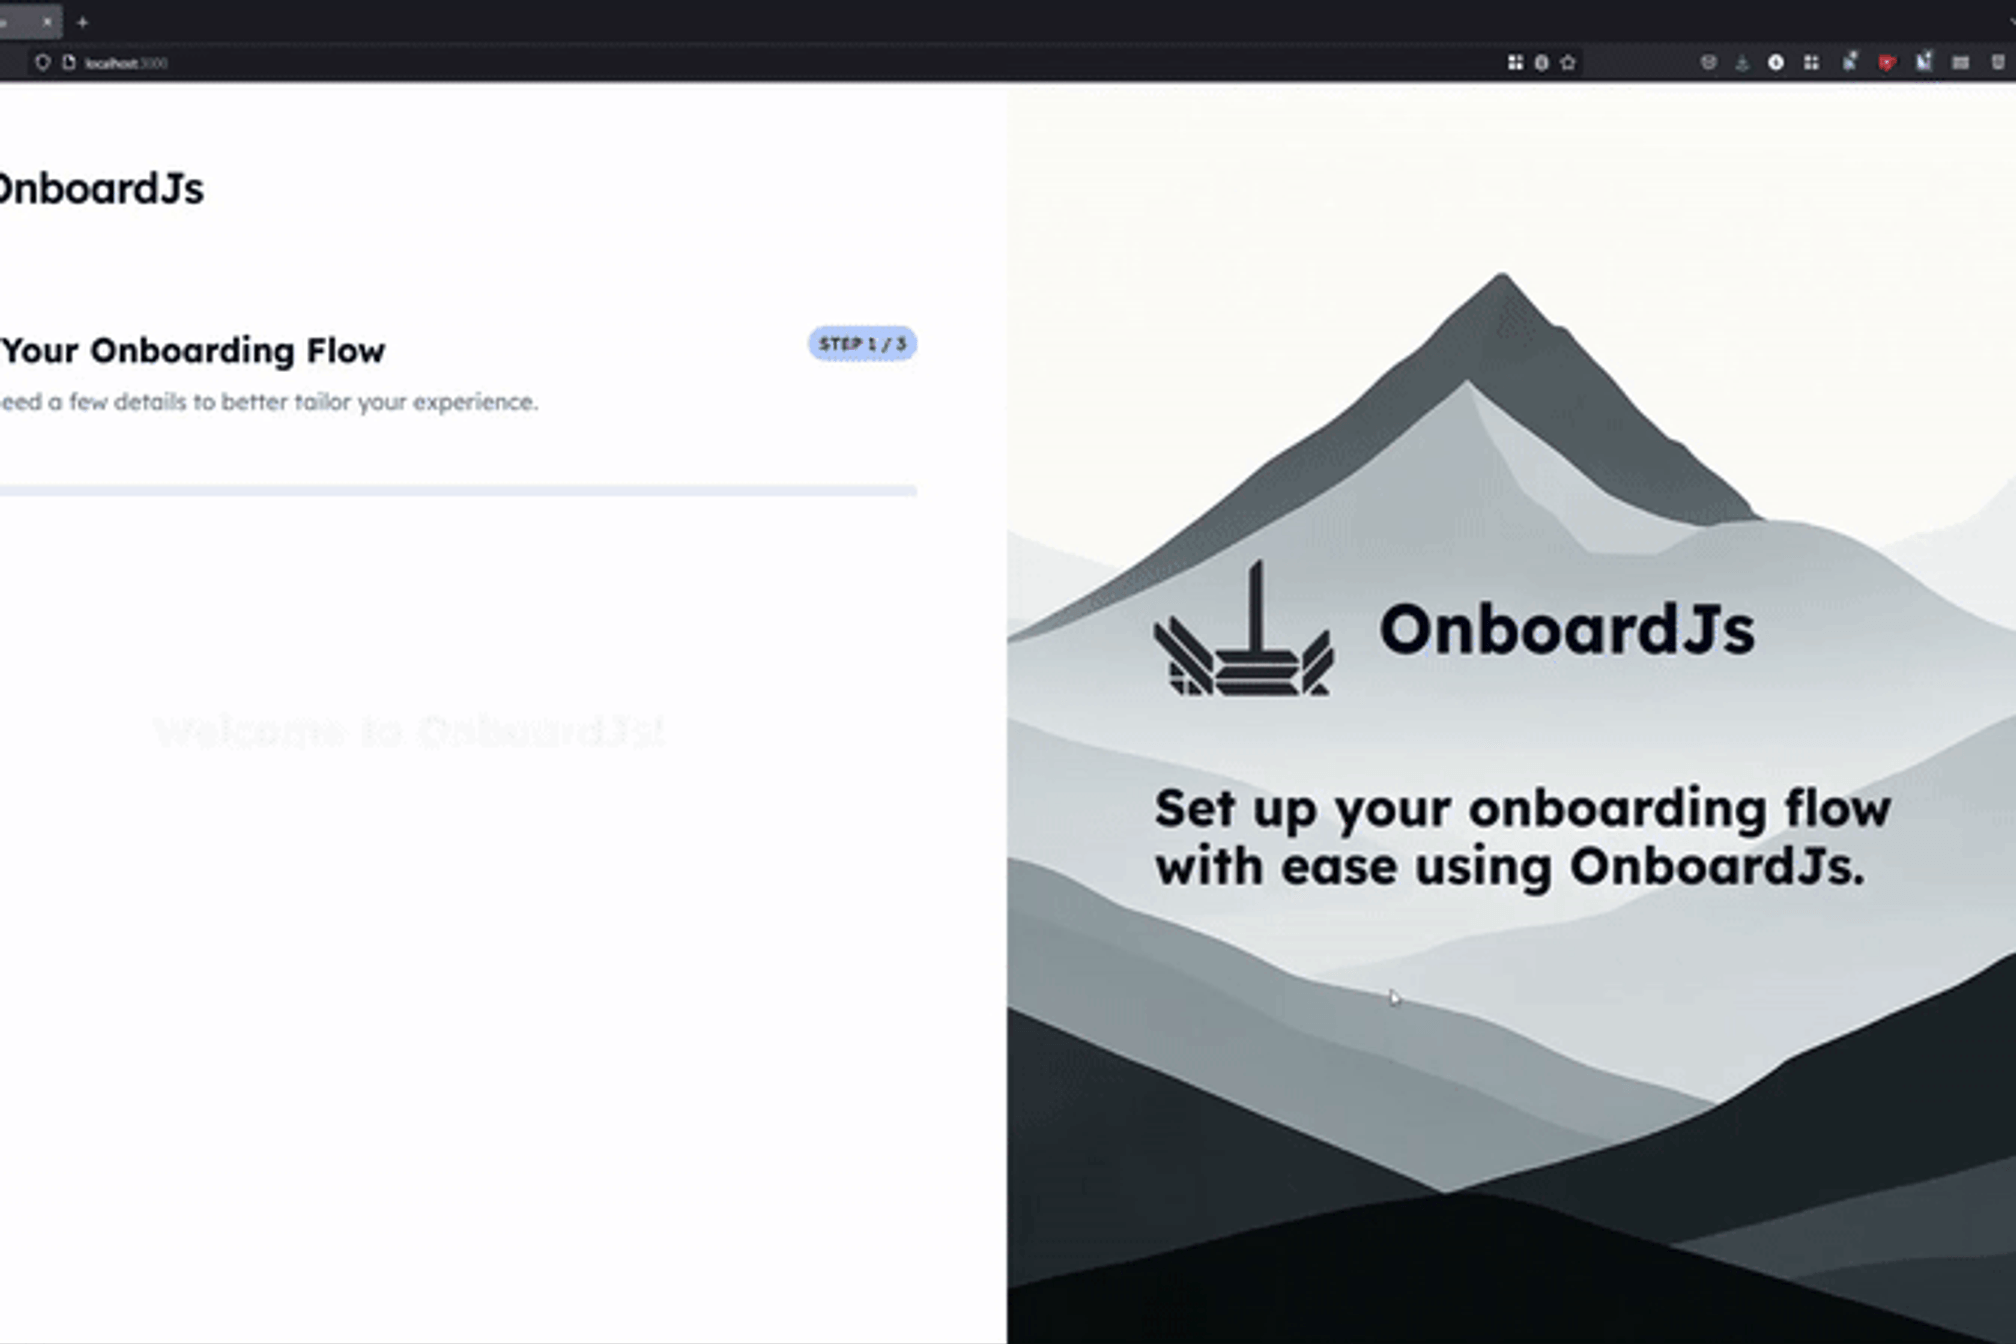
Ready to see how easy it is? We'll create a simple two-step onboarding flow: a "Welcome" step to collect a user's name, and a "Finish" step to display collected data.
No boilerplate, no complex state machines. Just define your steps, map your UI, and let OnboardJS handle the rest.
4.1. Project Setup
First, you will need a Next.js app (or use your existing one).
Then, install OnboardJS:
4.2. Define Your Onboarding Steps & Components
OnboardJS steps define the flow's logic, not the UI. For our quick start, we'll use CUSTOM_COMPONENT steps, which let you bring any React component into your flow.
Create a file like src/onboarding-config.ts (or onboarding-config.tsx if your components are in the same file) and add the following:
The payload object allows you to pass any custom data your React component needs (like a title or description). The componentKey is how OnboardJS knows which of your React components to render for this step type.
4.3. Create Your React Components
Now, let's create the actual React components that OnboardJS will render. These components receive payload (your custom data), coreContext (the global onboarding data), and onDataChange (a function to update collected data).
src/components/ProfileSetupForm.tsx:
In ProfileSetupForm.tsx, we use the useOnboarding hook to get next() (to advance the flow), isLoading (to provide visual feedback), and state (to check if canGoNext).
src/components/FinishStepComponent.tsx:
The FinishStepComponent.tsx demonstrates how easily you can access all collected data from coreContext.flowData, allowing you to personalize the final step or display a summary.
4.4. Render your Onboarding UI
Now combining these previous steps and components will be your Onboarding UI.
This component will allow you to render the current step automatically and wrap your steps in an optional frame.
Here, we've created a simple OnboardingUI component that uses useOnboarding() to get the current state and navigation functions. The {renderStep()} is the core, telling OnboardJS to render the correct React component you defined in your componentRegistry for the active step. We also added basic 'Next', 'Back', 'Skip', and 'Finish' buttons, leveraging state.canGoNext, state.canGoPrevious, and state.isSkippable for intelligent button control. This simple wrapper centralizes your onboarding UI logic.
4.5. Integrate OnboardJS into Your React App
Finally, wrap your application with the OnboardingProvider. This makes the OnboardJS engine available throughout your app via the useOnboarding hook, and tells it which steps to manage.
In your main application file (e.g., src/app/layout.tsx for Next.js App Router, or src/App.tsx for a Create React App). Remember to include "use client"; at the top if you're using Next.js App Router and this is a Server Component by default.
You can also wrap your OnboardingProvider in a client component first as to avoid making the whole layout.tsx a client component!
The OnboardingProvider is your central hub. It takes your steps and componentRegistry to render the correct UI. Notice onFlowComplete and onStepChange for powerful lifecycle hooks, and localStoragePersistence for automatic state saving – a common pain point solved with a single line!
4.5. Run Your App!
Fire up your development server:
Navigate to your app in the browser. You should see your 'Welcome' step! Try filling in your name and clicking 'Next'.
Then, refresh the page – your progress will be saved automatically thanks to localStoragePersistence! If you go back to the app, you'll land directly on the 'Finish' step.
Final thoughts
You've just built a fully functional, stateful onboarding flow in minutes, not hours or days, without a single line of state management boilerplate. This is just the beginning of what OnboardJS can do:
- Conditional Logic: Implement dynamic flows where steps appear or change based on user input or coreContext values, using condition and dynamic nextStep/previousStep functions.
- Deep Customization: Use updateContext to modify the global flow data dynamically.
- The Powerful Plugin System: Extend OnboardJS with custom integrations, like connecting to your backend for cross-device persistence.
Read more on how to integrate with Supabase to achieve a consistent cross-device onboarding flow!
Ready to build smarter onboarding experiences that delight users and save you development time?