.png)

Context
While setting up my headless Unraid install, I ran into a ton of issues that required plugging a monitor for troubleshooting. Now that this is over, I looked for an easy way to control the server remotely. I found hardware KVMs to be unsatisfactory, because I wanted something a) cheap b) with wifi support and c) no extra AC adapter. So when I stumbled upon KV, a software KVM that runs on cheap hardware, I decided to give it a go on a spare Radxa Zero 3W.
Here are some notes I took, I'll assume you're using the same SBC.
Required hardware
All prices from AliExpress.
| SBC | Radxa Zero 3W | €29 with shipping | See (1) |
| Case | Generic aluminium case | €10 | |
| SD card | Kingston high endurance 32GB microSD | €15 | See (2) |
| HDMI capture card | UGreen MS2109-based dongle | €18 | See (3) |
| USB-A (F) -> USB-C cable | noname | €2 | See (4) |
| HDMI cable | noname | €2 | |
| USB-A (M) -> USB-C cable | noname | €2 | |
| Total | €80 |
(1) You can use any hardware that has a) two USB connectors including one that supports OTG USB and b) a CPU that supports 64-bit ARM/x86 instructions
(2) Don't cheap out on the SD card. I initially tried with a crappy PNY card and it died during the first system update.
(3) Note that this is not a simple HDMI to USB adapter. It is a capture card with a MacroSilicon M2109 chip. The MS2130 also seems to work.
(4) Technically this isn't required since the capture card has USB-C, but the cable casing is too wide and bumps into the other cable.
Build
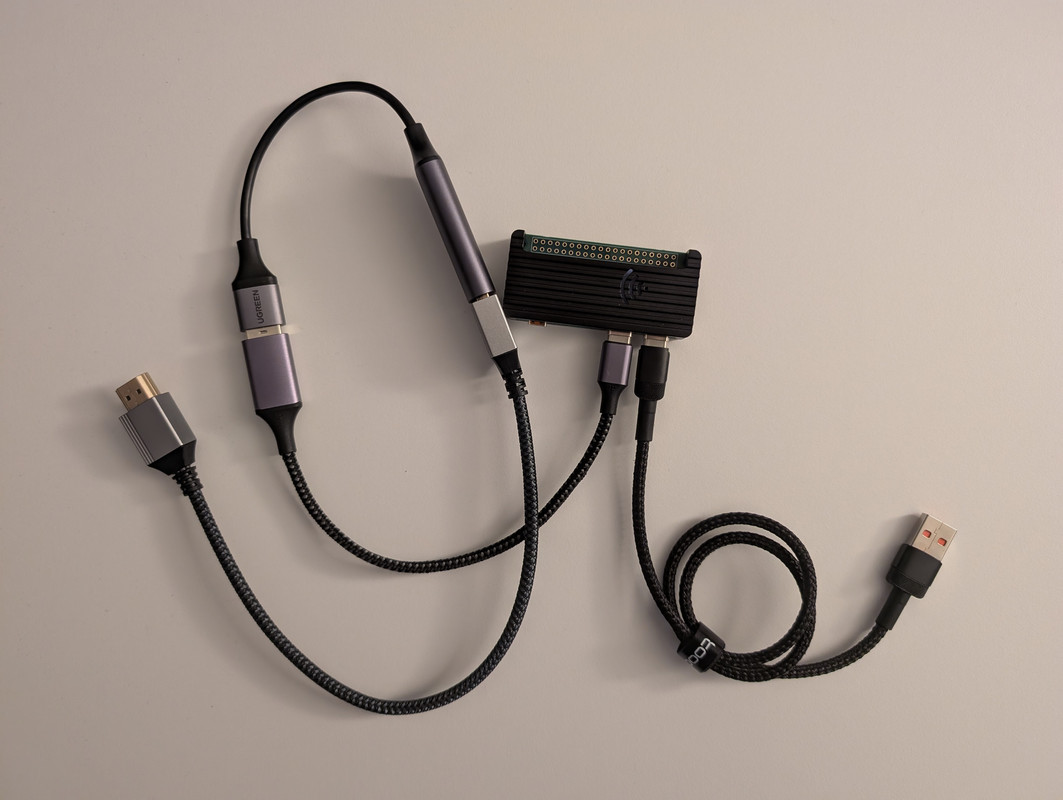
The table probably makes more sense with a picture of the assembled result.
https://i.postimg.cc/jjfFqKvJ/completed-1.jpg
The HDMI is plugged into the motherboard of the computer, as is the USB-A cable. It provides power to the SBC and emulates the keyboard and mouse.
Flashing the OS
Download the latest img file from https://github.com/radxa-build/radxa-zero3/releases
Unzip and flash using Balena Etcher. Rufus doesn't seem to work.
Post flash setup
Immediately after flashing, you should see two files, before.txt and config.txt, on the card. You can add commands to before.txt which will be run only once, while config.txt will run every time. I've modified the latter to enable the SSH service and input the wifi name and password.
You need to uncomment two lines to enable the SSH service (I didn't record which, but it should be obvious). Uncomment and fill out connect_wi-fi YOUR_WIFI_SSID YOUR_WIFI_PASSWORD to automatically connect to the wifi network.
Note: you can also plug the SBC to a monitor and configure it using the shell or the GUI but you'll need a micro (not mini!) HDMI cable.
First SSH login
User: radxa
Pass: radxa
Upon boot, update system using rsetup. Don't attempt to update using apt-get upgrade, or you will break things.
Config tips
Disable sleep mode
The only distribution Radxa supports is a desktop OS and it seems to ship with sleep mode enabled. Disable sleep mode by creating:
/etc/systemd/sleep.conf.d/nosuspend.conf
[Sleep] AllowSuspend=no AllowHibernation=no AllowSuspendThenHibernate=no AllowHybridSleep=noOr disable sleep mode in KDE if you have access to a monitor.
Disable the LED
Once the KVM is up and running, use rsetup to switch the onboard LED from heartbeat to none if you find it annoying. rsetup -> Hardware -> GPIO LEDs.
Install KV
Either download and run the latest release or use the install script, which will also set it up as a service.
curl -sSL https://kv.ralsina.me/install.sh | sudo bash
Access KV
Browse to <IP>:3000 to access the webUI.
Remote access
Not going to expand on this part, but I installed Tailscale to be able to remotely access the KVM.
Power control
KV cannot forcefully reset or power cycle the computer it's connected to. Other KVMs require some wiring to the chassis header on the motherboard, which is annoying. To get around it:
- I've wired the computer to a smart plug that I control with a Home Assistant instance. If you're feeling brave you may be able to install HA on the SBC, I run it on a separate Raspberry Pi 2.
- I've configured the BIOS to automatically power on after a power loss.
In case of a crash, I turn off and on the power outlet, which causes the computer to restart when power is available again. Janky, but it works.
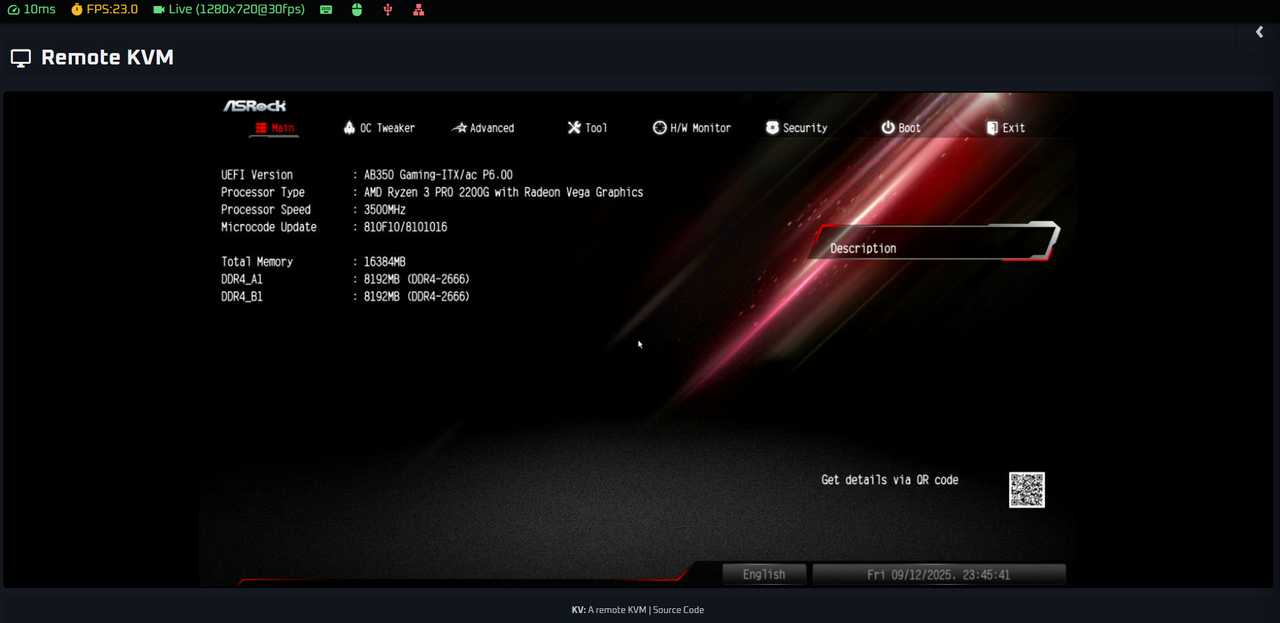
Final result
Screenshot of my web browser showing the BIOS of the computer:
https://i.postimg.cc/GhS7k95y/screenshot-1.png
Hope this post helps!


