.png)

This article is for product designers who want a sneak peek of a new product design tool, and people who are interested in graphics programming for the web.
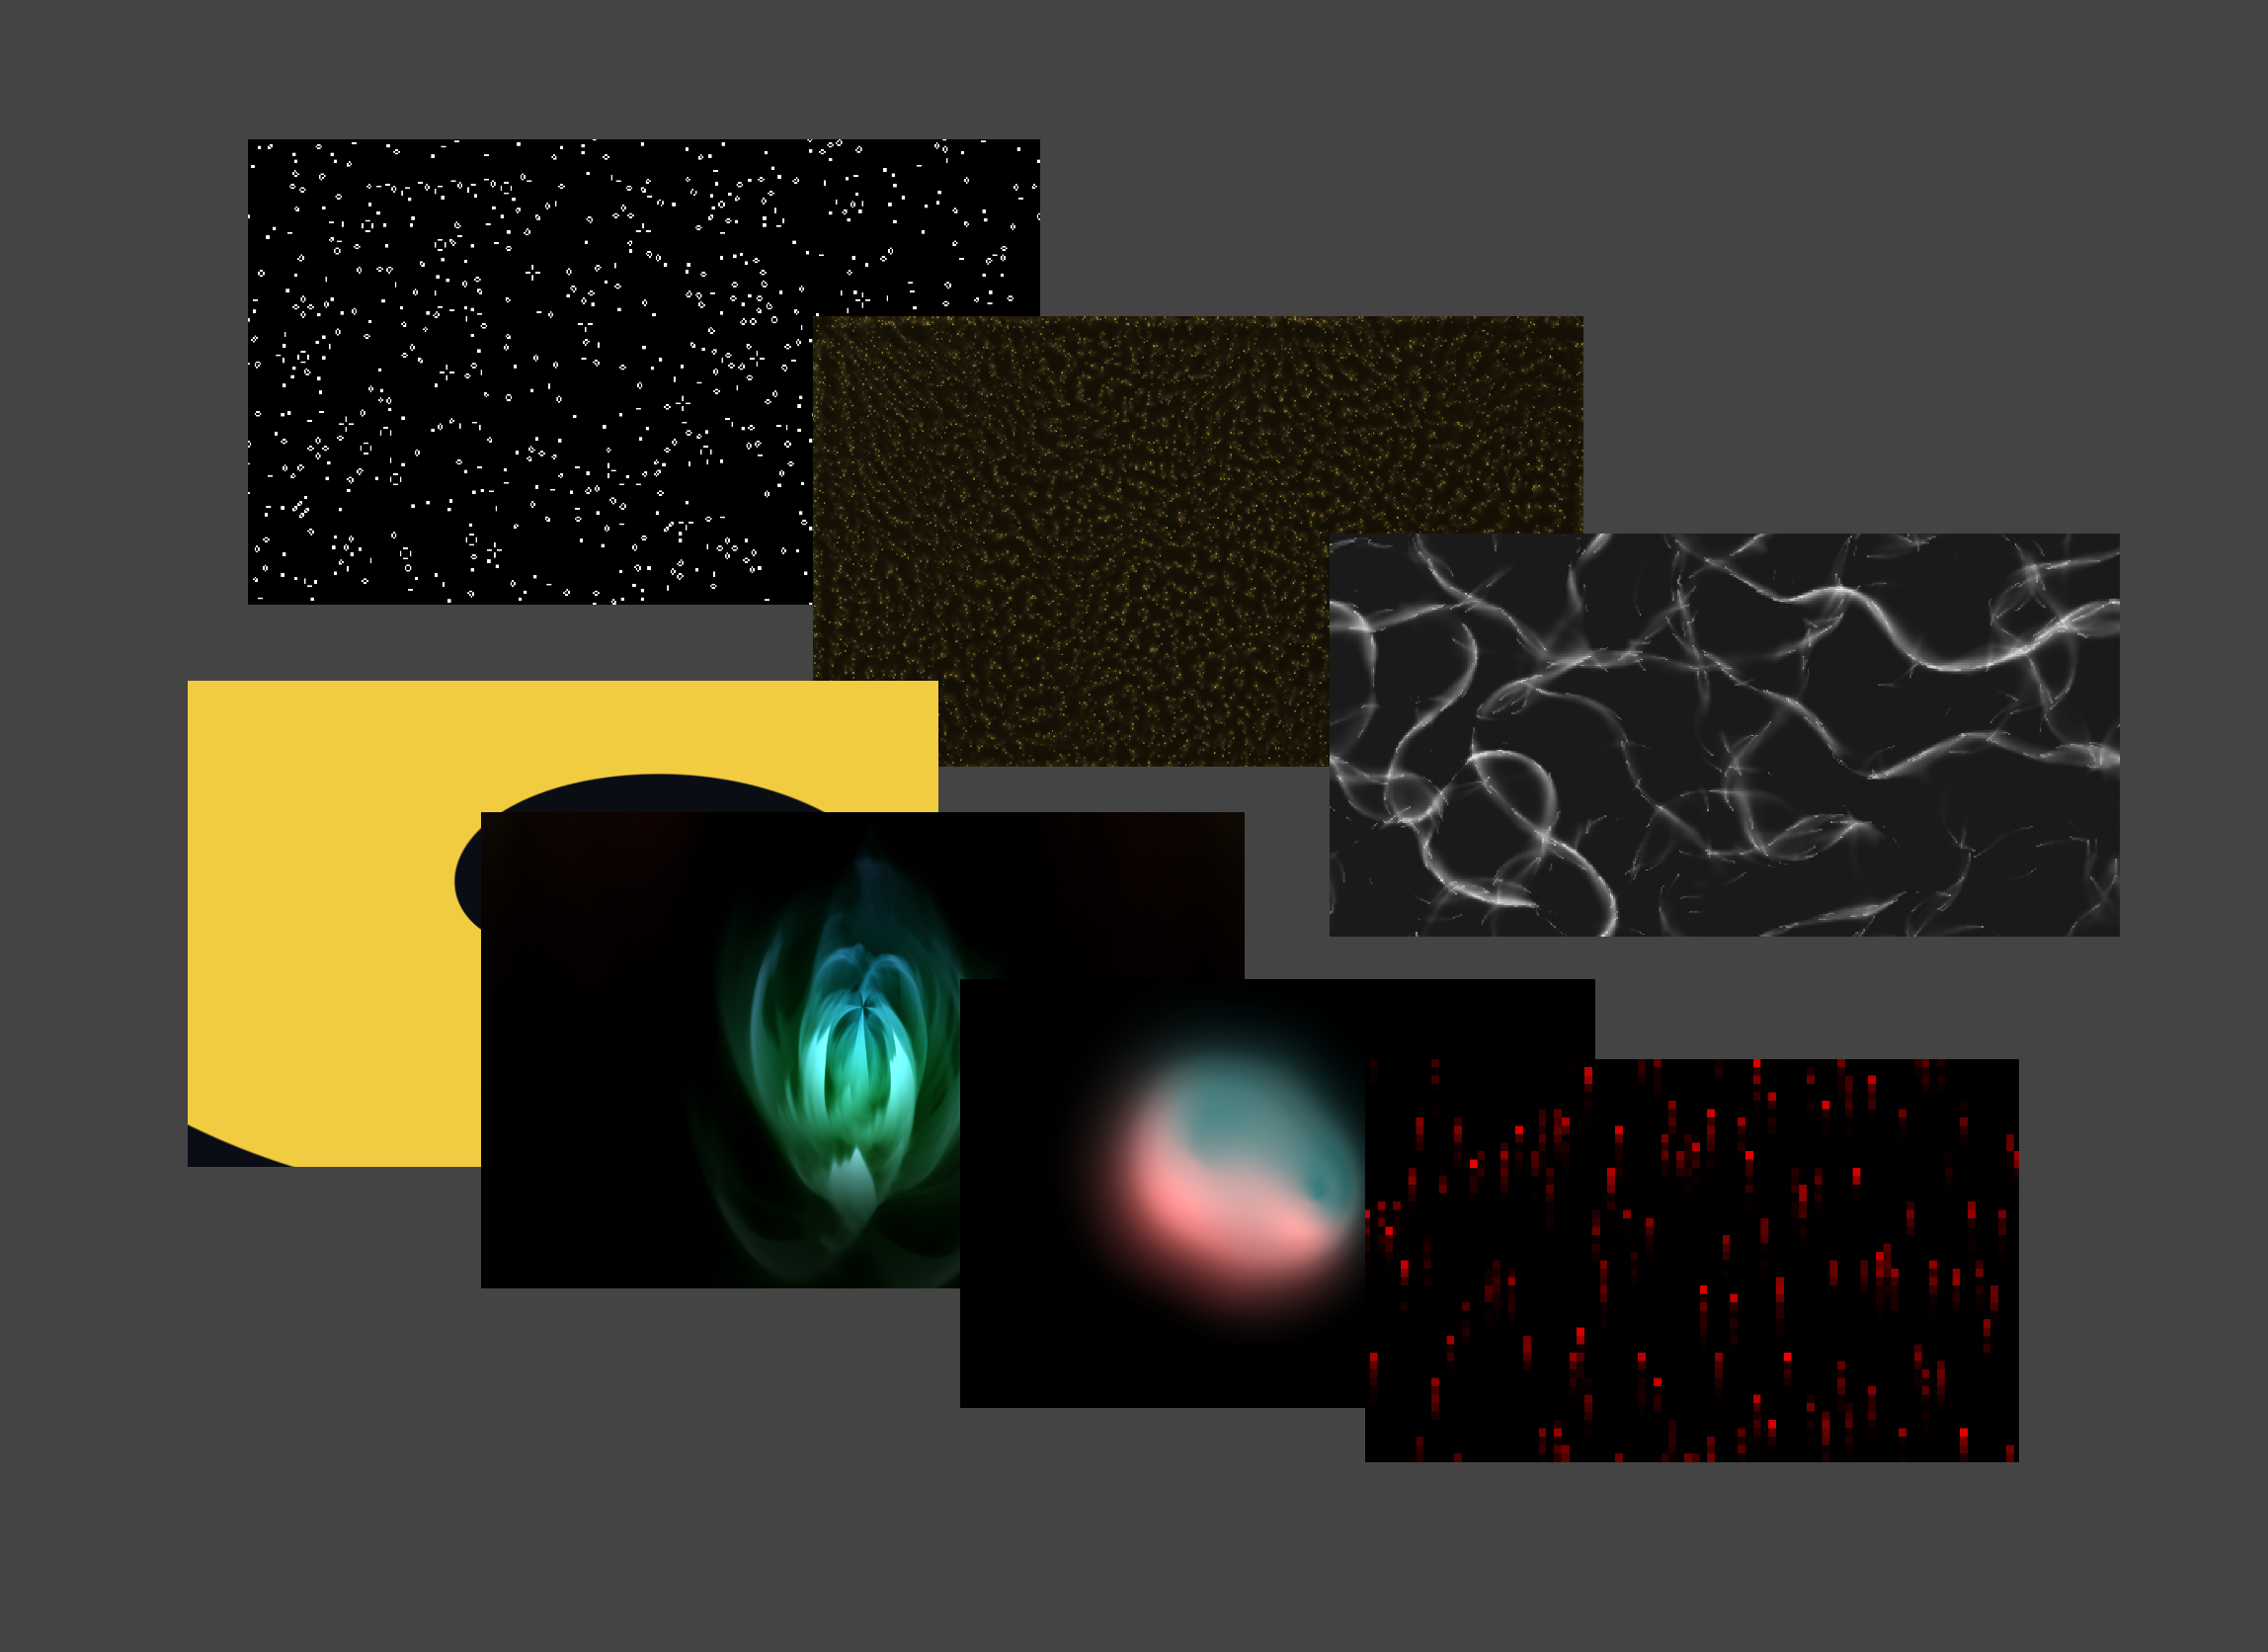
Imagine if you could quickly create these kind of designs in the browser:
What if you could stack simulations to create emergent visuals?
This paradigm behind the demo you're seeing lets us gain variety, fidelity and performance, at the expense of learning how to write compute shaders.
Let's call it technical design. The idea is to create visual experiences by combining shaders and HTML. This combination will allow us to innovate in the areas of visuals, interaction and emergent behavior, without having to re-invent technology that works well. In other words:
Picking constraints that increase expression without sacrificing performance.
The flow we're targeting:
- Create your own shaders using the WebGPU shading language.
- Treat shaders as React components with props and presets.
- Layer them as HTML elements using CSS blend modes.
The benefits:
- Distinctive visuals with high performance and fidelity.
- Building blocks that are easy to tweak, reuse, and share.
- Visual variety and interoperability with the web platform.
Let's also mention some drawbacks so that we know what we're getting into:
- Browser support is still limited.
- There's a learning curve to overcome.
- It's hard to reuse data between the document object model and the shader.
Now that we've established the constraints, it's time to dive in, and explore the technical aspects of building a product design application that works within them.
Code as the source of truth
The demo you're seeing is inspired by Paper, with a twist. Treating code as a first class citizen. Anything you see on the canvas, you can edit the source of. Very much like compute.toys.
Storing assets as standard code:
- Makes them shareable, editable and reusable.
- Opens the door to using text generation tools such as language models.
The tricky part is making them editable both textually and visually. This article will focus on textual editing of shaders and visual editing of parameters.
Here's how it feels to edit a shader and see it update in real time:
Even though we're persisting the designs as code, we can improve the editor experience with parameters and presets. Having unique controls per shader gives us the ability to quickly explore the "good looking possibility space" each of them has to offer.
The interaction here makes me so happy! You can preview shaders on hover and flip through presets for the current shader using the mouse wheel.
Choosing the graphics API
What is a shader anyway? It's a program that gets executed in parallel by the GPU.
If we're going to be running these programs, we need to choose a graphics API. GPUs are good at graphics because they excel in parallel computation, but from the point of view of an average designer, they're not exactly easy to program efficiently on the web.
The most popular web graphics API at the time of writing is WebGL. It's great, widely supported accross browsers. Has a vibrant community, a plethora of tooling and content built around it. But it comes with limitations:
- Based on OpenGL ES, which is deprecated on Apple platforms.
- Has global state, making it hard to debug.
- Doesn't support arbitrary computation with compute shaders.
There is a new API that aims to succeed it. It's called WebGPU.
- It's more performant.
- Is easier to debug.
- Supports compute shaders.
- Gives you fine-grained control over resources.
- But comes with a steeper learning curve.
To quote François Beaufort from Google:
As WebGL’s global state model made creating robust, composable libraries and applications difficult and fragile, WebGPU significantly reduced the amount of state that developers needed to keep track of while sending commands to the GPU.
The elephant in the room here is browser support. At the time of writing, WebGPU is supported on Chromium, with partial support in Firefox and Safari, but development is progressing steadily.
Product design is a discipline of exploring possibility spaces. It should be a few steps ahead of what's currently feasible across platforms. Think of applications like Blender, Substance Painter, Unreal Engine and Houdini. We're starting to catching up to them now that WebGPU browser support is increasing.
Running compute shaders in the browser
This article only covers the broad strokes of rendering with WebGPU. If you'd like to learn how it works in detail, I recommend reading WebGPU Fundamentals.
In general, it supports 3 kinds of shaders: vertex, fragment and compute. Here's what they do in rough terms:
- Vertex shaders calculate the positions of triangle vertices.
- Fragment shaders determine the color of the fragments inside the triangles.
- Compute shaders can do arbitrary calculations.

For this demo we're making a 2D design app where users compose basic shapes to create designs. We'll make one architecturally defining choice here. We'll use the web platform and won't render every shape from scratch. The user will be mixing divs, text and canvas elements to create the final result. Each canvas element gets its own GPU runner. (Naming things is hard, let me know if you have a better name for this.) This choice will let us reuse the existing capabilities of the browser, while allowing us to push the creative envelope in the canvas elements.
We'll draw 1 triangle per canvas in the vertex shader:
struct VSOut { @builtin(position) pos: vec4f, @location(0) uv: vec2f }; @vertex fn vertex_main(@builtin(vertex_index) vertexIndex: u32) -> VSOut { var pos = array<vec2f, 3>(vec2f(-1.0,-3.0), vec2f(-1.0,1.0), vec2f(3.0,1.0)); var uv = array<vec2f, 3>(vec2f(0.0, 2.0), vec2f(0.0,0.0), vec2f(2.0,0.0)); var out: VSOut; out.pos = vec4f(pos[vertexIndex],0.0,1.0); out.uv = uv[vertexIndex]; return out; }We'll do most of the logic for our particular design in the compute shader:
struct Time { elapsed: f32, delta: f32, frame: u32 }; @group(0) @binding(0) var screen: texture_storage_2d<rgba8unorm, write>; @group(0) @binding(1) var<uniform> time: Time; @compute @workgroup_size(16, 16) fn main_image(@builtin(global_invocation_id) id: vec3u) { let screen_size = textureDimensions(screen); if (id.x >= screen_size.x || id.y >= screen_size.y) { return; } let fragCoord = vec2f(f32(id.x) + .5, f32(screen_size.y - id.y) - .5); let uv = fragCoord / vec2f(screen_size); var col = .5 + .5 * cos(time.elapsed + uv.xyx + vec3f(0.,2.,4.)); col = pow(col, vec3f(2.2)); textureStore(screen, id.xy, vec4f(col, 1.)); }Then, in the fragment shader we'll color the triangle with data from the texture we wrote to in the compute shader.
@group(0) @binding(0) var screen: texture_2d<f32>; @group(0) @binding(1) var defaultSampler: sampler; @fragment fn fragment_main(in: VSOut) -> @location(0) vec4f { return textureSample(screen, defaultSampler, in.uv); }And here's the rendered result.

Some readers might ask themselves "Why is the rendering logic of the final image not in the fragment shader?". I'm putting it in the compute shader for this demo because WebGPU requires a somewhat manual style of resource management. You might notice that the binding groups are different for each shader type. It's easier to implement if we only allow the user to edit the compute shader bindings and keep the vertex and fragment shaders "static". With that said, it would probably be a good idea if the final product also exposed the fragment shader to the user.
Creating the shader element
If we follow through with this separate GPU runner per element architecture, we can get arbitrarily complex shaders running independently. Here's a sneak peek:
We'll put all of the DOM events and user interactions in a React element:
- Element position and scale.
- Mix blend mode.
- Input handling.
- Instantiating a "GPU runner".
The GPU work:
- Parsing and reloading shaders on change.
- Setting up resources such as buffers and textures.
- Dispatching compute and render passes.
Will be handled by this class.
export class GPURunner {}Rendering user shaders
We'll start with a library of built-in shaders such as the compute shader you saw above. If we treat them the same as user shaders, whatever tools we build for the stock shaders can also work for the users.
First, we need to parse the shader source. We'll use Brendan Duncan's excellent wgsl_reflect. It can parse a WGSL shader and analyze its contents.
export class GPURunner { async rebuild() { let source = this.getShaderSource() this.reflection = new WgslReflect(source) } }We can use the reflection data to create the memory layout of our program.
this.computeBindGroupLayout = device.createBindGroupLayout({ label: `${this.id}::bindGroupLayout::compute`, entries: [ ...this.reflection.uniforms .map((uniform) => ({ binding: uniform.binding, visibility: GPUShaderStage.COMPUTE, buffer: { type: "uniform" as GPUBufferBindingType, }, })), ...this.reflection.storage .map((storage) => ({ binding: storage.binding, visibility: GPUShaderStage.COMPUTE, buffer: { type: "storage" as GPUBufferBindingType, }, })), ], })Then generate pipelines using the compute entrypoints and the layout we just created.
for (const entryPoint of this.reflection.entry.compute) { const pipeline = device.createComputePipeline({ label: `${this.id}::pipeline::compute::${entryPoint.name}`, layout: device.createPipelineLayout({ label: `${this.id}::pipelineLayout::compute`, bindGroupLayouts: [this.computeBindGroupLayout], }), compute: { module: computeModule, entryPoint: entryPoint.name }, }) this.computePipelines.set(entryPoint.name, pipeline) }Following this pattern we can tell WebGPU what to expect and start rendering frame by frame. There's a lot that goes into this, for a more detailed explanation: WebGPU Fundamentals.
In general, the frame() function is preparing commands on the CPU and sending them to the GPU for execution every frame.
startRendering() { const frame = (ts: number) => { const elapsed = (ts - this.startTime) / 1000 const delta = this.previousTime ? (ts - this.previousTime) / 1000 : 1 / 60 this.previousTime = ts this.device.queue.writeBuffer( this.timeBuffer!, 0, new Float32Array([elapsed, delta, this.frameCount]), ) this.frameCount++ const encoder = this.device.createCommandEncoder({ label: `${this.id}::encoder::frame#${this.frameCount}`, }) for (const [entryPointName, computePipeline] of this.computePipelines) { const pass = encoder.beginComputePass({ label: `${this.id}::pass::compute::${entryPointName}`, }) for (const uniform of this.reflection.uniforms) { } pass.setPipeline(computePipeline) pass.setBindGroup(0, this.computeBindGroup) pass.dispatchWorkgroups( Math.ceil(this.canvas.width / workgroupSize[0]), Math.ceil(this.canvas.height / workgroupSize[1]), workgroupSize[2] ?? undefined, ) pass.end() } const view = this.context.getCurrentTexture().createView({ label: `${this.id}::view::currentTexture`, }) const pass = encoder.beginRenderPass({ label: `${this.id}::pass::render`, colorAttachments: [ { view, loadOp: "clear", storeOp: "store", }, ], }) pass.setPipeline(this.renderPipeline) pass.setBindGroup(0, this.renderingBindGroup) pass.draw(3, 1, 0, 0) pass.end() this.device.queue.submit([encoder.finish()]) requestAnimationFrame(frame) } requestAnimationFrame(frame) }This hot reloading of shaders allows us to regenerate the code necessary for the GPU on the fly, it doesn't matter where we're loading the shaders from. As long as they're written in standard WGSL, we can generate the code for them at run time.
Generating the parameter editor
We can use the shader reflection data to generate a nice user interface for parameters and presets. WGSL lets you define uniform variables like this
@group(0) @binding(9) var<uniform> u_colorBack: vec4f; @group(0) @binding(10) var<uniform> u_colorFront: vec4f; @group(0) @binding(11) var<uniform> u_density: f32; @group(0) @binding(12) var<uniform> u_distortion: f32; @group(0) @binding(13) var<uniform> u_strokeWidth: f32; @group(0) @binding(14) var<uniform> u_strokeCap: f32; @group(0) @binding(15) var<uniform> u_strokeTaper: f32; @group(0) @binding(16) var<uniform> u_noise: f32; @group(0) @binding(17) var<uniform> u_noiseFrequency: f32;The group and binding have to do with the memory layout of our shader, luckily wgsl_reflect provides us with memory offsets so we can write the buffers in our frame loop. The layout in WebGPU is explicit: https://webgpufundamentals.org/webgpu/lessons/webgpu-memory-layout.html
const params = this.getUniformValues() for (const uniform of uniforms) { const buffer = this.uniformBuffers.get(uniform.name) const value = params[uniform.name] if (uniform.type.name === "f32") { this.device.queue.writeBuffer( buffer, 0, new Float32Array(value), ) } else { let packed: ArrayBuffer if (uniform.type.isStruct) { const flat = this.collectFlatValuesForStruct(uniform, params) packed = this.packUniformValue(uniform, flat) } else { packed = this.packUniformValue(uniform, value) } this.device.queue.writeBuffer(buffer, 0, packed) } } private packUniformValue( uniform: VariableInfo, value: number | number[] | undefined, ): ArrayBuffer { const bytes = Math.max(16, Math.ceil(uniform.size / 16) * 16) const buffer = new ArrayBuffer(bytes) let src: number[] = [] if (Array.isArray(value)) { src = value as number[] } else if (typeof value === "number") { src = [value] } const view = new DataView(buffer) this.writeTypeFromFlatList(view, 0, uniform.type, src, 0) return buffer }This lets us control the uniform variables in real time:
We can embed JSON metadata in the shader as a comment to let users configure the GUI.
{ "params": [ { "id": "u_colorBack", "label": "Background", "group": "Colors" }, { "id": "u_colorFront", "label": "Foreground", "group": "Colors" }, { "id": "u_p", "label": "Exponent p", "group": "Shape", "hint": "p<1 star, p=1 rhombus, p=2 circle, p>2 rounded square", "range": { "min": 0, "max": 8.0, "step": 0.01 } }, { "id": "u_thickness", "label": "Stroke", "group": "Shape", "range": { "min": 0.0005, "max": 1.0, "step": 0.0005 } }, { "id": "u_levels", "label": "Levels", "group": "Shape", "range": { "min": 1, "max": 12, "step": 1 } }, { "id": "u_radiusX", "label": "Radius X", "group": "Shape", "range": { "min": 0.1, "max": 1.4, "step": 0.01 } }, { "id": "u_radiusY", "label": "Radius Y", "group": "Shape", "range": { "min": 0.1, "max": 1.4, "step": 0.01 } } ], "presets": [ { "name": "Default", "values": { "u_colorBack": [0.06, 0.06, 0.08, 1.0], "u_colorFront": [0.95, 0.95, 0.95, 1.0], "u_p": 2.0, "u_levels": 1, "u_thickness": 0.015, "u_radiusX": 0.9, "u_radiusY": 0.9 } }, ] }We'll need to parse that when the source changes and make it available to both the shader element and the details panel to render the UI.
export function ParameterList({ elementId, shaderId }: Props) { const bundleAtom = useMemo(() => shaderBundleForIdAtom(shaderId), [shaderId]) const { reflection, metadata } = useAtomValue(bundleAtom) return ( <div className="flex flex-col"> {groupEntries.map(([groupName, uniforms]) => ( <div key={groupName} className={cn( "flex flex-col gap-2", )} > <h3 className="font-medium text-xs"> {groupName} </h3> {uniforms.map((uniform) => ( <ParameterControl key={uniform.name} variableInfo={uniform} value={parameterValues[uniform.name]} metadata={metadata} onChange={(v) => handleParameterChange(uniform.name, v)} hasOverride={uniform.name in overrides} /> ))} </div> ))} </div> ) }Structs are also an option. We can't have a lot of uniform variables anyway, because WebGPU gives us a limited number of bindings.
struct Shape { radius: f32, thickness: f32, color: vec4f, } @group(0) @binding(9) var<uniform> shape: Shape; @group(0) @binding(10) var<uniform> speed: f32;With the above configuration we generate these parameter controls:

By deriving from source, we can edit the shader inline and have both the canvas element and the editor UI update at the blink of an eye. Take a look at this port of baxin1919's rain shader and see how fast we can add a color gradient parameter:
Creating your own shaders
You can start with one of the built-in shaders, using an inline editor like the example above, or open a big editor and create your own from scratch. Let's make a painting:
This shader reads the mouse input and stores clicks to determine the final color of the cell.
const GRID_X: u32 = 16u; const GRID_Y: u32 = 9u; const GRID_SIZE = u32(GRID_X * GRID_Y); @group(0) @binding(9) var<storage, read_write> clicks: array<f32, GRID_SIZE>; @compute @workgroup_size(16, 16) fn main_image(@builtin(global_invocation_id) id: vec3u) { let screen_size = textureDimensions(screen); if (id.x >= screen_size.x || id.y >= screen_size.y) { return; } let fragCoord = vec2f(f32(id.x) + .5, f32(screen_size.y - id.y) - .5); let uv = fragCoord / vec2f(screen_size); let sizeX = f32(GRID_X); let sizeY = f32(GRID_Y); let total = floor(uv.x * sizeX) + floor(uv.y * sizeY); let isEven = (total % 2.0) == 0.0; let color1 = vec3f(0.4); let color2 = vec3f(0.6); var col = mix(color1, color2, f32(isEven)); let cell = vec2u(u32(floor(uv.x * sizeX)), u32(floor(uv.y * sizeY))); let mouseCell = vec2u(u32(floor(mouse.pos.x * sizeX)), u32(floor(mouse.pos.y * sizeY))); let mouseIndex = mouseCell.x + mouseCell.y * GRID_X; if (mouse.click == 1) { clicks[mouseIndex] = 1.0; } else if (mouse.click == 2) { clicks[mouseIndex] = 0.0; } let isHover = all(cell == mouseCell); let cellIndex = cell.x + cell.y * GRID_X; let isClicked = clicks[cellIndex] == 1.0; if (isClicked) { col = vec3f(1.0); } else if (isHover) { col = vec3f(0.7); } col = pow(col, vec3f(2.2)); textureStore(screen, id.xy, vec4f(col, 1.)); }We can build on the painting example to write a diffusion simulation:
This involves adding more compute pipelines, but it reads the mouse in a similar way.
const GRID_X: u32 = 16u; const GRID_Y: u32 = 9u; const GRID_SIZE = u32(GRID_X * GRID_Y); const DIFFUSION_RATE: f32 = 9.0; const DECAY_RATE: f32 = 0.97; @group(0) @binding(9) var<storage, read_write> diffusionA: array<f32, GRID_SIZE>; @group(0) @binding(10) var<storage, read_write> diffusionB: array<f32, GRID_SIZE>; fn index_wrap(x: i32, y: i32) -> u32 { let nx = (x + i32(GRID_X)) % i32(GRID_X); let ny = (y + i32(GRID_Y)) % i32(GRID_Y); return u32(nx) + u32(ny) * GRID_X; } @compute @workgroup_size(16, 16) fn diffuse(@builtin(global_invocation_id) id: vec3u) { if (id.x >= GRID_X || id.y >= GRID_Y) { return; } let x = i32(id.x); let y = i32(id.y); var maxNeighbor: f32 = 0.0; for (var dy = -1i; dy <= 1i; dy++) { for (var dx = -1i; dx <= 1i; dx++) { let nidx = index_wrap(x + dx, y + dy); maxNeighbor = max(maxNeighbor, diffusionA[nidx]); } } let idx = id.x + id.y * GRID_X; let current = diffusionA[idx]; diffusionB[idx] = mix(current, maxNeighbor, DIFFUSION_RATE * time.delta) * DECAY_RATE; let sizeX = f32(GRID_X); let sizeY = f32(GRID_Y); let mouseCell = vec2u(u32(floor(mouse.pos.x * sizeX)), u32(floor(mouse.pos.y * sizeY))); let mouseIndex = mouseCell.x + mouseCell.y * GRID_X; if (mouse.click == 1) { diffusionB[mouseIndex] = 1.0; } } @compute @workgroup_size(16, 16) fn commit(@builtin(global_invocation_id) id: vec3u) { if (id.x >= GRID_X || id.y >= GRID_Y) { return; } let idx = id.x + id.y * GRID_X; diffusionA[idx] = diffusionB[idx]; } @compute @workgroup_size(16, 16) fn main_image(@builtin(global_invocation_id) id: vec3u) { let screen_size = textureDimensions(screen); if (id.x >= screen_size.x || id.y >= screen_size.y) { return; } let fragCoord = vec2f(f32(id.x) + .5, f32(screen_size.y - id.y) - .5); let uv = fragCoord / vec2f(screen_size); let sizeX = f32(GRID_X); let sizeY = f32(GRID_Y); let cell = vec2u(u32(floor(uv.x * sizeX)), u32(floor(uv.y * sizeY))); let mouseCell = vec2u(u32(floor(mouse.pos.x * sizeX)), u32(floor(mouse.pos.y * sizeY))); let isMouseCell = all(cell == mouseCell); let cellIndex = cell.x + cell.y * GRID_X; let cellValue = diffusionB[cellIndex]; var col = vec3f(0.95); if (isMouseCell) { col = vec3f(1.0); } else { var liquidColor = vec3f(0.4, 0.6, 0.7); let rainbowColor = vec3f(uv.x, uv.y, 1); liquidColor = mix(liquidColor, rainbowColor, 0.5); col = mix(col, liquidColor, cellValue); } col = pow(col, vec3f(2.2)); textureStore(screen, id.xy, vec4f(col, 1.)); }We don't need multiple pipelines to create compelling visuals. Here's a port of a ray marching fragment shader by Yohei Nishitsuji.
Let's corrupt it by inverting the glow parameter and increasing the fade.
There's a Bulgarian saying I reflexively told myself when I realized the levels of expression this paradigm unlocks.
Направо ти е бедна фантазията.
It doesn't translate to English cleanly, but the literal translation is something akin to "Talk about a poverty of imagination." That's how I felt when I made my first design in this editor.
Thank you for reading.
This article is part 1 of a series. Part 2 will be about writing a compiler that generates portable and efficient programs from shaders. Coming soon ™.

