.png)

Liberate your IP camera and unlock RTSP/ONVIF and other goodies with a custom open-source firmware.
Abysmal state of consumer IP cameras
As a home automation enthusiast, it was only a matter of time before my interest in security cameras was piqued. I started looking into the possibilities and realized, that the security camera market is in a severely locked down state, especially in Canada. What I mean by that, is that only a handful of manufacturers offer IP cameras, that will integrate with on-prem systems without having to provision them with some crappy app and a cloud account of some sort.
Basically every camera manufacturer forces you to install their app, create an account, share a bunch of data, all in order to set up the WiFi credentials on the camera. Many of them do not offer RTSP/ONVIF, and instead rely on their own proprietary cloud. The other side of the spectrum is some no-name Chinese camera, that is basically a guaranteed backdoor into your network.
I've browsed many an hour for articles and videos about these things, trying to find something that would work well with Frigate or HomeAssistant, without having to register for yet another cloud account with some random Chinese company, without knowing where your video feeds might get mirrored.
Sure, I can put all these cameras on a separate VLAN, firewall them, etc... But even the fact of needing an app + account just to provision them is a non-starter.
Glimpses of Hope
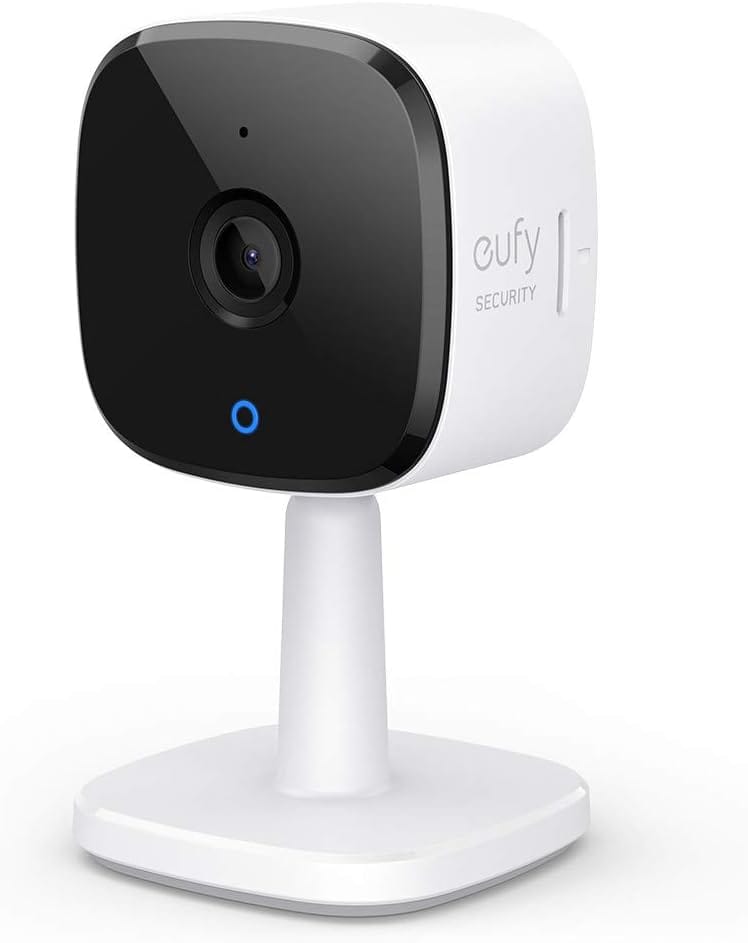
While browsing, I found an open source project for IP Camera firmware called Thingino. It targets some specific SoC, that a lot of these camera manufacturers use, and for some of them there's a way to flash it without having to disassemble or solder anything. I also didn't want the camera to look like some Lovecraftian monstrosity with antennae sticking out of everywhere, so I picked a camera called Eufy C120, which was thankfully on sale on Amazon (non-affiliate link).
I ordered with the option of next-day delivery, with 4 minutes to spare and went to sleep 😄
Flashing the firmware
Once the camera has arrived, I looked for the instructions on the project wiki. It was for a different model, but overall similar.
First obstacle was - I needed two things:
- A Micro-USB OTG adapter
- A Male-to-Male USB cable
I managed to find the adapter because I had one for my old Raspberry Pi Zero-W, but now I needed to connect the other end to my PC. I could order one and wait for another day, but I had another idea - use a Female USB-C to Male USB-A adapter I had, for plugging USB-C accessories.
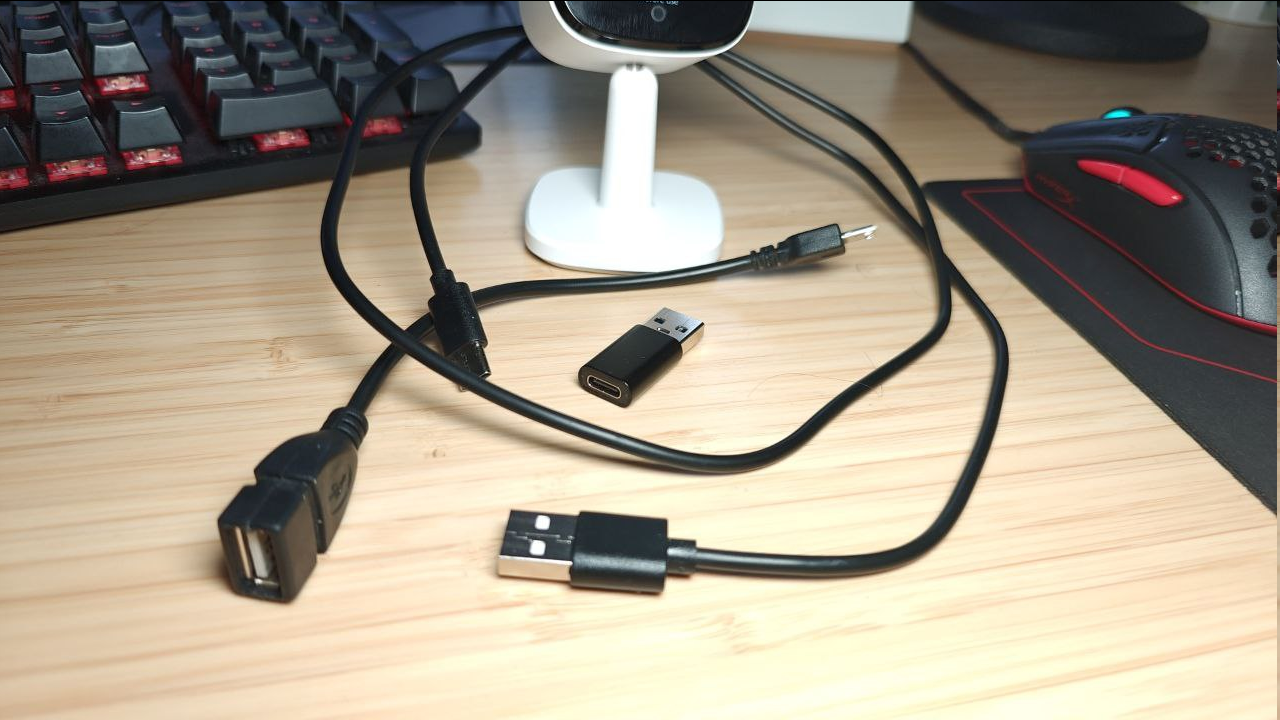
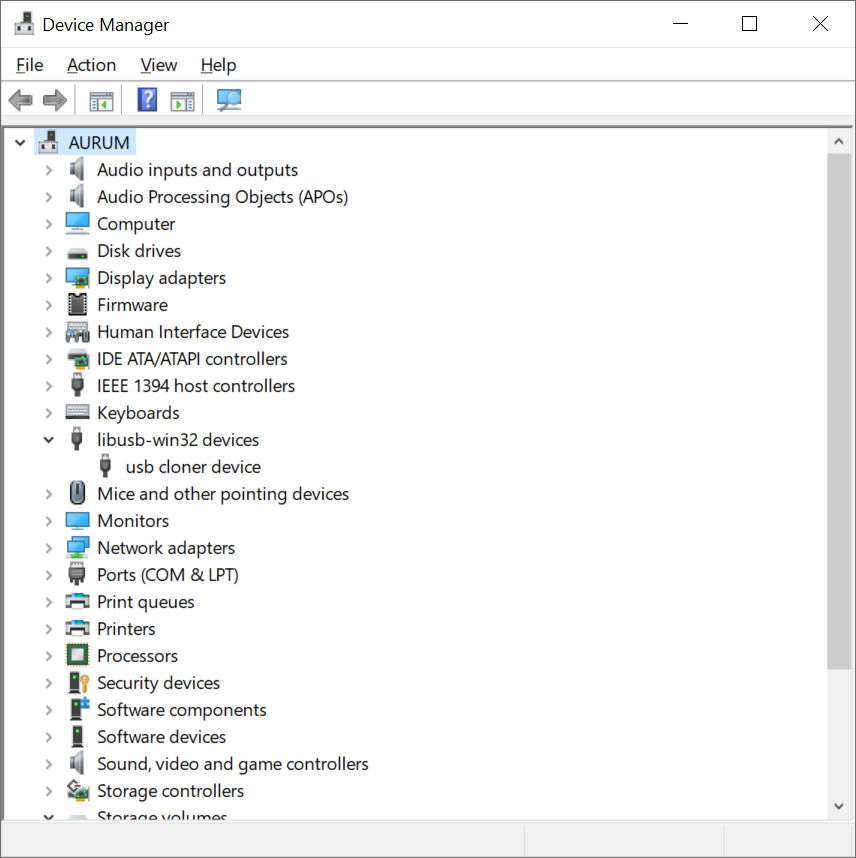
Somehow, miraculously, this contraption worked, and the camera started detecting in the system. After installing the driver that comes with the Cloner software it would show up in the device manager after about 10 seconds of being plugged in.
💡
Try to avoid USB hubs and connect directly to the motherboard. Otherwise the stability might be very poor and dumping and flashing would get interrupted.
I had better luck with USB2 ports, and plugging directly into USB-C port didn't work at all... YMMV
The steps suggest dumping original firmware first. The only difference is that this camera has 16Mb flash, and not 32Mb like the 210/220 models.
So I've set my settings to the Platform: T, t31x, and the board to t31x_sfc_nor_reader_16.
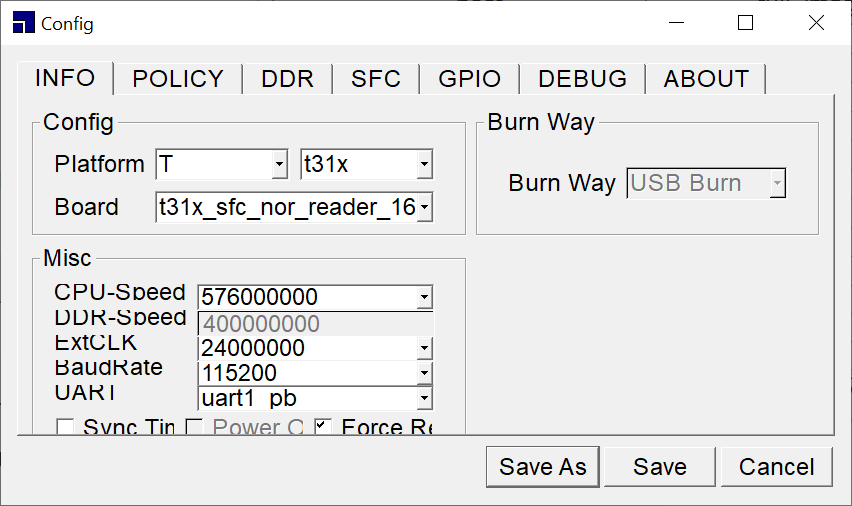
I've also modified the POLICYsection slightly. Basically changing the dumped paths to 01 from 1, and to 02 instead of 2, etc... So that the final image can be merged easier on windows.
You are supposed to set it up with the camera not being plugged in, then press START and then connect the camera. I guess this software is used in manufacturing, and simply starts it's thing once the camera is plugged in and detected.
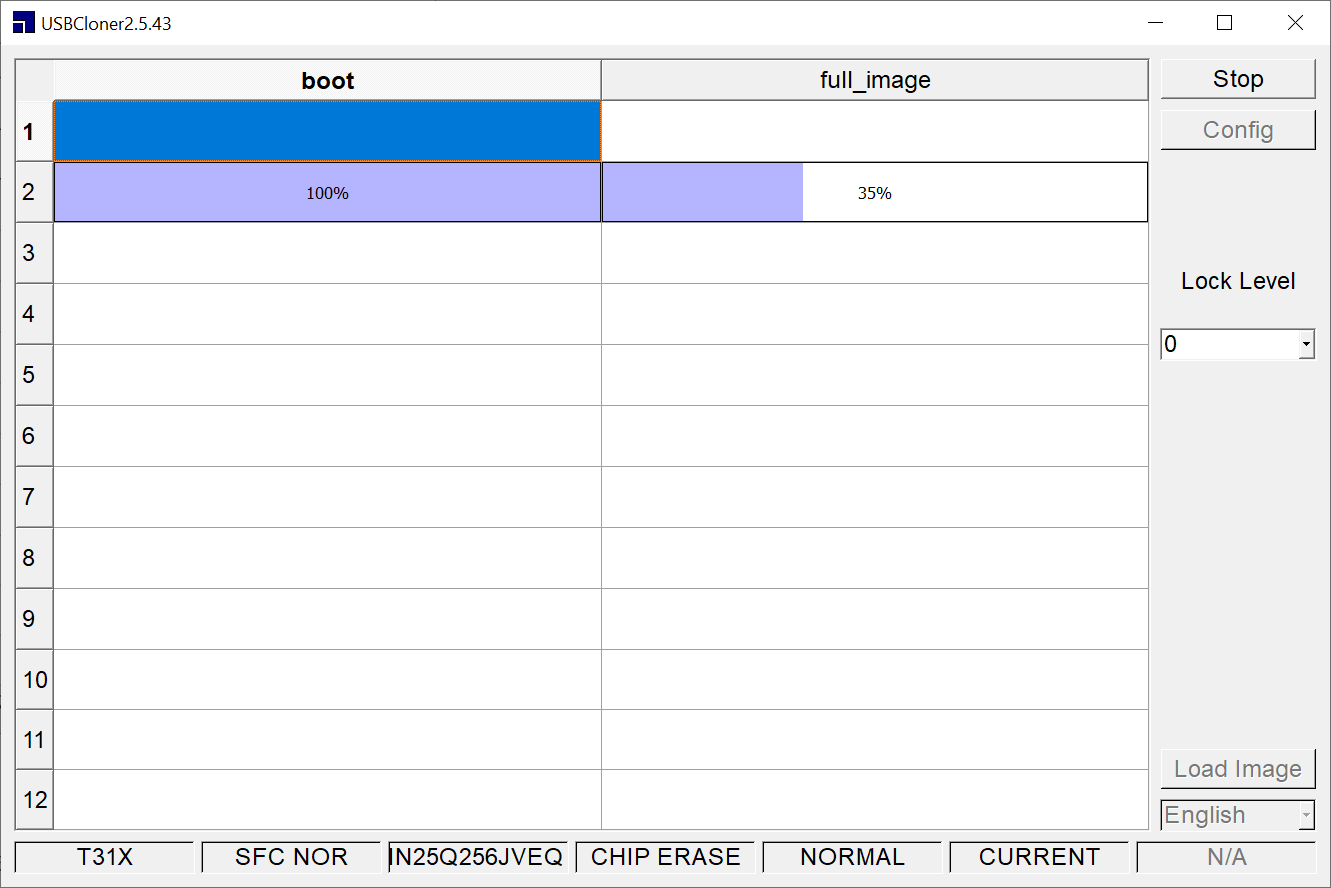
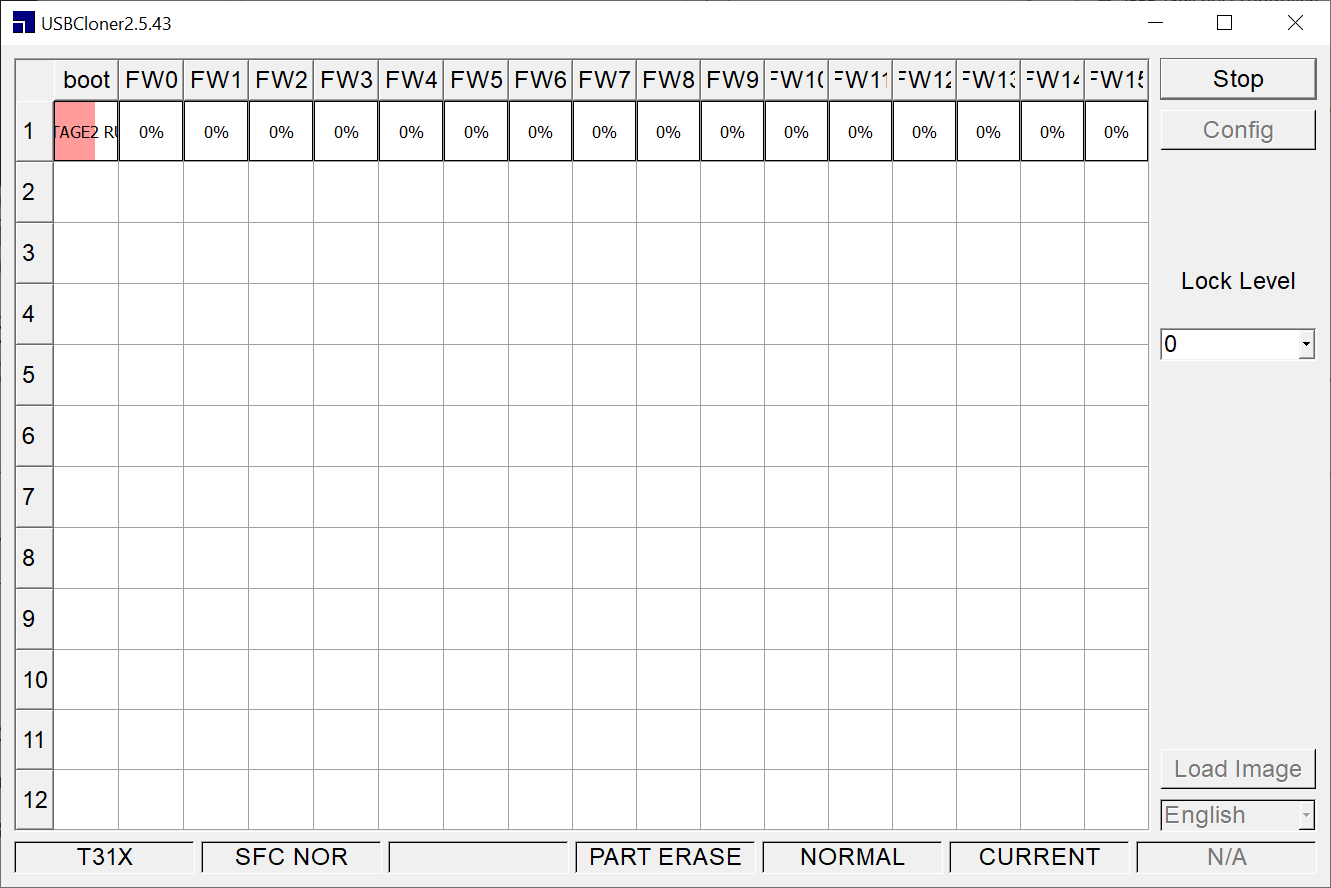 Failed readout attempt
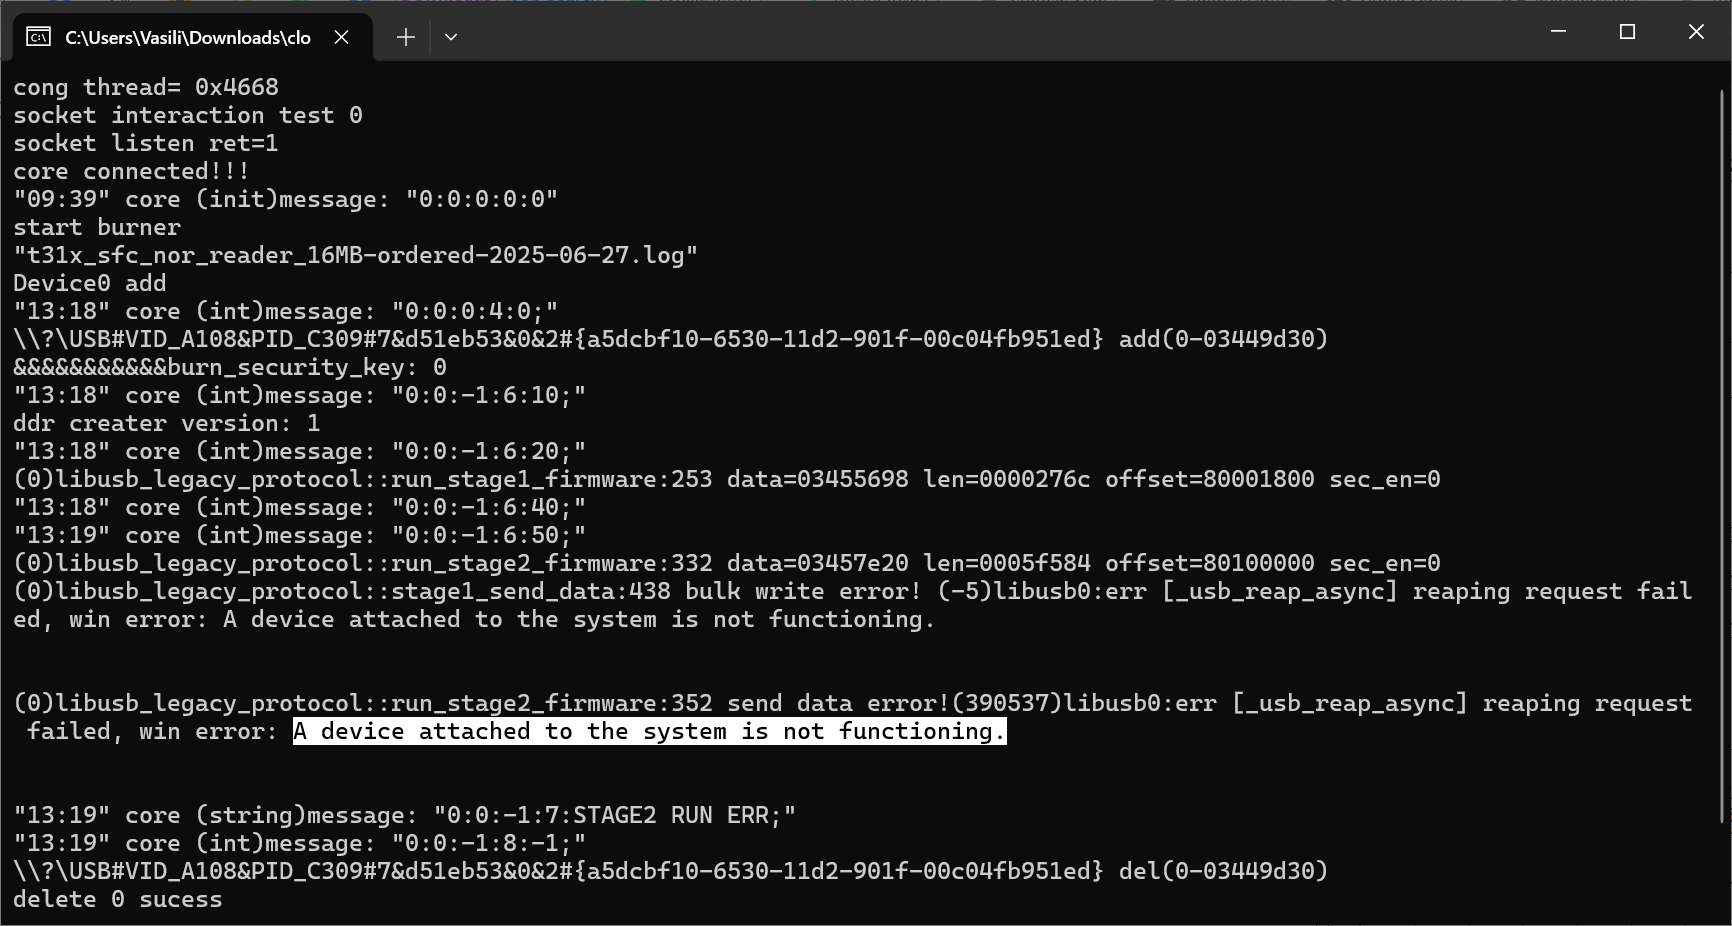 I got to see a bunch of these
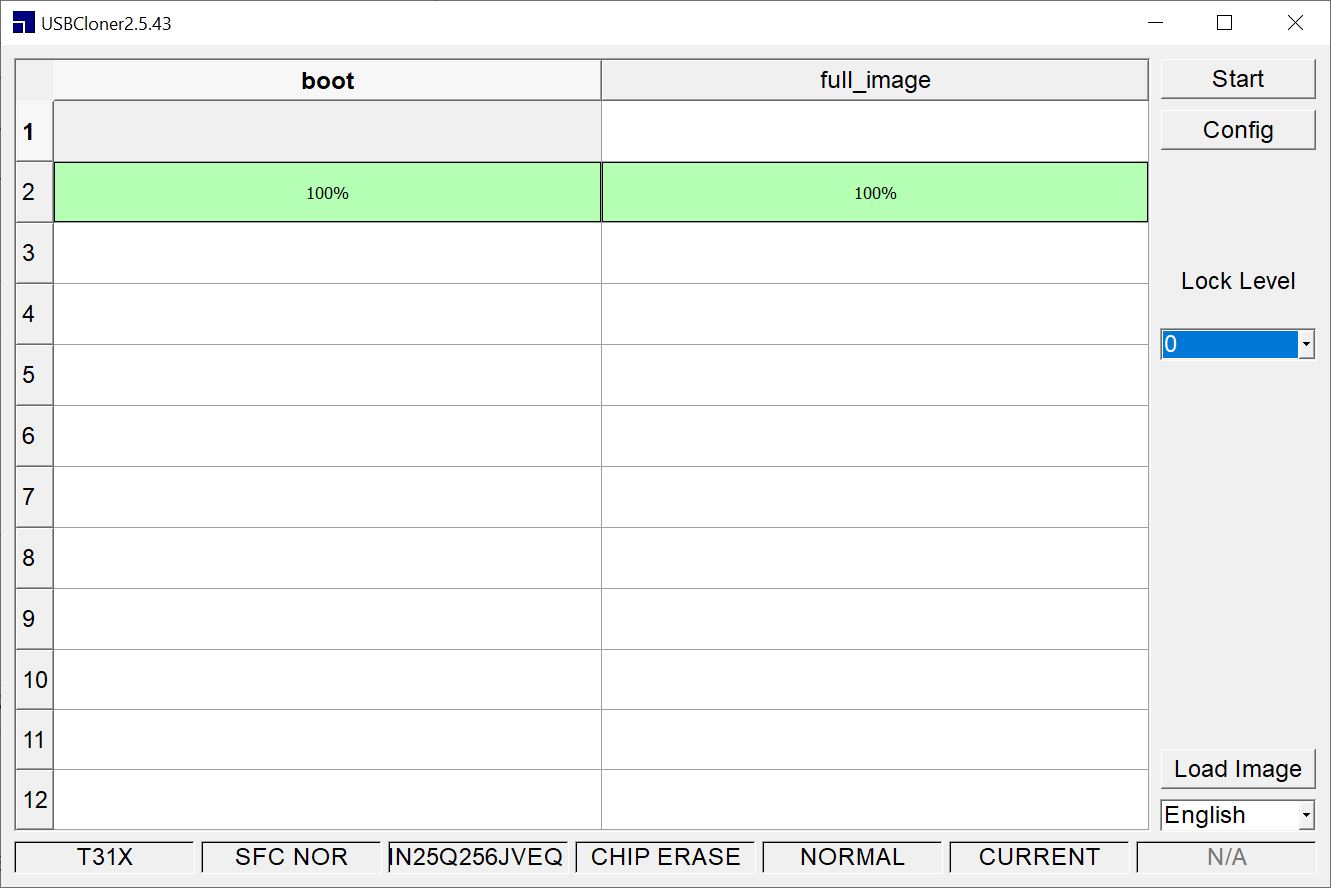
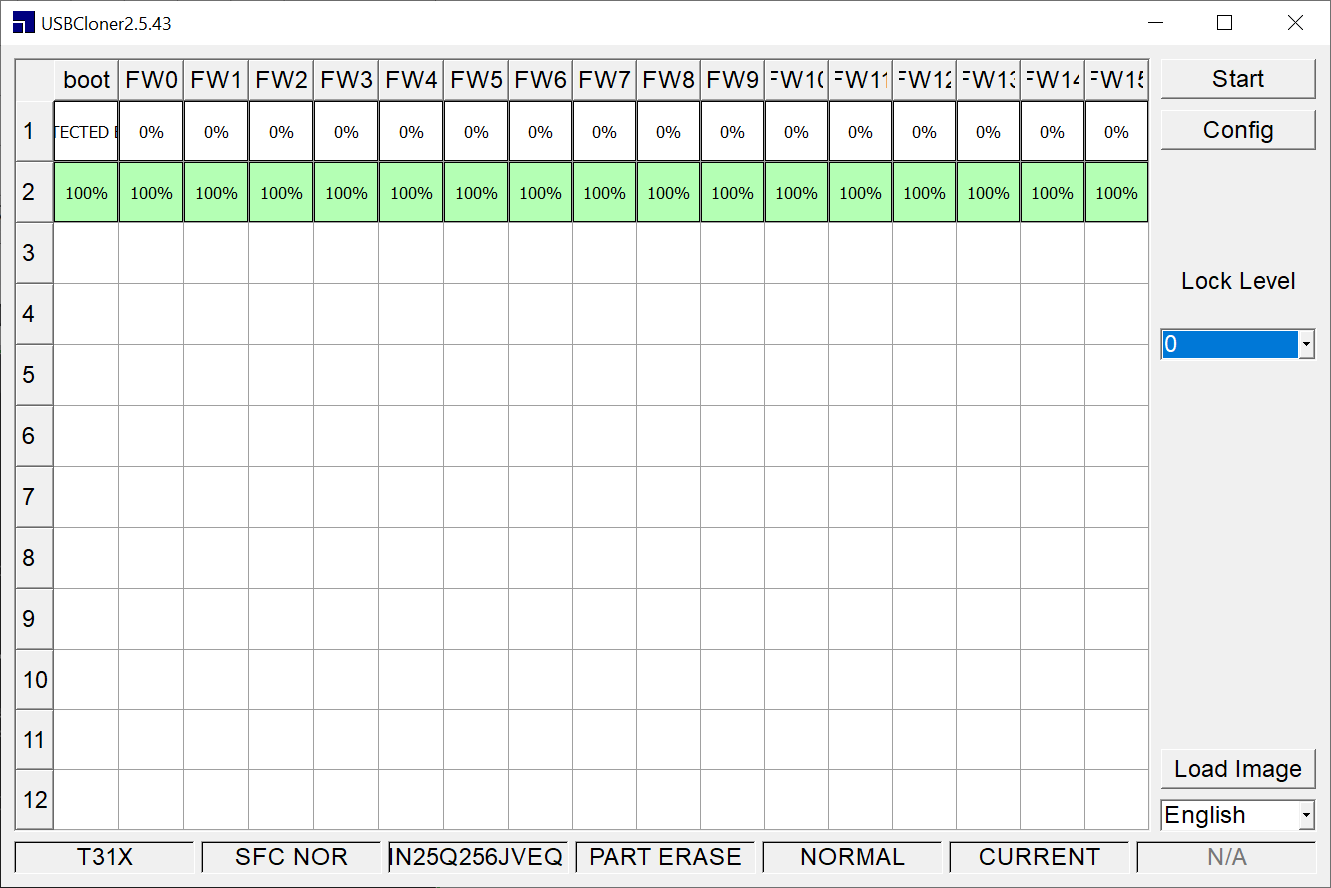 Successful Attempt on a different port
After getting all the files I opened cmd and ran the following command copy /b *.bin firmware.fw

For some reason it doesn't like the flags in PowerShell, and I didn't really want to figure out why, so cmd it is. Also, that was the reason to rename the chunks, otherwise copy sorts them as 1,11,12,13 etc...
Next it was the time to flash. The wiki suggests using a firmware for the newest model first and go backwards until you find the one that works with your specific sensor. In case of C120 there are only two versions, and I hit mine in one.
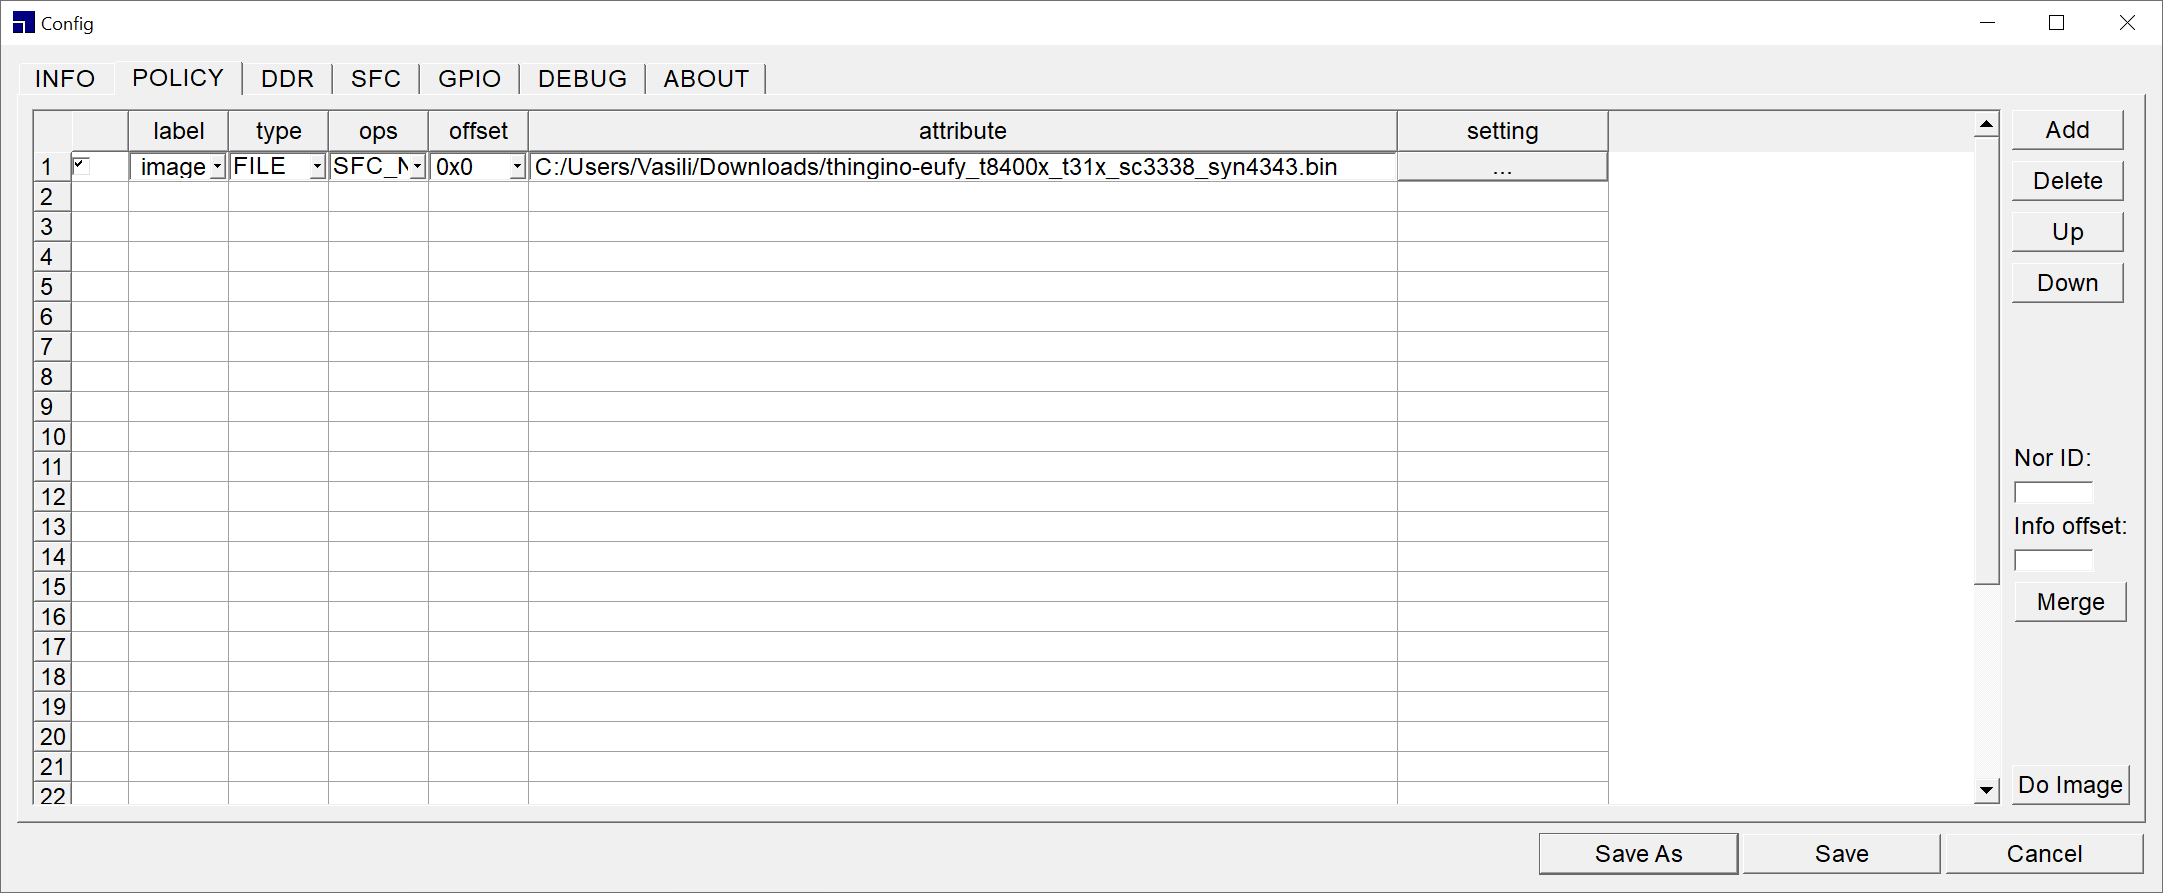
Basically you pick the t31x_sfx_nor_writer_full.cfg and pick the firmware file in the POLICY tab by pressing the ... button. Then hit Save.
Then we unplug the camera, hit START and plug it back in.
 🤞
🤞The ERASING part takes some time, and you can keep an eye on the console window to look for errors.
 🍾Ta-Da!
Okay, flashing is successful. Now we have to plug it in with a regular cable to turn it back into normal boot. After booting it will switch into WiFi AP mode, and you'd have to connect to it to configure the rest.
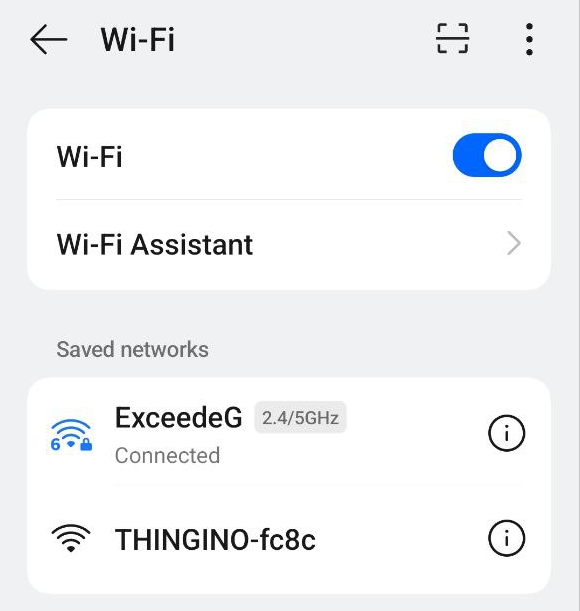
After connecting on the phone, the captive portal takes over and shows you the configuration interface.
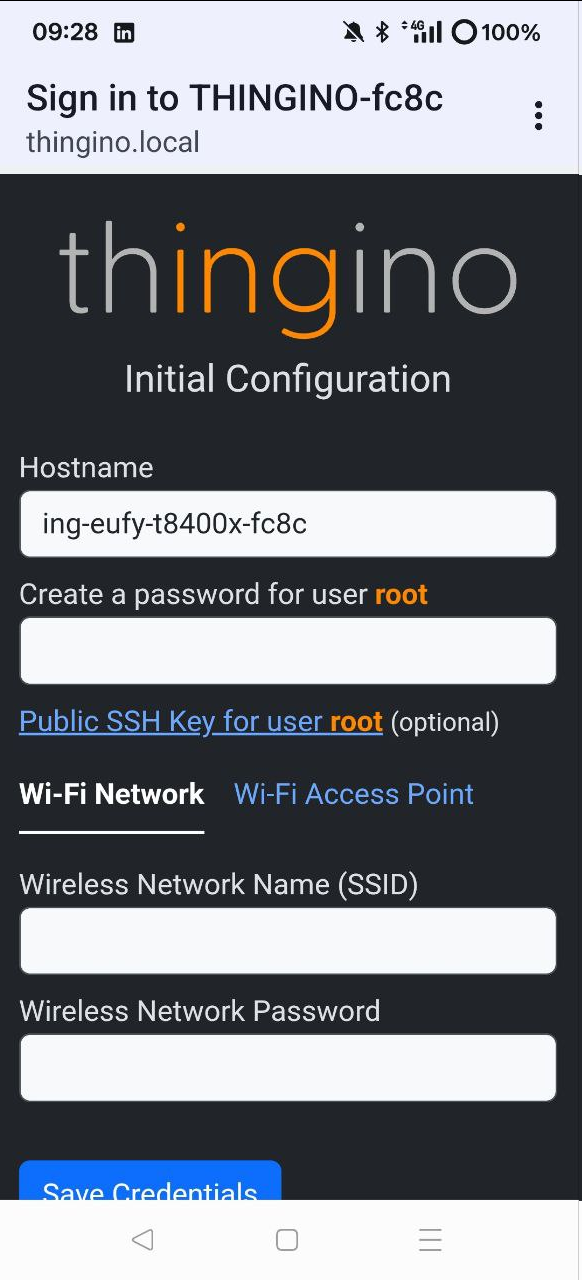
Supply your settings and click Save, and after a confirmation it should reboot and join your WiFi
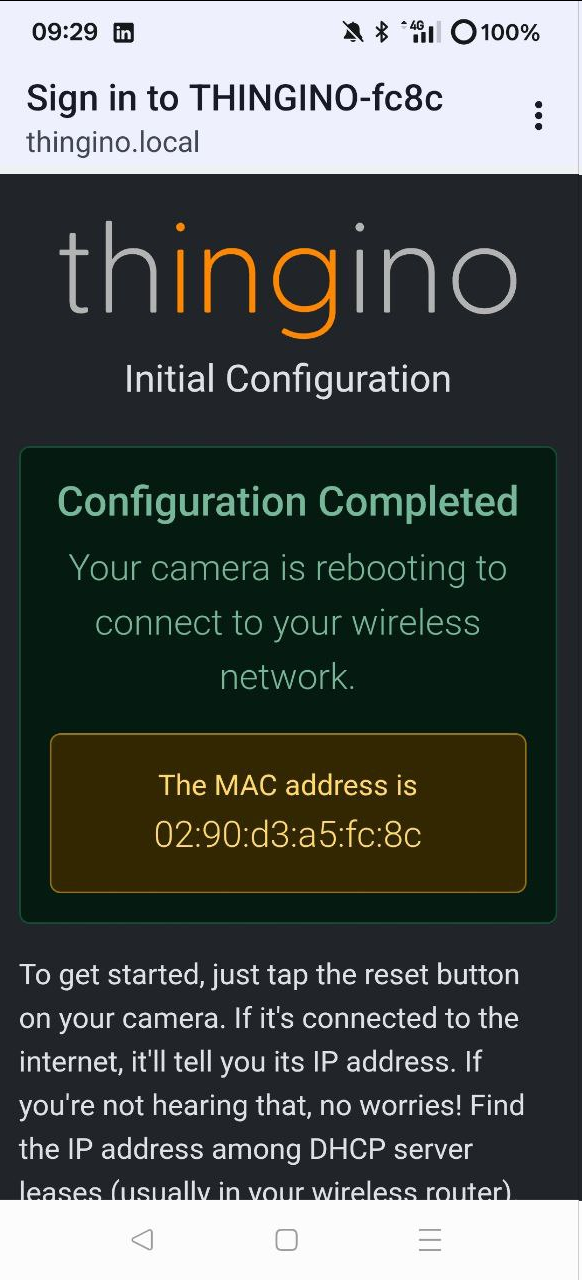
You now should be able to connect by using http://<your-camera-name>.local URL and use root/<password> when prompted.
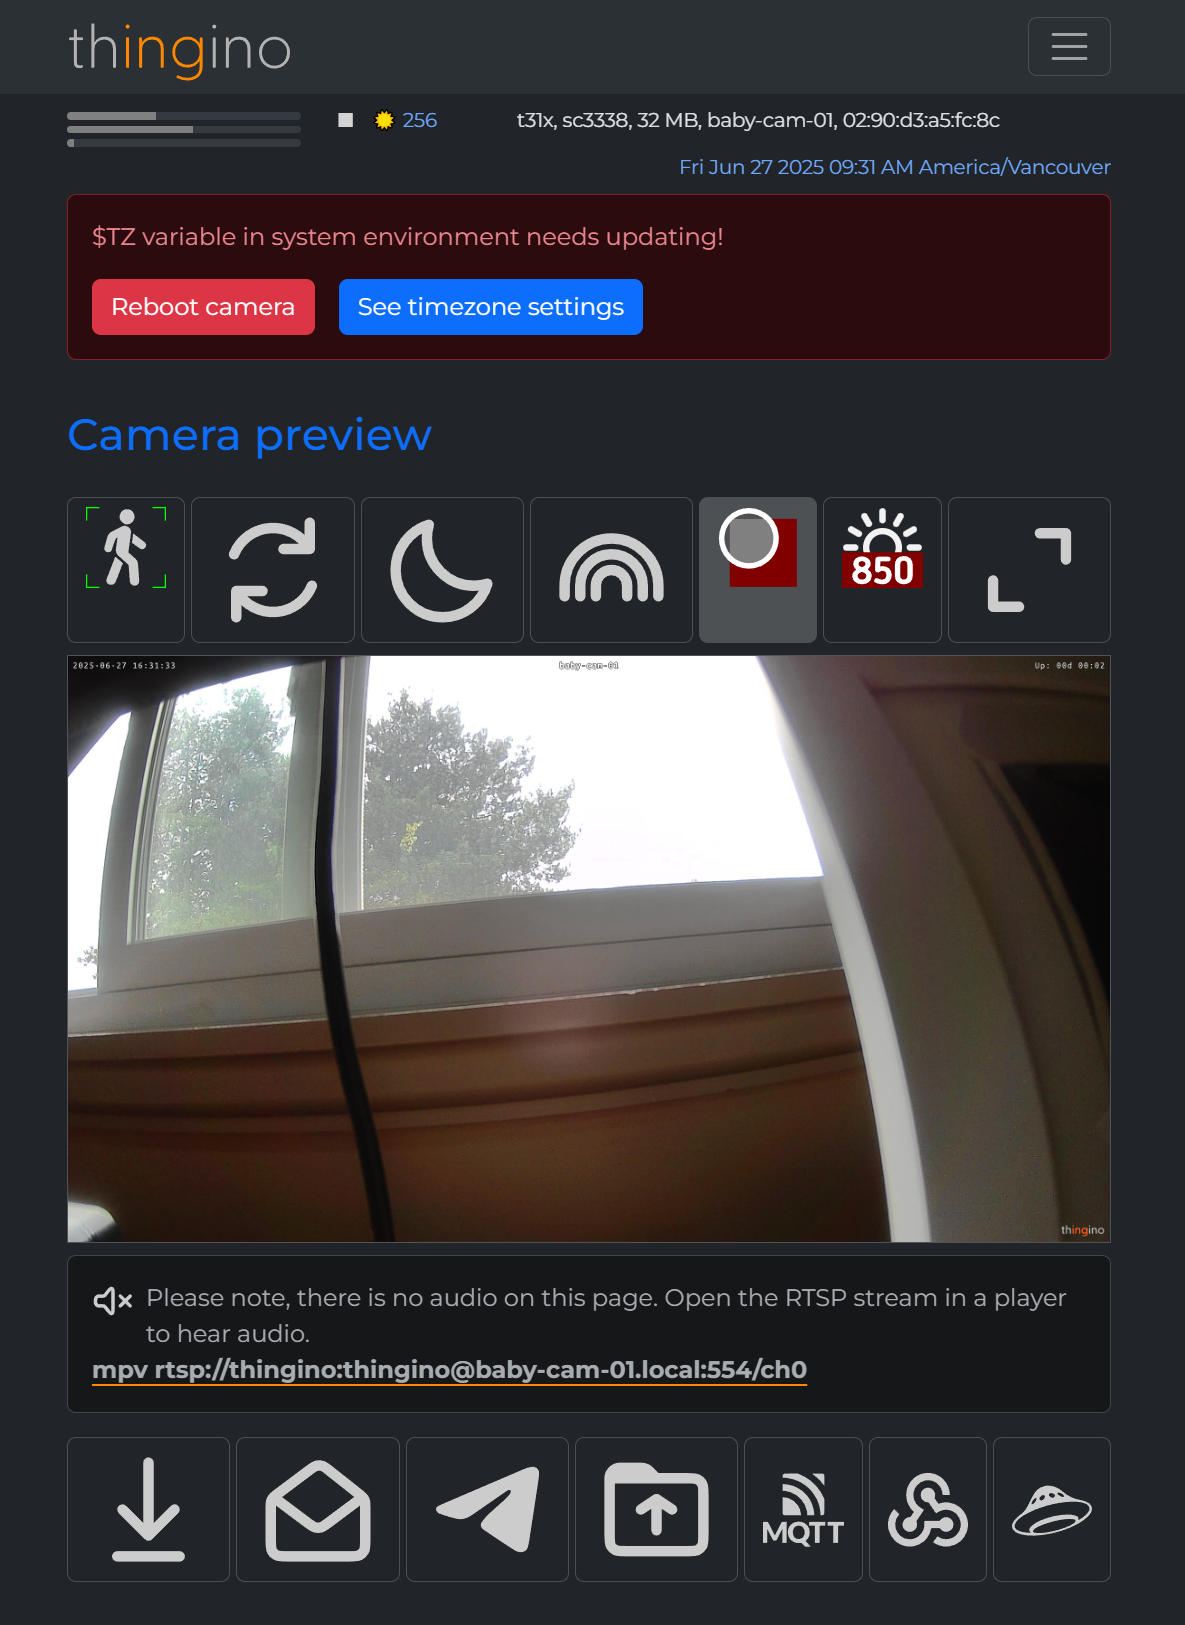
Now feel free to explore, configure RTSP, and much more, without ever having to sign up for yet another cloud and a shitty app.


