.png)

As a long-time Linux user, I've tried many different package managers. When I heard about Homebrew, I was curious to get my hands on it. Not having a macOS device, I had to resist that urge. Until I learned that Homebrew supports Linux, too.
For those unfamiliar, Homebrew is a popular package manager written in the Ruby programming language that makes installing software from the command line incredibly easy. On macOS, it’s a go-to tool for casual users and developers who want to quickly grab everything from programming languages to open-source utilities without digging through installer files or App Store clutter.
Homebrew works by handling all the downloading, compiling, and linking for you, often with a single command. It's known for being simple, fast, and user-friendly, especially compared to the more fragmented experience of native Linux package managers, which may vary across distros.
Homebrew Is Available For Linux Too
As someone who has never used macOS before, I used to think that Homebrew was an exclusive product for Mac users. It always seemed like one of those polished, Mac-only tools that didn’t quite cross over into the Linux world. So imagine my surprise when I discovered that it isn’t just for macOS, it works on Linux too. Like many other package managers, you can use Homebrew on Linux systems as well.
It turns out that Homebrew has supported Linux for quite a while now under the name "Linuxbrew", but then got folded into the main Homebrew project. That means whether you're on macOS or Linux, you’re essentially using the same Homebrew, with some Linux-specific adjustments under the hood.
This means that it's not in some watered-down or unofficial form. The Linux version is part of the main Homebrew project, offering nearly the same experience for Linux users who want a cleaner, more consistent way to manage software. This discovery was the spark that led me to try it out on my own Linux setup. And honestly? I was curious to see how well it actually works in a non-macOS environment.
Installing and Setting Up Homebrew on Linux
The easiest way to install Homebrew is to use the official installation script. Homebrew provides a one-liner command that takes care of the whole installation process.
/bin/bash -c "$(curl -fsSL https://raw.githubusercontent.com/Homebrew/install/HEAD/install.sh)"The above command basically downloads the install script from Homebrew’s GitHub repository using the curl command-line tool. The /bin/bash -c part invokes a new Bash shell to run a command. The -c option tells Bash to execute the following string as a command.
Be careful of running scripts from the internet. Make sure to validate the content to see if there's anything dangerous in it.
You can check the script on the GitHub repository. After running the command, it may ask for your password. Once you enter that, you'll see some text describing what the script will do. Press Enter to continue the installation process.
Once the installation is over, the script will warn you about Homebrew not being in your PATH. So let's set that up. Add Homebrew to your PATH:
echo >> /home/zunaid/.bashrcecho 'eval "$(/home/linuxbrew/.linuxbrew/bin/brew shellenv)"' >> /home/zunaid/.bashrc
eval "$(/home/linuxbrew/.linuxbrew/bin/brew shellenv)"
Apply the changes by loading the .bashrc file:
source ~/.bashrcMake sure to modify the above commands to use your user's home directory before running them. After that, the last thing to do is install some dependencies for Homebrew.
sudo apt-get install build-essentialNow you should be ready to use Homebrew on Linux. To verify if your installation was successful, run:
brew helpIt should display some brew commands and how to use them.
Basic Usage of Homebrew
Let's use Homebrew to install our first package. To do so, run:
brew install package_nameFor example, let's install a simple app using Homebrew that prints "Hello, world!"
brew install hello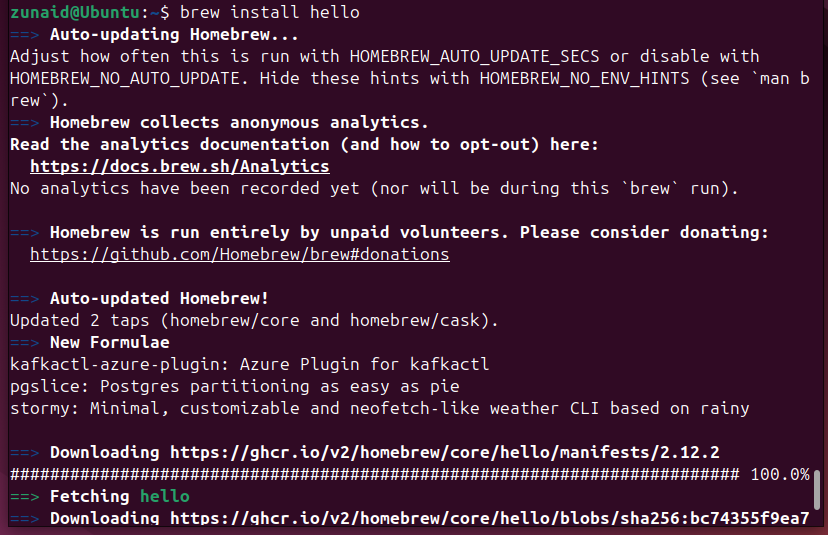
You can run the installed package like any other package, as a command in the terminal.
hello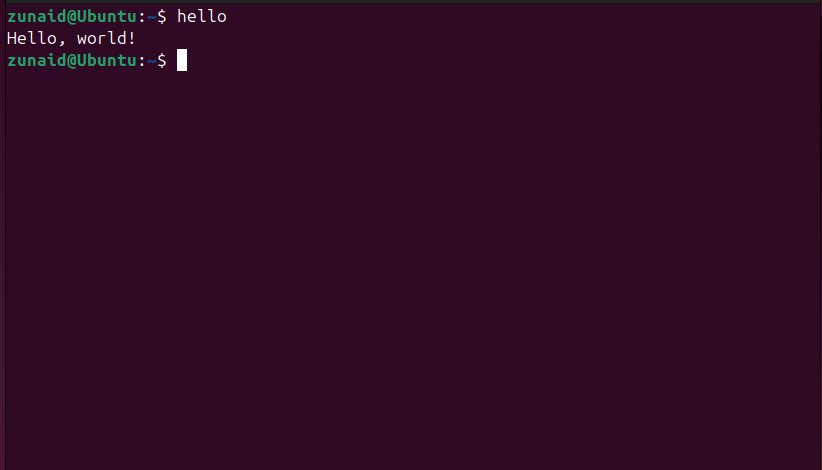
If you want to search for a package name, use the search command.
brew search package_nameThis brings back a result consisting of all package names that contain the word you searched for. Here's an example where I search for "git" using Homebrew.
brew search git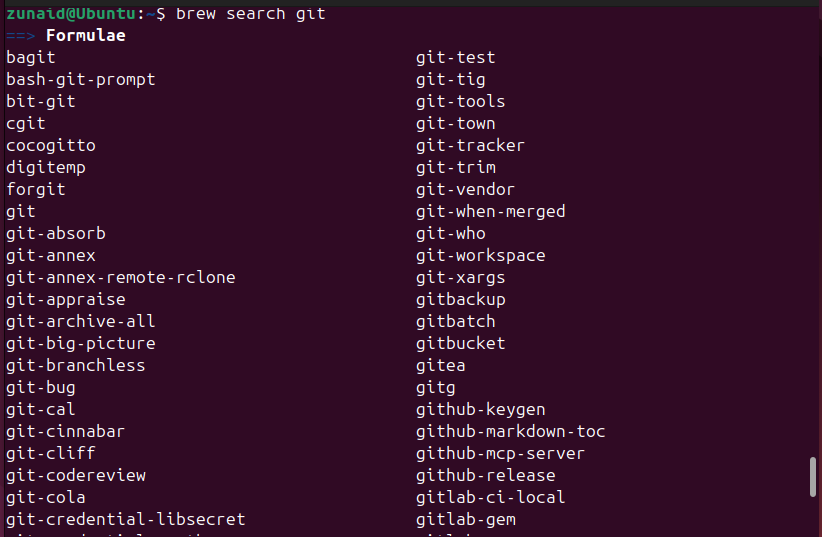
To update an installed package, you need to run:
brew upgrade package_nameSo, from our previous example of the "hello" package:
brew upgrade hello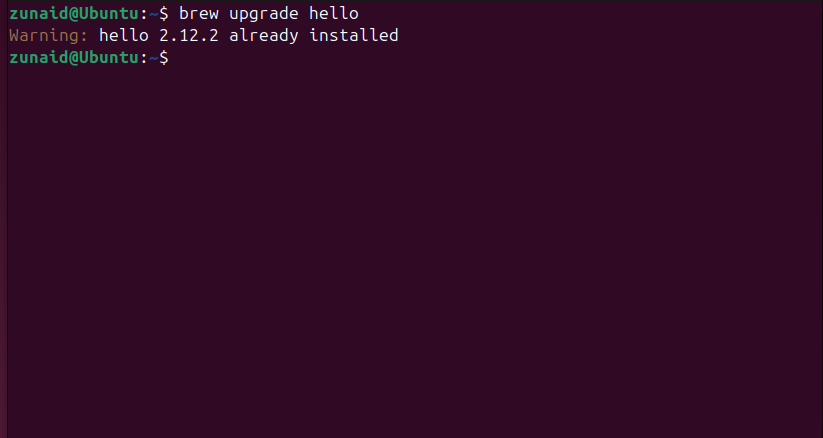
You can even check the list of outdated packages using:
brew outdatedYou can also update Homebrew itself. To do so, run:
brew updateLike other Linux package managers, a simple way to keep the brew repositories and packages updated is to run:
brew update && brew upgradeTo uninstall a package, simply use the uninstall command.
brew uninstall hello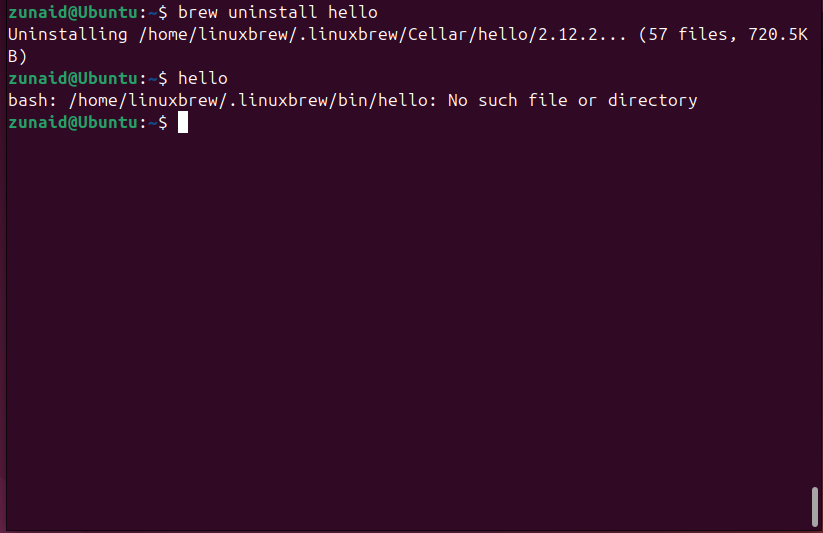
If you want to uninstall Homebrew from Linux, then there's an uninstall script as well. Check the script to verify its content. Then, uninstall Homebrew with the following command:
/bin/bash -c "$(curl -fsSL https://raw.githubusercontent.com/Homebrew/install/HEAD/uninstall.sh)"This command works similarly to the installation command.
My Experience Using Homebrew
The very first thing I noticed while using Homebrew is that it's quite user-friendly. From installation to running each command, it shows detailed output showcasing what's happening behind the scenes. If anything goes wrong or you need to do something in the next step, it's also mentioned for your convenience. They also link to the docs quite frequently in the terminal output.
Speaking of documentation, it's enriched with everything you need to know to get up and running with Homebrew. It lists the common terminologies, man page styled command usages, information on the subcommands and available options, and even environment variables.
Due to the detailed suggestions, I had no problem using Homebrew. The built-in help was also quite useful. On top of the help command, you also get to see a list of available commands in brew with the brew commands command. There are built-in troubleshooting features.
If you don't understand how to use a certain brew command, you can check the help section specifically for that single command. For example, while using Homebrew's various features, I wanted to know what would happen if I ran the brew cleanup command. For that, you can find what happens by passing that command to the help command, like this:
brew help cleanup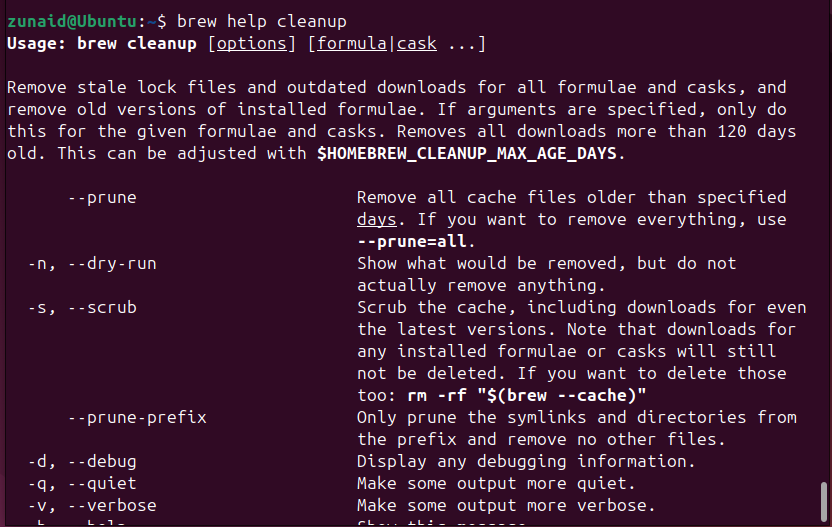
As you can see, there is detailed information on using that specific command and what it does. All of these gave a smooth experience using Homebrew.
Homebrew can be useful for installing packages that aren't easily available on your distro. For many software programs, you may need to use Flatpak, Snap, or install from source. Using Homebrew can make it much easier to install and maintain.
For some distros, finding an updated package is difficult. You either have to deal with an outdated package or get the updated one via cumbersome means. If that package is available on Homebrew, you can easily get the updated one using a single command.
In the upcoming days, I can see myself continuing to use Homebrew on Linux for managing Linux packages due to its quality of life features and rich documentation. Especially if you're a developer, you're bound to love it.
There's much more to Homebrew beyond what I could cover in this guide. So if you want to learn more about it, definitely check out the official documentation. There's also a discussion forum to meet other users and a Linux-specific guide, too.