.png)

23 Oct, 2025
For a side-project of mine, I recently faced the challenge of modding an application with frida, and then distribute the modded application to a couple friends.
Now, using frida in its no-bs mode, that is, a host machine plugged via USB to a rooted phone, is simple and very widely documented in the internet. However, frida also supports autonomous script execution, which is ideal for mods.
This mode of operation is, alas, less used and documented. Moreover, the little documentation that exists leaves a lot to be desired, and with the advent of Frida 17 (which introduced important changes), is now oftentimes wrong.
In this blogpost I'm going to walk through a workflow that should work for your modding quests.
The Lab
For this experiment, let's take a simple app and a simple mod.
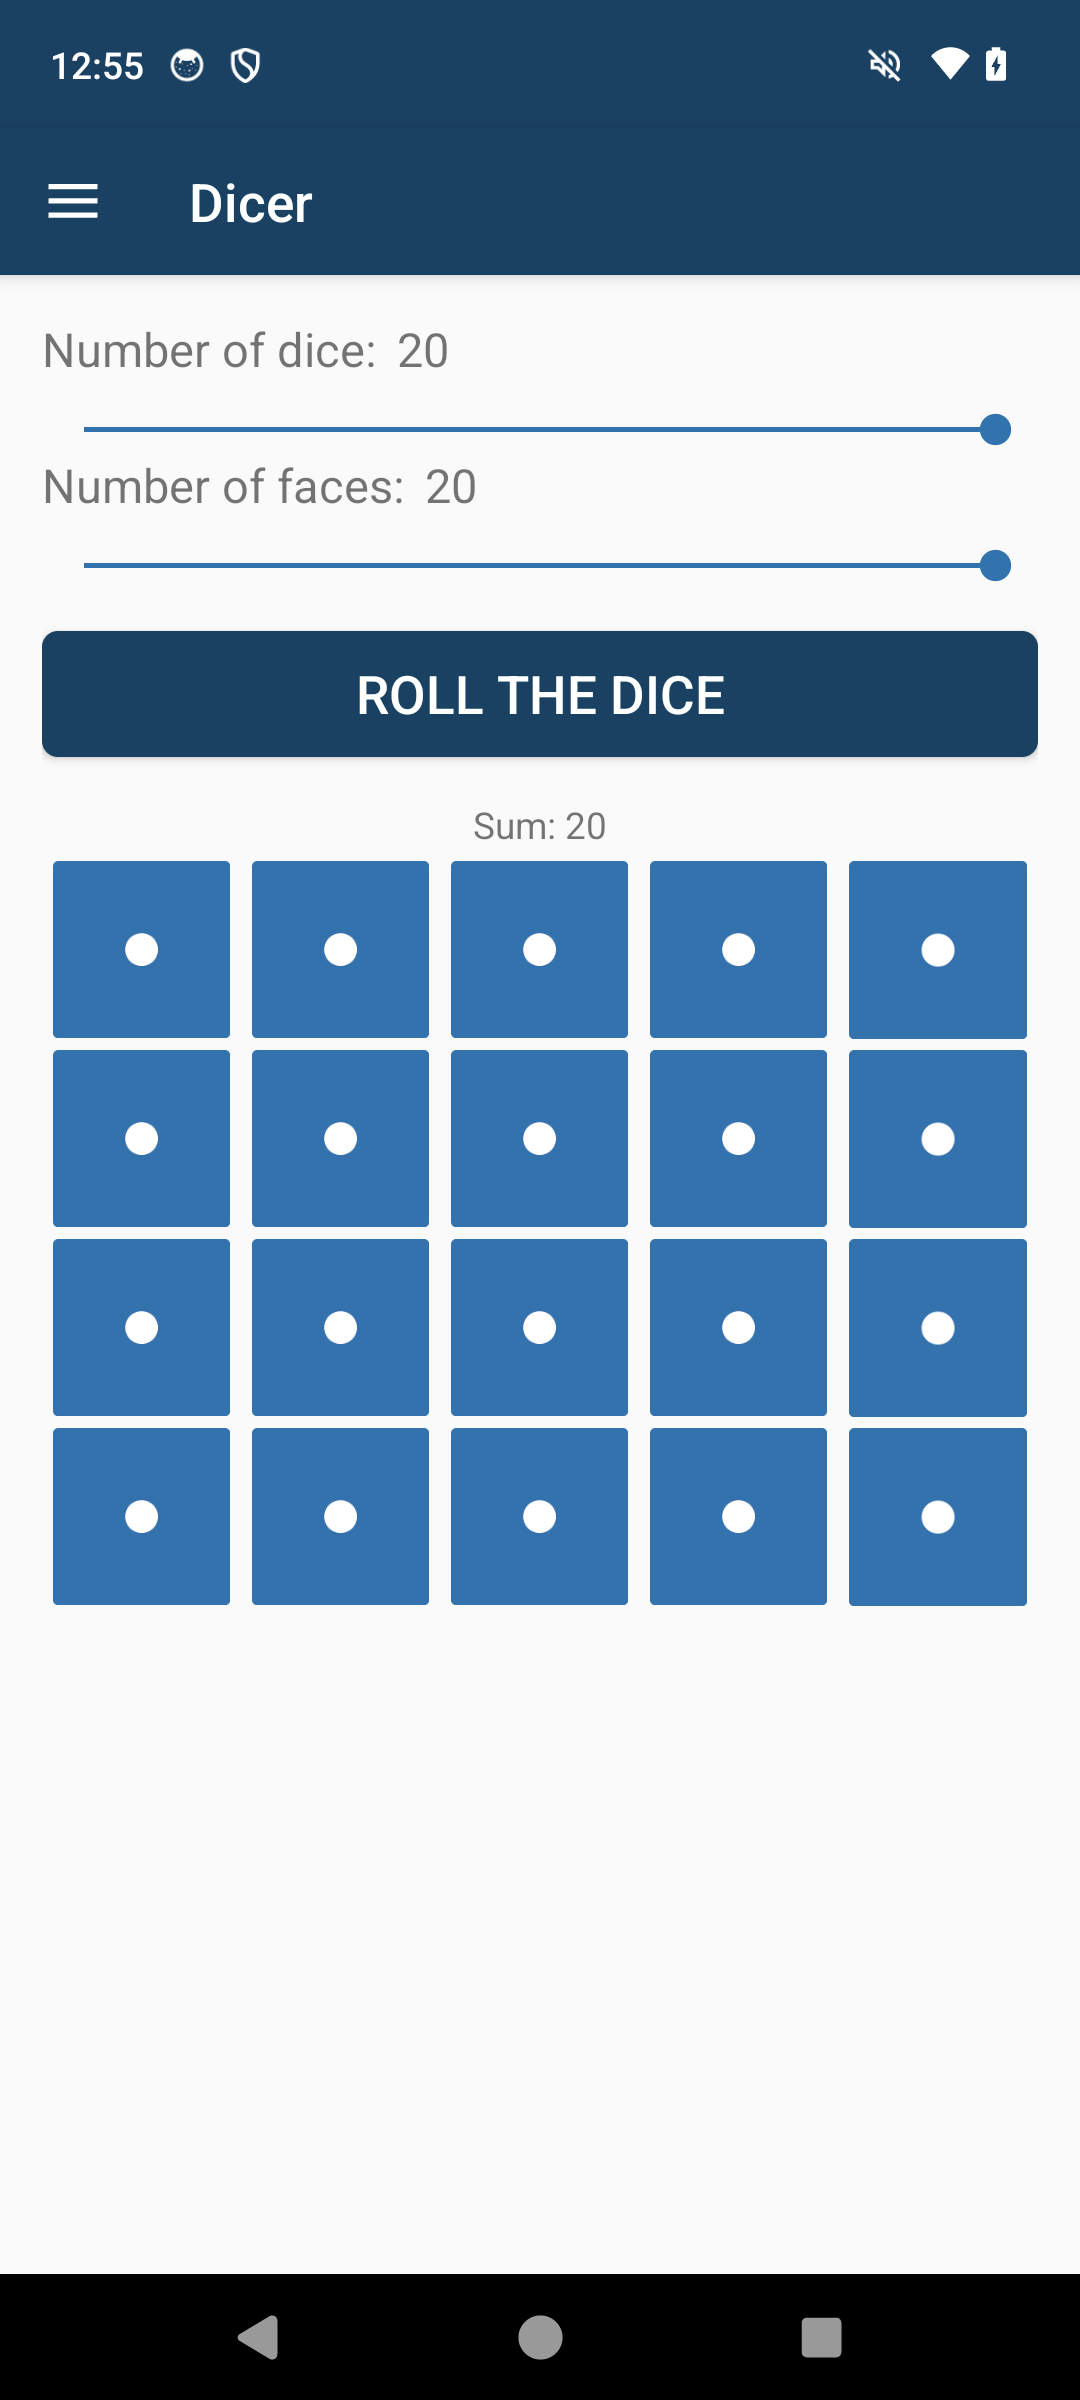
The app picked for this experiment is Dicer . It's an app to, well, roll dice.
Now, about the mod...if there's one thing we want from an app that rolls dice, is controlling the result predictably, right?
So yeah, it's exactly what you would expect: we're going to mod the app so that we always get ONE, no matter how many times we roll.
Create the Agent
As mentioned above, since Frida 17, bridges are not part of the of the GumJS runtime anymore, which means that bridges need to be pulled in the agent just like every other package we would need to use.
The frida-tools package contains a useful script to scaffold a new frida agent:
This commands creates a new typescript project, configured with all the correct switches and scripts that make compiling frida agents as easy as running npm run build.
Time to write the mod.
Mod Development
My intention is to keep this blogpost short, so I will not delve into frida development or Android reverse engineering. So here's the full code of the mod:
In order to compile this mod, we first need to pull the bridge package:
npm install frida-java-bridge
And then we can compile things with:
npm run build
The npm script simply calls frida-compile with the correct arguments (you can inspect them in the package.json file).
Before moving on to the distribution part, it's important to test the mod. That can be done by invoking the app with frida, loading the script:
frida -U -f org.secuso.privacyfriendlydicer -l _agent.js
Which shows that, no matter what, we now really suck at this game:
Ok, mod has been confirmed, we can continue with distribution.
Mod Distribution
One of the frida essentials is that frida must inject an agent in the target process in order to do its magic. How frida does so depends on its mode of operation: when a frida-server is running on the device, the frida-tools such as the REPL or frida-trace can contact the server, either via USB or network, and the server takes care of injecting the agent into a running process – or spawning it in the first place.
But this is not the only way!
In fact, the frida-gadget – which is essentially a dynamic library, AKA an .so file in Android – can be directly embedded into the app. This way, we can use frida in jailed/unrooted devices where running the privileged frida-server is not feasible. But there's also another important advantage: in its gadget embedding mode, frida provides autonomous script execution, which means that the app loads and executes the agent without any interaction from outside tooling. And this is exactly what we want to use for mod distribution.
Easy Patching via Objection
There are some steps involved with embedding the frida-gadget library and configuring it for autonomous script execution. Luckily, we can use the good old objection suite to automate the workflow.
First, we compile again the agent, in its root directory:
Then, we need to create the frida-gadget configuration file. For autonomous script execution, the configuration should have the following content:
We will name this file gadget-config.json.
Time to let objection do its magic:
We can ignore – just this time, never ignore warnings – the big red WARNING produced by Java for apksigner.jar.
After running the command, you should see a file named <original_apk_name>.objection.apk in the current directory. That's the modded APK!
We can now confirm that the modded app works by uninstalling the original app, reinstalling the modded APK, unplugging the USB cable from the phone, running the app and notice that we still suck at throwing dice 🚀🚀🚀
(NOTES FOR SPLIT APKs)
In case your target app is made of multiple (split) APKs, the tool should always be launched against the base APK, that is, the one that contains the MainActivity of the application.
Moreover, once the modded APK has been produced, you will need to sign the other split APKs with the same key that objection used. You can use objection signapk apk1, apk2, ... for this.
Last but not least, the split APKs must be installed together. You can do this via adb install-multiple apk1, apk2, ..., but this isn't great for distribution, right? Much better to merge the split APKs into a single one via https://github.com/REAndroid/APKEditor.
Bonus - How The Sausage Is Made
Depending on tools is all good and allows for quick mod developments, but what if things break? In this bonus section, I'll peek into the objection magic.
The first step is to extract both the APKs (the original and the modded):
We can resort to a simple diff to see what changed:
diff -r org.secuso.privacyfriendlydicer org.secuso.privacyfriendlydicer.objection
The output of this command is quite large and contains a lot of unimportant changes. However, we can quickly spot the important parts:
android.permission.INTERNET
objection patched the Android manifest to include the INTERNET permission. This is needed in case we needed to run the frida-gadget in listen mode, to allow connections from the frida-tools. We don't actually need this for our mode of operation.
lib directory
A new directory was added to the modded apk:
These are, respectively:
- The frida-gadget configuration.
- The agent.
- The frida-gadget library itself.
Essentially, objection is adding a new native library to the APK, and it's setting up the autonomous agent and the configuration just where frida expects them to be.
Library Loading
This is smali assembly that implements the System.loadLibrary("frida-gadget") method call. The latter loads the frida-gadget library that lives in the lib directory.
The .method static constructor <clinit>()V line defines a static constructor for the class, so that it will run a single time, when the SplashActivity class is first loaded by the Dalvik VM.
As expected, the activity we're injecting is the main activity of the application, that is, the one that is created and called when the application spawns. We can verify this by inspecting the Android manifest:
Conclusions
It happened to me more than once that I wanted to package and distribute applications modded with frida. It made sense to write a blogpost, so that I can store this workflow somewhere, and maybe others can find it useful, too.
Happy hacking!


