.png)

If we have a site that publishes a considerable amount of content, we usually need to generate the assets that go with each piece of content.
For example, if it's a blog post like this one, we might need a cover, diagrams, screenshots, etc.
However, sometimes we neglect the Open Graph image, even if it's arguably one of the most important assets: it's what people see before they decide to read our content or not.
In this article we will learn how to generate Open Graph images with Ruby in a Rails application and how to automate the process using one or more templates.
Let's start by giving a quick glance at what Open Graph is and why you should care about it. If you already know about it, skip to the application setup section.
What is Open Graph
Open Graph is a protocol that uses metadata, specifically: data contained in meta tags, that controls how a webpage appears when its URL is shared on social media.
It was originally developed by Facebook but the protocol is widely used by many other platforms, pages and even mobile applications.
A basic OG tag looks like the following:
As you can see, it's a meta tag but it uses the og prefix for each one of the attributes which can be title, description, url, type, among others.
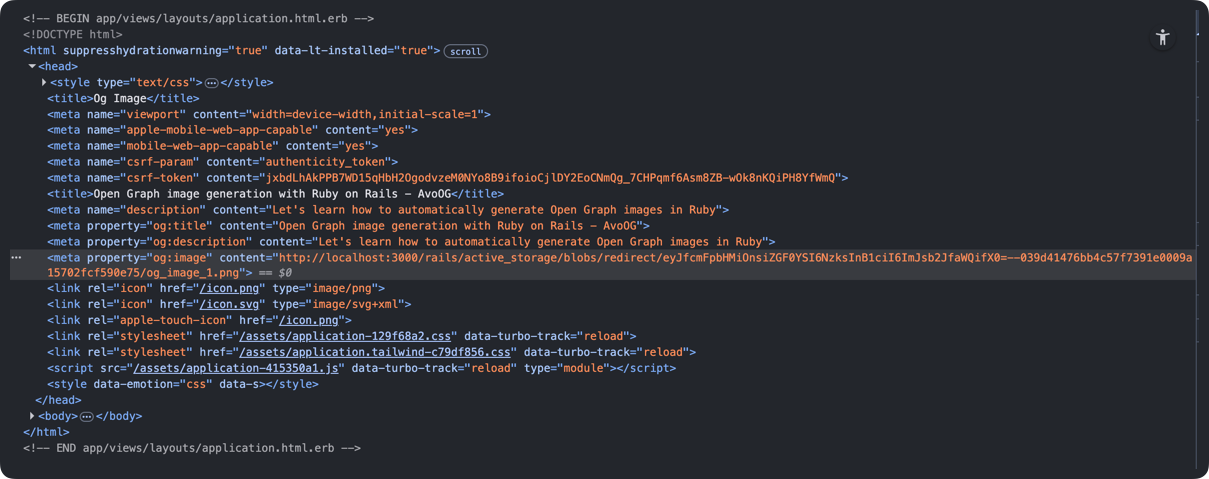
An OG image tag, looks like this:
If we share a page that doesn't have specific Open Graph metadata, most platforms will attempt to retrieve and generate a share card using other meta tags like the page title or description and some image that may appear relevant.
But we would rather not leave the way our content looks when shared on social media to the platform itself, we may not like the results.
So, to control the way our webpages look when shared on social media, at the very least we can customize the title and description by providing custom og:title and og:description values.
However, the real magic happens when we add a custom image that's well designed and can help our content stand out and encourage users to click on our content previews.
The standard Open Graph image size is 1200×630px which is the size of Facebook's posts. Some platforms specify a slightly different size which varies a couple of pixels but, for practical reasons, that size is fine.
What we will build
To demonstrate how to add this feature to a Rails application, we will work on a simple blogging application that has an Article model with a title, body and excerpt fields.
Using the title we will generate a custom open graph image after an article is created, upload it using Active Storage so we can access it anytime and then add the image as an OG tag.
To generate the image, we can use two different approaches:
- Using ImageMagick with the MiniMagick gem: this approach is powerful but a bit more convoluted. We can't use CSS, and achieving the desired text and image positioning can be a bit tedious. However, it is best suited to produce programmatic images with many moving parts that are more difficult to customize with CSS.
- Using Ferrum as a headless browser: using Ferrum we can render HTML/CSS and screenshot the result using a headless browser. This gives us the flexibility and familiarity of using CSS, but it has some disadvantages like the fact that we need to have Chrome/Chromium installed and that it can be a bit overkill for simple image generation.
For this tutorial, we will use both approaches so we can explore the pros and cons of each one of them in more depth.
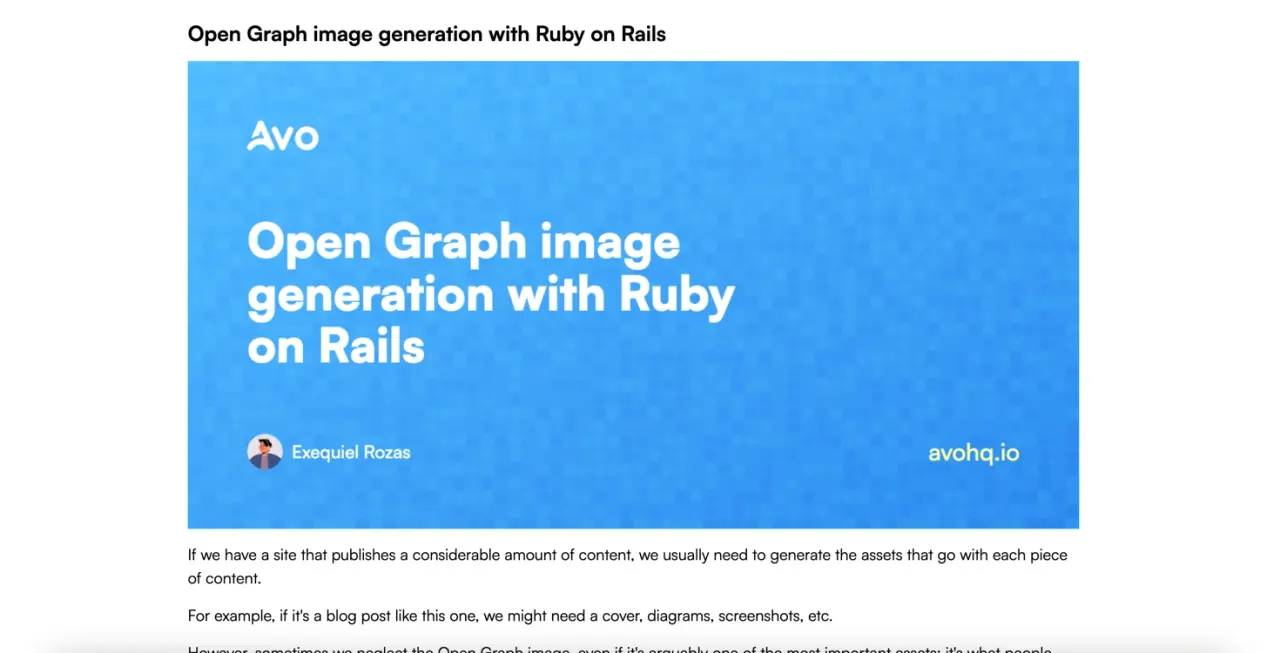
We will start with a design that looks like this:
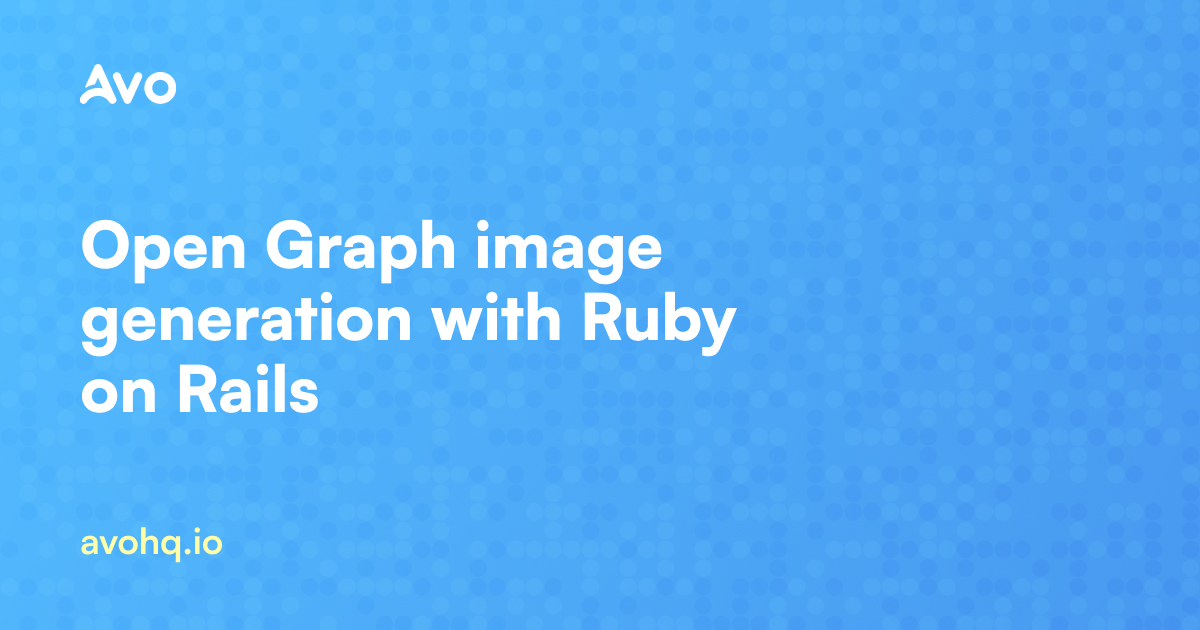
And implement it with both methods so we can see how to implement the feature considering real-world constraints like a design specification.
Now that we know what we will be working on, let's move to the application setup.
If you're reading this article because you've heard that custom Open Graph images might help with SEO, don't hesitate to check our Rails SEO guide to see how you can improve your results.
Application Setup
Let's start by creating a new Rails application:
Next, let's install Avo for our Rails Admin panel so we can easily create and work with the Article resource and any other resource we might need in the future:
We then run the Avo installation command which will mount the admin routes at /avo and generate an avo.rb configuration initializer:
Now, let's install Active Storage:
And run the recently created migrations:
We can now create the Article model by running the generate command which will also add an article.rb resource that we can use with Avo:
We then add a validation to make sure every article has a title and add attachments for the article's cover and og_image:
Now, we make sure to add the cover field to the article.rb Avo resource:
We then run the migration:
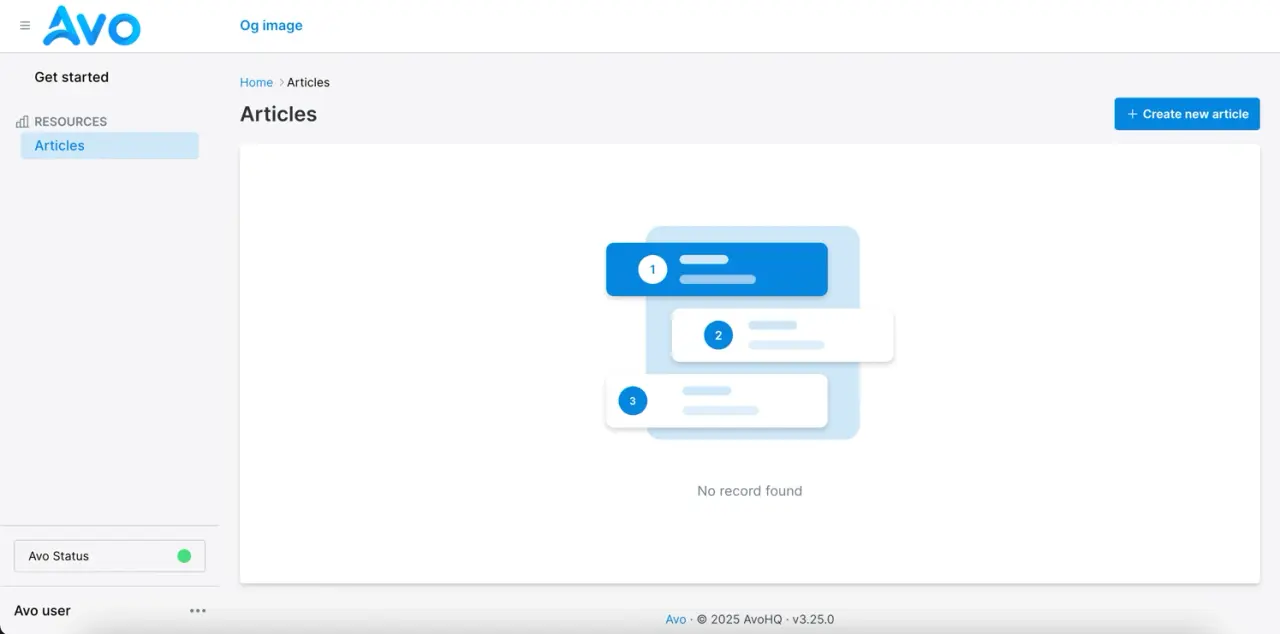
Now, we should be able to navigate to /avo/articles and see the following:
Before continuing with our task, we will be using the Satoshi font that you can download here for free.
After downloading it and decompressing it, let's move them to an app/assets/fonts folder so we can access them from our code.
We now have everything set up, we can start with the image generation using the MiniMagick gem:
OG image using MiniMagick
If you haven't used it before, MiniMagick is basically a low-memory replacement for RMagick, which is the go-to Ruby gem to interact with ImageMagick., a popular CLI image manipulation library.
ImageMagick allows us to perform many operations with images using a command line tool which is why it's widely used to dynamically generate images.
We need to make sure it is installed so let's start by running the following command:
Which should return something like this:
If it doesn't, please refer to the installation instructions for your operating system and make sure the magick command is working before continuing.
Let's start by installing the mini_magick gem:
Now we can create a class that can receive an Article instance and create an OG image based on the design specifications.
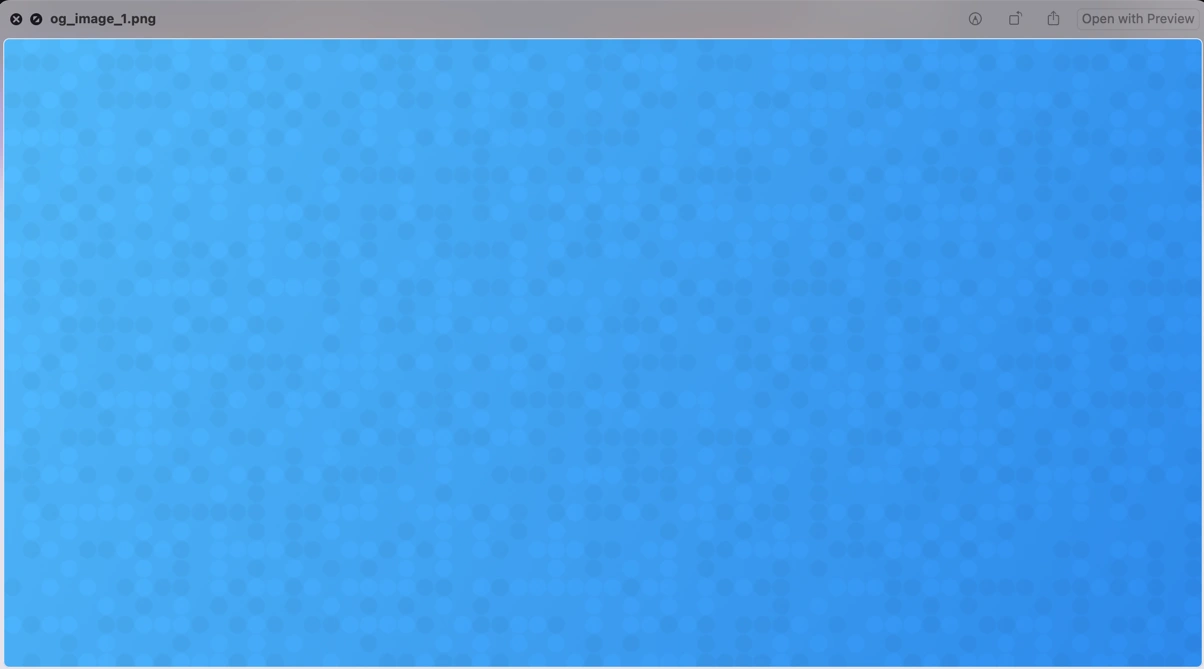
Let's add it in the models directory and start by generating a 1200×630 PNG that has the blue gradient that goes from the top left to the bottom right:
Here, we define a generate method where we will call the individual actions that perform most of the work.
In this case, the create_gradient_background method creates an image that has the dimensions we need with a gradient that goes from the top left to the bottom right corner of the image.
The MiniMagick library abstracts the ImageMagick command that's needed to generate the image we want in a nice and Ruby friendly manner.
The resulting image looks like this:

Certainly nothing to write home about but we're on our way. Let's continue our journey by adding the digital noise image on top of the gradient using the add_noise_overlay method which, in turn, uses the ImageMagick composite method, used to merge two or more images using a blending mode.
Let's add the method:
When we run this, we get the following result:
We're making some progress. Let's start by adding the Avo logo located at the top left corner of the image with a margin of 80px to the borders.
To achieve this, we need to load the logo image, resize it and then generate a composite image with the logo on it
The result looks like this:
![]()
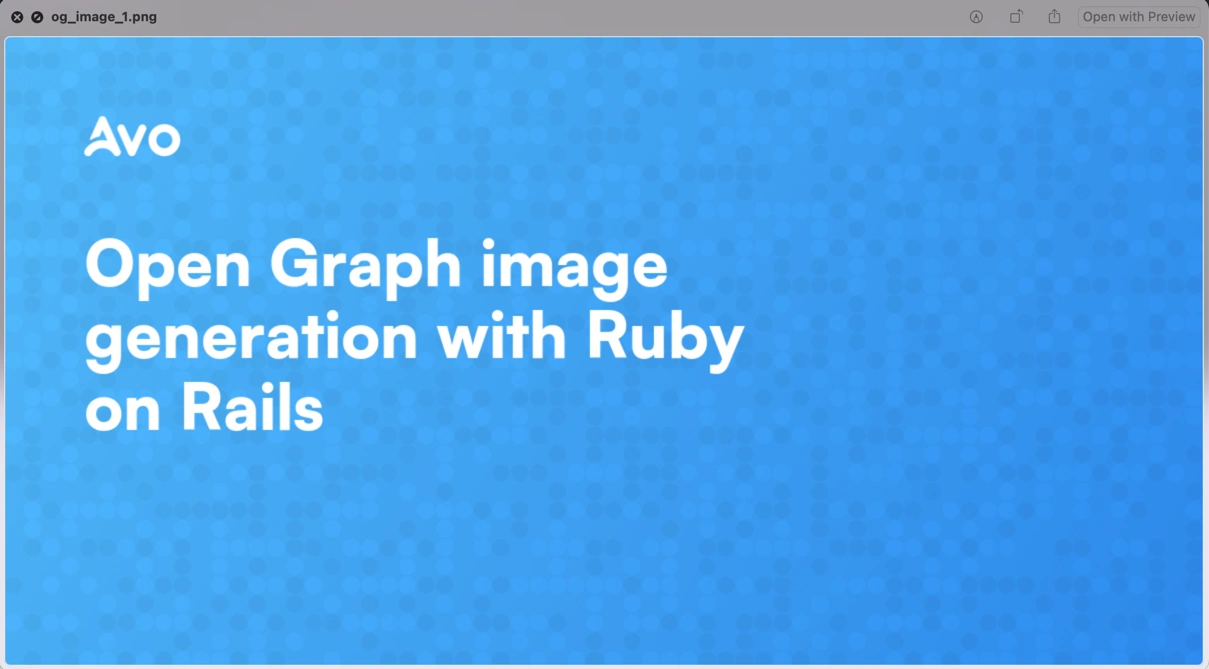
The next step is to add the text for the title. Let's start with a naive approach where we will display the text without considering the amount of lines:
This produces the following result:
The typography is right so we know that it's loading correctly but, the text overflows the image and is not like the text in the sample design.
To solve this, we need to generate a method that splits the text into an n amount of string elements in an array.
If we check the design specification, the max length for a line is 20 characters long so let's add a wrap_text method that accepts a text and max_length as arguments and returns an array of lines that we can use to iterate over to generate our wrapped text.
What this method does is define a words array together with a lines and current_line empty arrays.
Then it iterates over the list of words, defining a test_line variable that joins the current_line and each word and then tests to see if the test_line exceeds the max_length which is predefined at 20 characters.
If the test_line exceeds the length, it saves the current_line to the lines array and starts a new line with the current word. Otherwise, it simply adds the word to the current_line.
Finally, after processing all words, it adds the last current_line to lines if it contains any words, and returns the array of wrapped lines.
In other words, this method produces an array of words where each element of the array doesn't exceed the max length we previously defined.
Now, we can modify our add_title_text method to call the wrap_text and generate the lines that we iterate to add the title line by line:
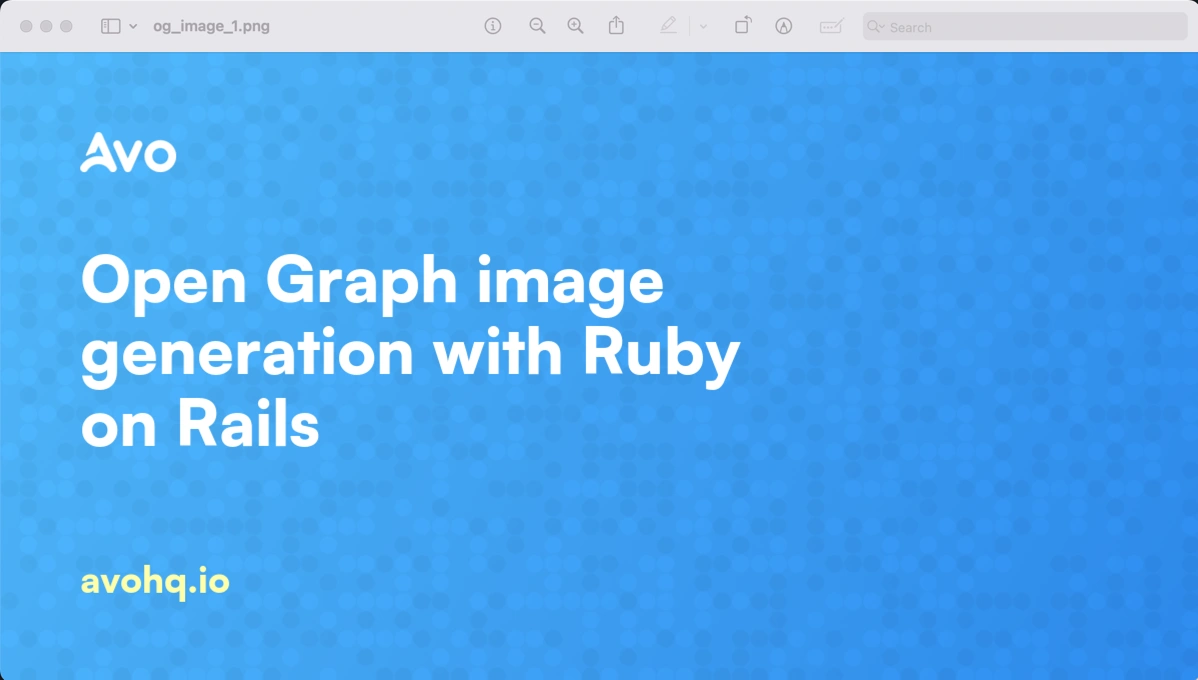
Now, if we run the generator with this incorporated:
We get the following result:
We've made some progress now! Let's add a method that adds the domain text:
Here, we're adding a text at the 80,80 position with a southwest gravity which means it is positioned 80 pixels from the left and 80 pixels from the bottom of the image.
After we run the generator once again, we get the following result:
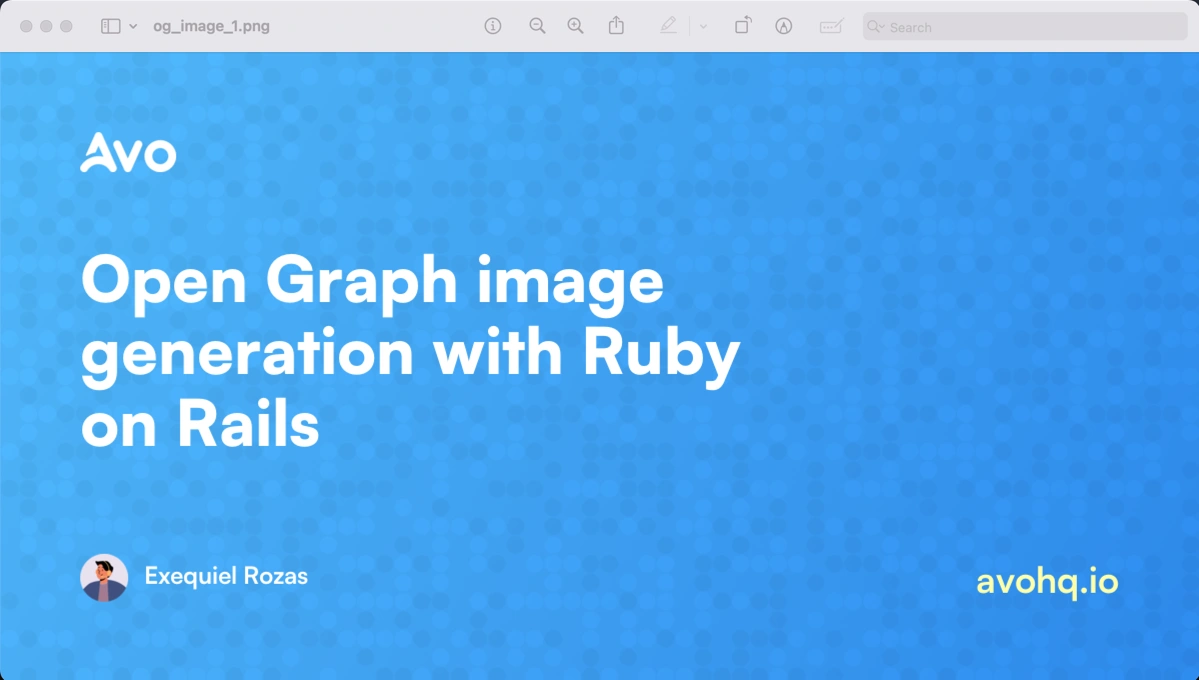
We're already there, our resulting image looks just like the design but, for the sake of it, let's add author information where the domain text and move the domain to the right of the image.
To avoid adding unnecessary code, let's hardcode the values for the author name and avatar to the Article model:
Next, let's add a method to add an author avatar and the name:
What's happening here is that we're adding an avatar that measures 48x48 starting at the bottom left 80px position.
Then, we add the author_name that we take from the article hardcoded value and locate it at 80 pixels from the bottom and add the font size divided by two to locate it.
The result looks like this:
We have achieved our goal of building an open graph image using Ruby. Let's add the ability to attach the image to the Article using Active Storage by using a job so the attachment doesn't get stuck if anything goes wrong.
Now, we can invoke the job when generating the image:
Note that we call to_s on the image path as the job class expects a string and not a Pathname instance.
Now, we can create a job to perform the image generation and add that to the Article callbacks:
The feature is now complete, if we test this we get the following result:
Once we know that everything's working correctly, we can improve the performance by avoiding unnecessary writes to disk so I joined methods that perform similar tasks.
The resulting code is the following:
A next logical step could be to extract functionality like text generation into their helpers or classes so we can extend the template or make other templates without the need to duplicate the logic.
Please don't hesitate to explore that direction if you intend to add more templates or make an application that needs extensive use of image generation.
OG image using Ferrum
If you haven't heard about Ferrum, it exposes a high-level API to control Chrome. It runs in headless mode by default but we can configure it to run in headful mode if we need.
As it connects to the browser via the CDP protocol, there's no need for dependencies like Selenium so it provides a better experience.
The process to generate an Open Graph image using Ferrum is the following:
- We create a view that contains the design for our OG image. That view is just like any html.erb view and can receive the article instance as a variable.
- We perform a visit to that view using Ferrum, screenshot the view and then save the result as an image.
- We attach that image to the model so we can use it in the view.
Assuming we already have Chrome or Chromium installed, let's start the process by adding the Ferrum gem to our project:
Next, let's add an ArticlesController where we will have a show action where we will put the tags later on, and an og_image action that we will use to take the screenshot for the image.
We can now define the controller with the show and og_image actions:
Then, we add the views under app/views/articles. Starting with the og_image.html.erb view with the code to generate our desired image:
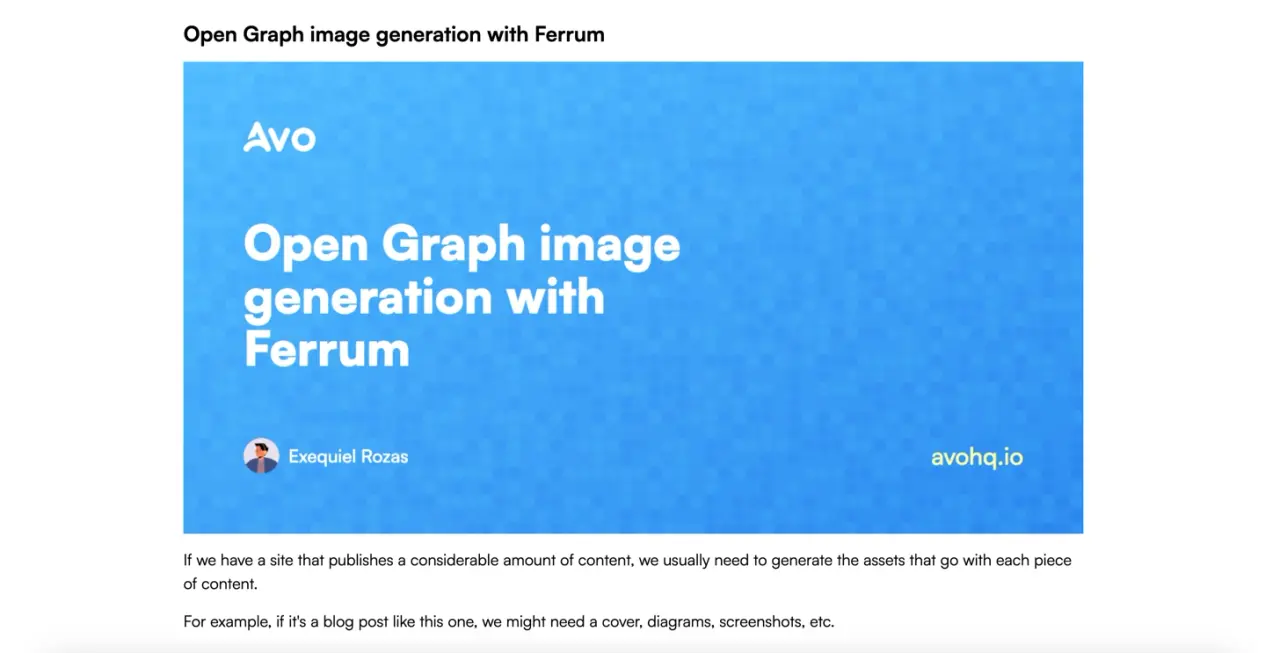
Now, if we visit /articles/1/og_image we get the following result:
As you can see, the result is pretty similar to what we had before but it took us a fraction of the time because the layout is simpler to resolve using HTML and Tailwind.
Let's crack the console open and generate a screenshot using Ferrum to see how it looks. We will open the browser using the width and height for the protocol:
Notice that we're setting the timeout to 15 seconds, mainly because we're loading the avatar from a third-party site which might take a bit to return the avatar.
The next step is to resize the browser to take the width and height of our desired image.
After running this command, we get the following result:
The result is great and it only took us a fraction of the time, mostly because we did the layout using HTML and CSS which are more familiar to us than using ImageMagick.
Now, we need to replicate what we did before and create a job so we can automate this process when creating or updating an article.
Let's start by adding the ability to access URL helpers from within jobs:
Then, let's add the code to make a screenshot in a OgImageFerrumJob to distinguish it from the job for the Minimagick method:
Notice that after generating the screenshot, we're attaching it to the article's og_image attachment with Active Storage and then removing the file that we're temporarily storing in the tmp folder.
The next step is to invoke the job when an article is created or updated:
Now, let's temporarily add the og_image to the article's show page just to see that everything is working correctly:
Then, let's change the title to make sure that everything's working:
Now everything is working as expected. Let's finish this by adding the Open Graph tags using the meta-tags gem:
Adding the Open Graph tags
We could add the OG tags manually using a partial but let's use the meta-tags gem which can help us further down the road.
Let's start by adding the gem and installing it:
Then, we run the command to add an initializer in case we want to change any of the defaults:
The next step is to display the meta tags in our application layout:
Now, we can add the tags in the ArticlesController:
And this should produce the desired result:
Summary
The Open Graph protocol allows us to control how our publications look when shared on social media.
The og:image tag is probably the most important because if we provide it with an image that looks impressive and inspires users to click it can lead to more qualified traffic to our site.
In this article we learned how to generate an OG image using Ruby with MiniMagick and Ferrum: two different approaches that have their pros and cons depending on what our goals are.
For each step we also learned how to generate them automatically when creating or updating resources in Rails so we don't have to worry too much about it for every individual post.
If your needs for Open Graph image generation are important, you can extend what we learned in this tutorial and make more templates and variations.
I hope you enjoyed this article and that it can be useful for you when implementing the feature in your applications.
Have a nice one and, happy coding!

