.png)

June 6, 2025
With FreeBSD interest on the rise, here at The Foundation we couldn’t help wondering “just how fast can you get started?”
The obvious path is to use the standard installer. But did you know the Project’s release engineering team also prepares ready-to-use virtual machine images — making it possible to launch FreeBSD in just minutes?
Let’s take a quick look at getting started with the latest production release of FreeBSD via three different platforms — on an Apple MacBook, and two methods on Amazon Web Services. Trying two approaches on AWS may seem redundant at first, but as you’ll see, there’s a good reason for it.
Apple MacBook
We’ll start with an Apple MacBook. We’re going to run the Arm (“aarch64”) version of FreeBSD, under Qemu — which lets it run at near-hardware-speed. Naturally, this targets Apple Silicon MacBooks with “M” processors.
Before we get going, there are some simple prerequisites you’ll want to have downloaded:
- Install Qemu on your Mac. Here, we’ve chosen to install it via Homebrew, because it’s as easy as ‘brew install qemu’
- Download the FreeBSD VM image 😀
- Expand the image filesystem (initially, it’s only 4.5gb)
$ qemu-img resize -f raw FreeBSD-14.2-RELEASE-arm64-aarch64-zfs.raw +10G
Next, run Qemu. We use a small wrapper script, to save some typing:
!/bin/sh -xdefault_disk="FreeBSD-14.2-RELEASE-arm64-aarch64-zfs.raw"
disk="${1:-$default_disk}"
qemu-system-aarch64 \
-m 4096M -M virt,accel=hvf \
-cpu cortex-a72 \
-bios edk2-aarch64-code.fd \
-rtc base=localtime,clock=rt \
-nographic \
-serial mon:stdio \
-device qemu-xhci \
-device usb-kbd \
-device usb-tablet \
-device virtio-net,netdev=net0 \
-netdev user,id=net0,hostfwd=tcp::2222-:22,hostfwd=tcp::3389-:3389 \
-drive if=virtio,file=${disk},format=raw,cache=writethrough
We should now have a running virtual machine! But it’s pretty bare, so I like to add some basic customizations, just to make the day to day usage comfortable. I do that with an Ansible playbook.
By default, the Qemu image only has a root user, so I tend to put my own user ID on, and run Ansible against that, elevating privilege as required. It’s an instinctive habit, that you can choose to do or not.
sysrc sshd_enable=YESservice sshd start
pkg update && pkg install -y zsh doas python
echo 'permit nopass :wheel' > /usr/local/etc/doas.conf
chmod 400 /usr/local/etc/doas.conf && chown root:wheel /usr/local/etc/doas.conf
pw useradd -n myuserid -c "Bob" -G wheel -m -s /usr/local/bin/zsh -w random
I’ll also copy over my SSH pubkey, because who wants to keep typing a password? (but you have a password on your key, and load it onto ssh-agent, don’t you? 😊)
ssh-copy-id -p 2222 -i ~/.ssh/mykey.pub localhostNote how I’m using port 2222 on localhost. If you look at the way Qemu was started, you’ll see that there’s a “hostfwd” so we can communicate with the virtual machine via localhost.
Running the included Ansible play is as simple as:
ansible-playbook configure.yaml -l qemuUp and running!
You can watch this process here on YouTube, before having an experiment yourself 😃
Amazon Lightsail
Lightsail is a simple interface for AWS. Once you have an account, you can have a FreeBSD instance in around 20 seconds. You didn’t read that incorrectly! 20 seconds is really all you need.
That’s it — just a few clicks and you’ve got a FreeBSD 14.2 instance up and running!
That said, a quick caveat: this image uses a UFS root filesystem. That’s not a downside — UFS is a rock-solid, reliable choice. In fact, you can easily run a small virtual machine with just 512 MB of memory on UFS.
However, for our ongoing blog series, we’ll be building on some ZFS-specific features, which UFS doesn’t support. So if you’re looking for a quick and affordable way to test FreeBSD, Lightsail is a great option. But if you want to take advantage of one of FreeBSD’s standout features — ZFS — you’ll want to look elsewhere, like EC2.
Amazon EC2
FreeBSD’s game-changing feature is ZFS, and a lot of the work we’re going to do in future posts (more on that in a moment) relies on us having ZFS. That’s why, next we’re going to walk through running a ZFS root image on AWS EC2.
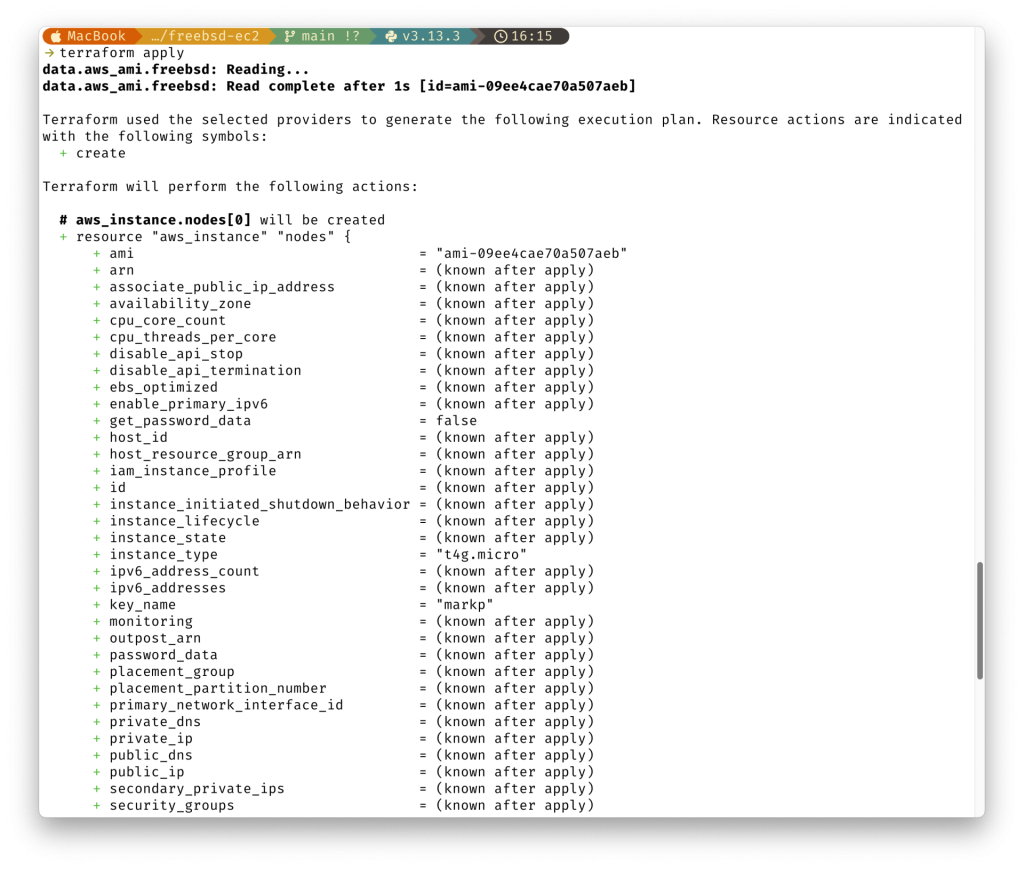
This is an excellent opportunity to look at using other tools to strive for simplicity — something EC2 lacks in its native interface. The complexity of choice in the AWS console can initially be daunting. Instead, we’re going to make this install a little easier, by using Terraform.
Crikey, that’s busy isn’t it?
The Terraform configuration we’ve put here will work out the right AMI to use in your region. You should set your preferred region in the file though — by default it’s going to use eu-west-2, London. This, of course, assumes you already have an AWS account. Set credentials in your preferred manner — there are several ways to achieve this, so check the link in the repository README if you’re uncertain.
That should start an instance in about 10-20 seconds! It might take a minute or so for the SSH connection to go live, but if you run the Ansible play from the repository, it will wait for the connection.
Finishing Touches
These base images are all very basic. There’s a full operating system, but personally, I like to add a few ‘comfort tools’ to get started. There’s an Ansible playbook in the repository, that adjusts a few settings and installs some tools I’m fond of using daily.
What now?
But I’m sure you’re now thinking, “well what can I do with this?”
An operating system isn’t the destination — it’s the starting point. That’s why we’ll be building on this foundation with some practical use cases in follow up posts..
Some topics we have in the works…
- Trustworthy upgrades with boot environments
- Jails
- Secure web servers
We’re dropping new posts — and videos — for technical topics regularly. So make sure you’re subscribed to the YouTube channel and following this feed in your favorite RSS reader. There’s also the newsletter, if you’d like to receive updates by email.
We’d like this content series to be interactive too — so what would you like to see us cover? What FreeBSD questions can we help you tackle? Get in touch with your ideas.