.png)

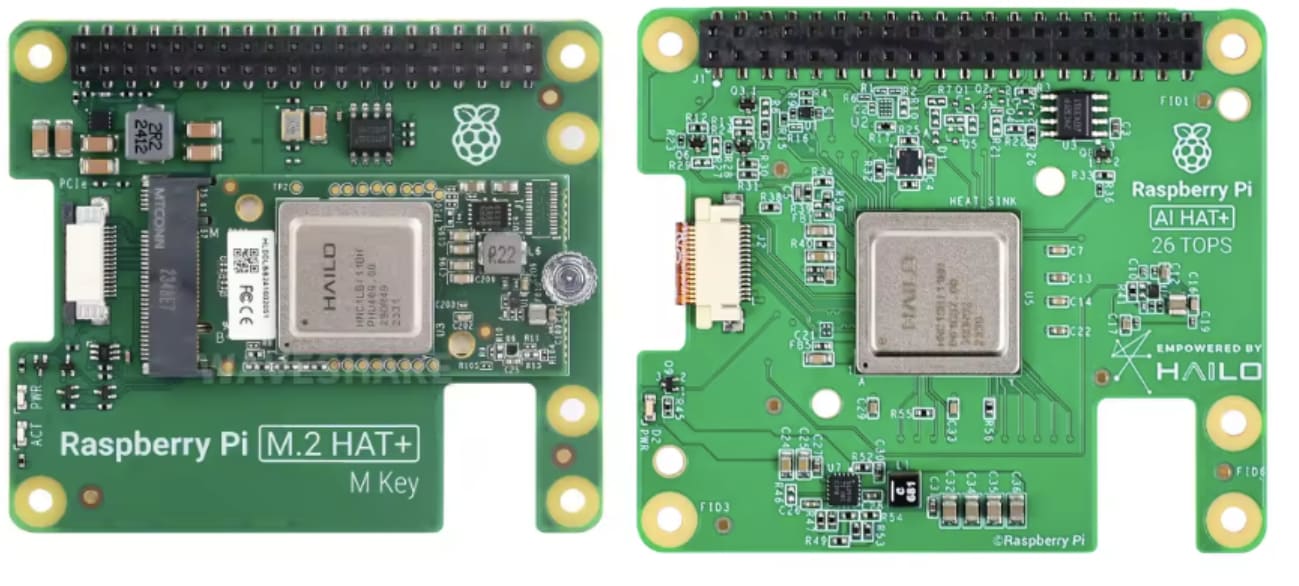
In September 2023, the Raspberry PI Foundation announced their new version of the popular small board, the Raspberry PI 5. A few months later, Hailo, an Artificial Intelligence Chip manufacturer, announced the AI Kit and AI Hat+, peripherals to connect to Raspberry Pi 5 boards, achieving an impressive 13 or 26 Tera Operations Per Second (TOPS) performance.
Hailo provides a large collection of pretrained models encoded in their proprietary format, the Hailo Executable Format, or HEF. Using these models, Raspberry Pi users can achieve real-time performance in many computer vision tasks such as object detection and segmentation.
But what if one needs to run a custom model? In this case, Hailo also provides DFC - a compiler that optimizes and converts TensorFlow or ONNX models into HEF.
Sadly, using DFC is not straightforward. Here, I will provide instructions to make this task easier and less error-prone.
The task is divided into 3 steps:
Model training: If you haven’t trained your model yet, you can follow the instructions in this step. Otherwise, you can just skip the model training phase and move ahead
ONNX conversion: If your model is not developed using Tensorflow, you need to convert it to ONNX before compiling to Hailo. This is covered in this step.
Model compilation: The Hailo AI Hat requires a model in the HEF format. This step shows how to convert your ONNX model into HEF format.
In this text, as an example, we will use YOLOv8 to train a model using a simple and public object detection dataset. This process results in a PyTorch model file. We will then convert this file to ONNX format and finally, use DFC to compile the ONNX model into the HEF model. Once the HEF model is done, we deploy it on a Raspberry Pi 5/Hailo AI Hat and check the results.
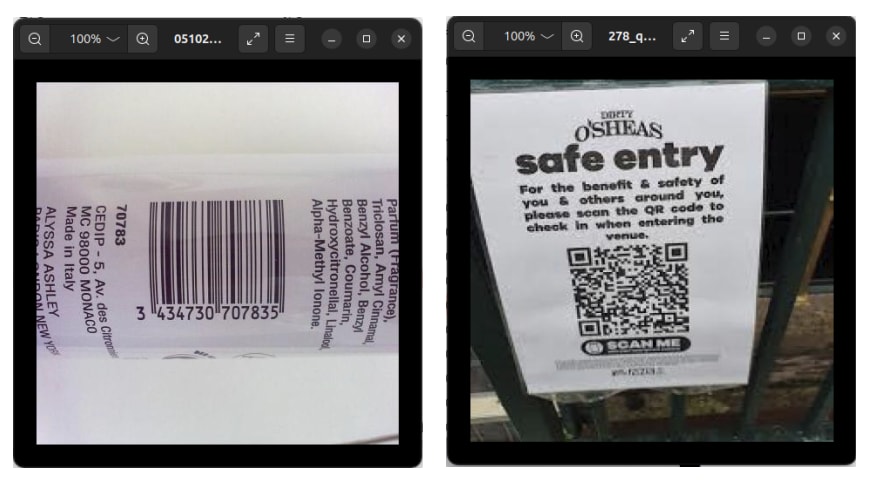
In this example, we will use a publicly available small dataset to train the model to detect bar and QR codes.
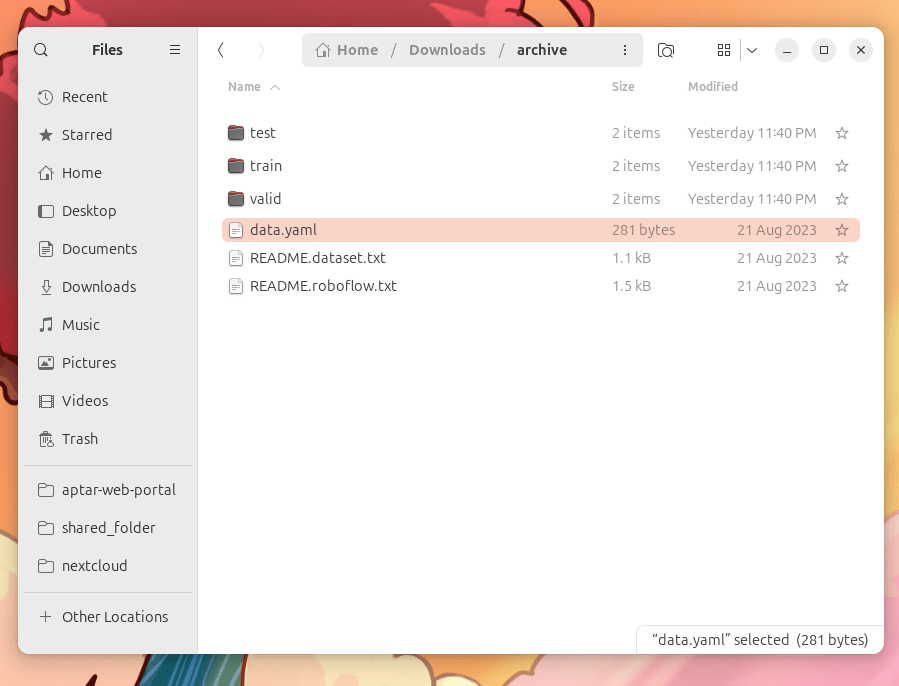
Download the dataset from Kaggle ( 2 GB)
Uncompress archieve.zip somewhere. Checking the data files, we can realize that there are 2 classes, namely:
Bar code
QR code
and nearly 30k instances.
This data is not small, so overfitting is not likely to be an issue. However, the training would take longer to finish.
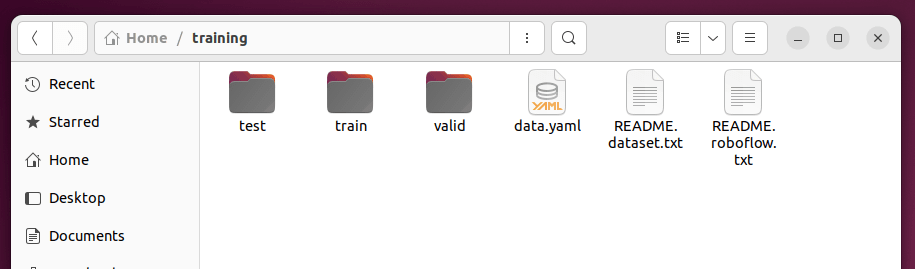
The folder structure and annotations are in the YOLO/Darknet. Thus, we needn’t spend time manipulating the files.
We need a model to detect objects. In particular, we need an object detector model.
In general, a model consists of two parts:
The structure and
The parameters (also called weights).
In this text, we use Ultralytics Yolov8.

What does it mean? This means we will use the structure of layers, activation functions, etc, predefined by the Yolov8 architecture.
Note that we re not restricted to Yolo models when using Hailo AI Hat. Indeed, we can write a model from scratch or using other popular architectures, such as mobilenet or ResNet
The training is the process of fitting parameters (the weights) to the model aiming to minimize the model cost (a metric based on model error).
Ultralytics provides a bunch of pretrained weights (the parameters) in files that everyone can download. Those parameter files were built by training Yolo on popular image datasets such as ImageNet and COCO. They are very helpful because we can reuse them to accelerate the training of new models, reducing the training cost and achieving a higher performance.
The process of using pretrained weights is called Transfer Learning.
Now we know what to do and how to do it, let’s get the training started.
Even though I believe it is possible to execute all the steps in this tutorial using Windows or OS X, it is highly recommended that you use a Linux distribution, preferably Ubuntu 22.04, to follow the instructions here.
Linux distributions are free, and you can run the operating system in dual boot if your machine has Windows already.
If you insist on using Windows or OS X, consider using Docker.
Avoid installing/running Hailo software on VMs.
This text requires some system-wide libraries. This is the command to install them:
sudo apt install -y python3.10 python3.10-dev python3.10-venv python3.10-distutils python3-pip python3-tk graphviz libgraphviz-dev libgl1-mesa-glx python-is-python3 build-essential nano gitConsider using Docker to follow the instructions here
Training YOLOv8 models is pretty simple. We will follow the Ultralytics tutorial.
First, create a virtual environment:
python -m venv .venv source .venv/bin/activate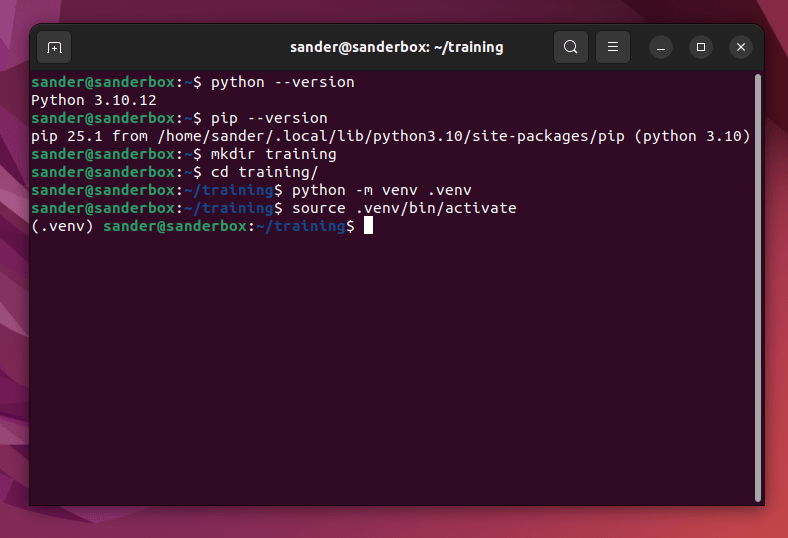
Now, use pip to install Ultralytics stuff:
pip install ultralyticsWe will use the data.yaml file provided in the dataset bundle:
Run the command:
yolo train model=yolov8n.pt data=data.yaml epochs=10 imgsz=640 batch=16The training starts, and this is probably what you are seeing:
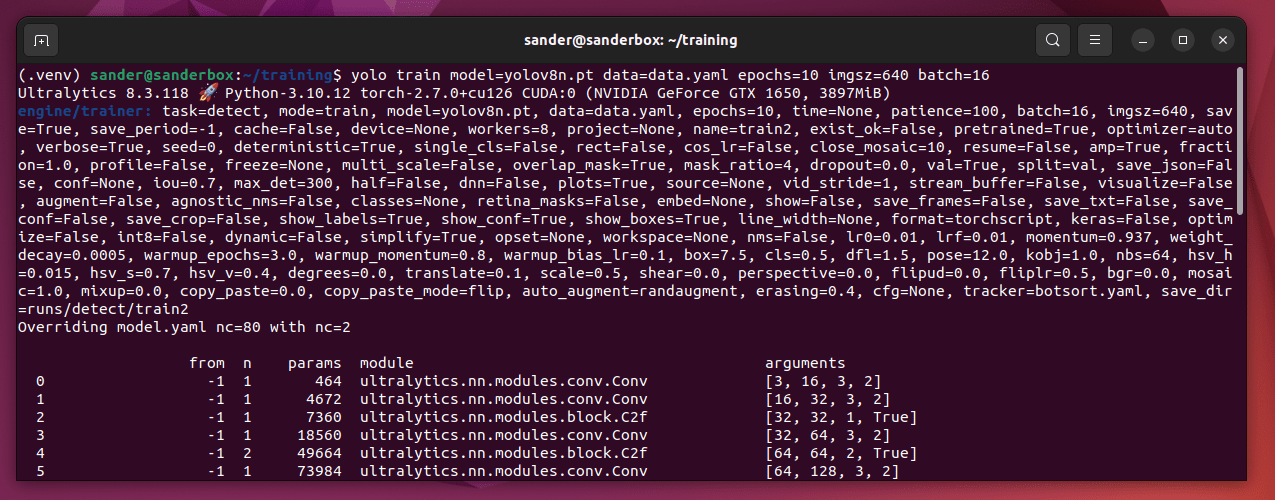
If you experience CUDA OUT of MEMORY errors, try to reduce batch to 8 or less.
By default, YOLO uses any available NVIDIA GPU. This makes the training run faster. Note that, due to CUDA dependence, other non-NVIDIA GPUs aren’t supported.
What if you don’t have a PC with an NVIDIA GPU? No problem. YOLO will automatically switch the training to run on the CPU. Obviously, the training will take longer, but the final model will be as good as one trained using a GPU.
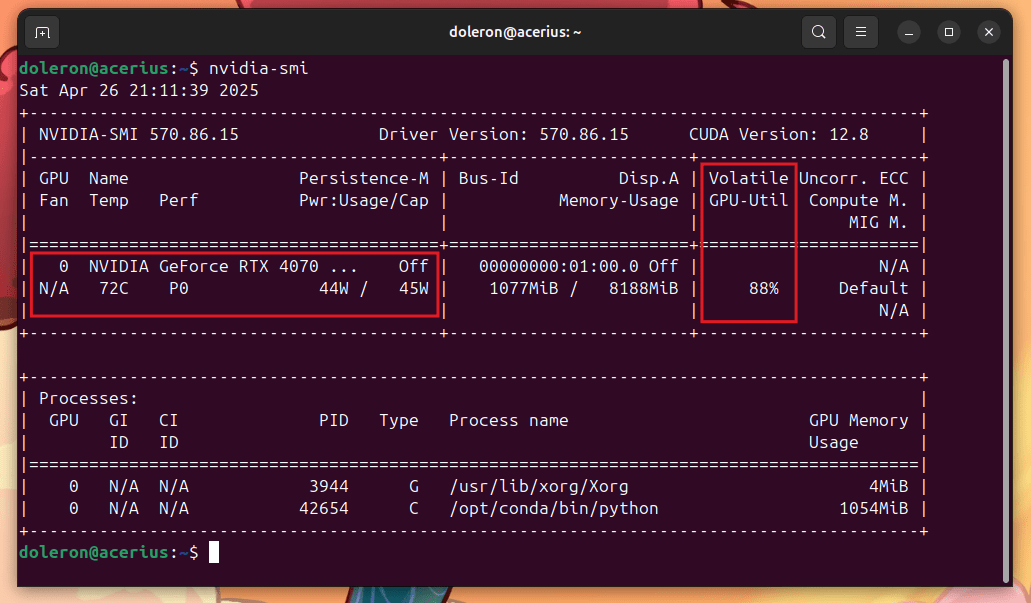
During the training, check the GPU performance. You can type nvidia-smi:
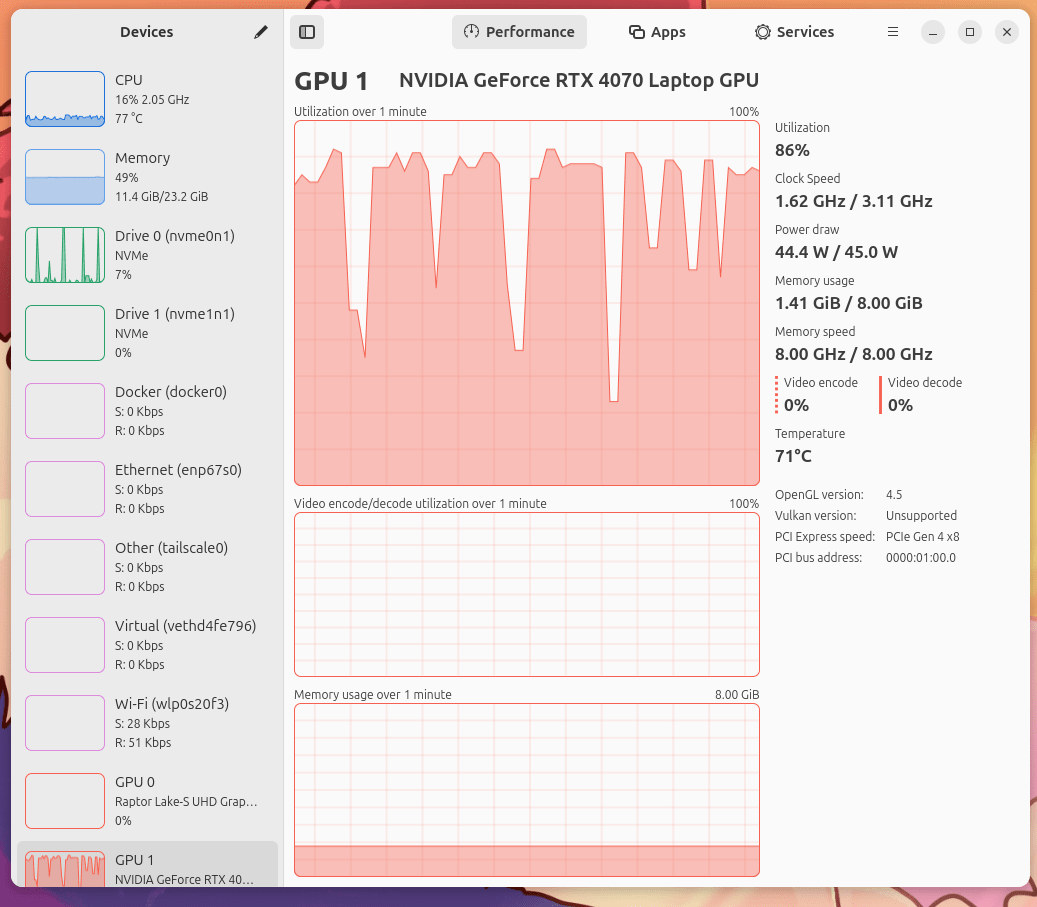
On the other hand, you can use a GUI app such as Mission Center instead:
Heat is not good for electronics. If your GPU is heating up too much, first check the onboard and external cooling.
If the temperature is above the GPU limits, just stop the training!
The code in YOLO is highly optimized to use as much of the GPU as possible. Thus, the process is likely to generate a lot of heat.
Once warm day during a training, my laptop started to heat above 86 degrees Celsius. To reduce the heating, I just unplugged the power cable. The laptop automatically started to use the battery, reducing the hardware performance and decreasing the temperature as result.
The train runs for 100 epochs. This is the output when the train finishes:
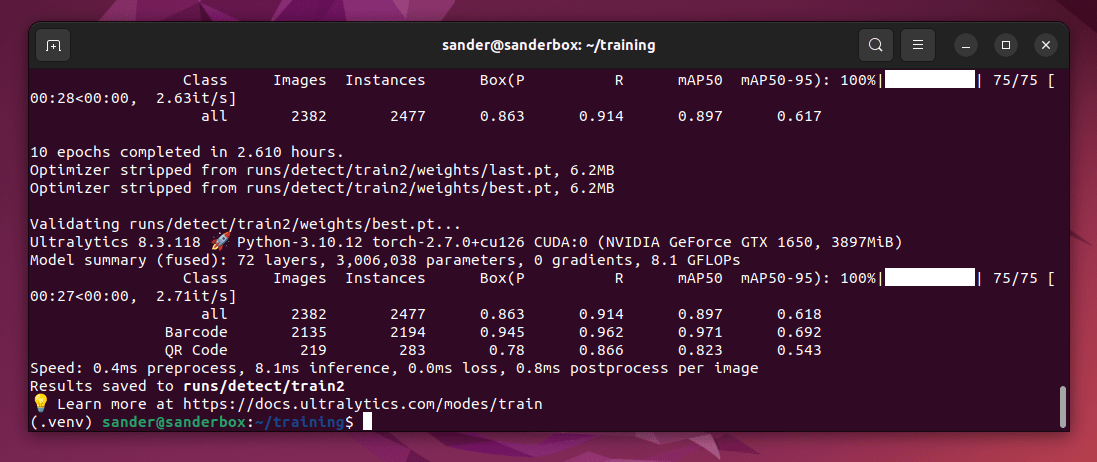
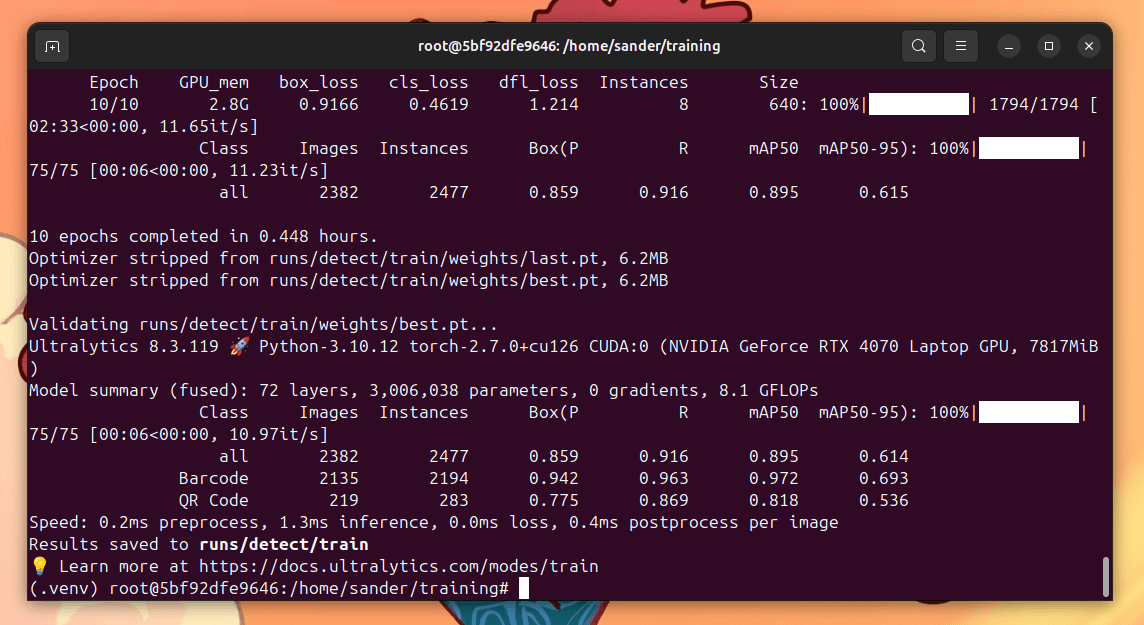
Running on a GTX 1650 roughly took 2.5 hours to finish. For comparison, the same training takes only 27 minutes on an RTX 4070:
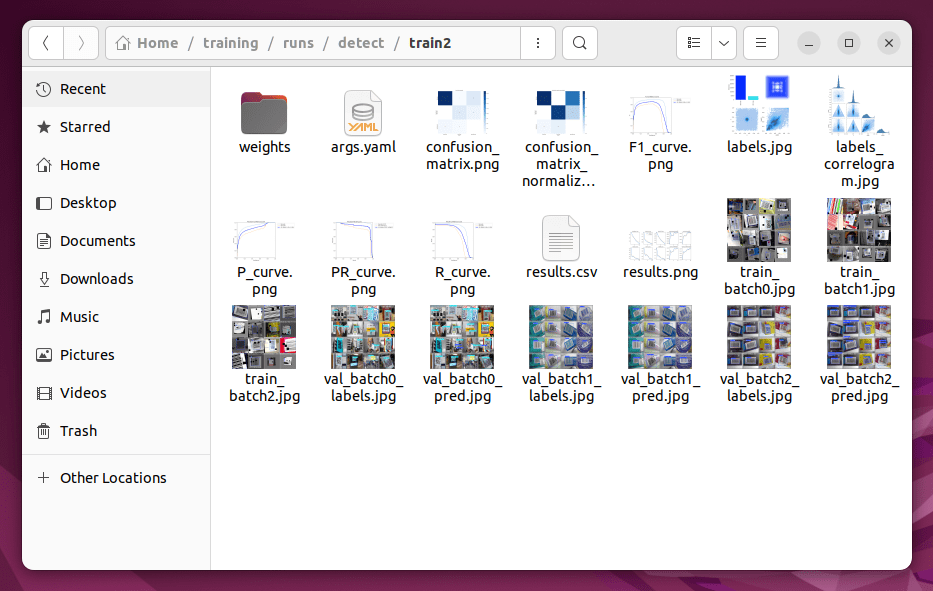
Check the folder runs/detect/train2 for assessing the training performances:
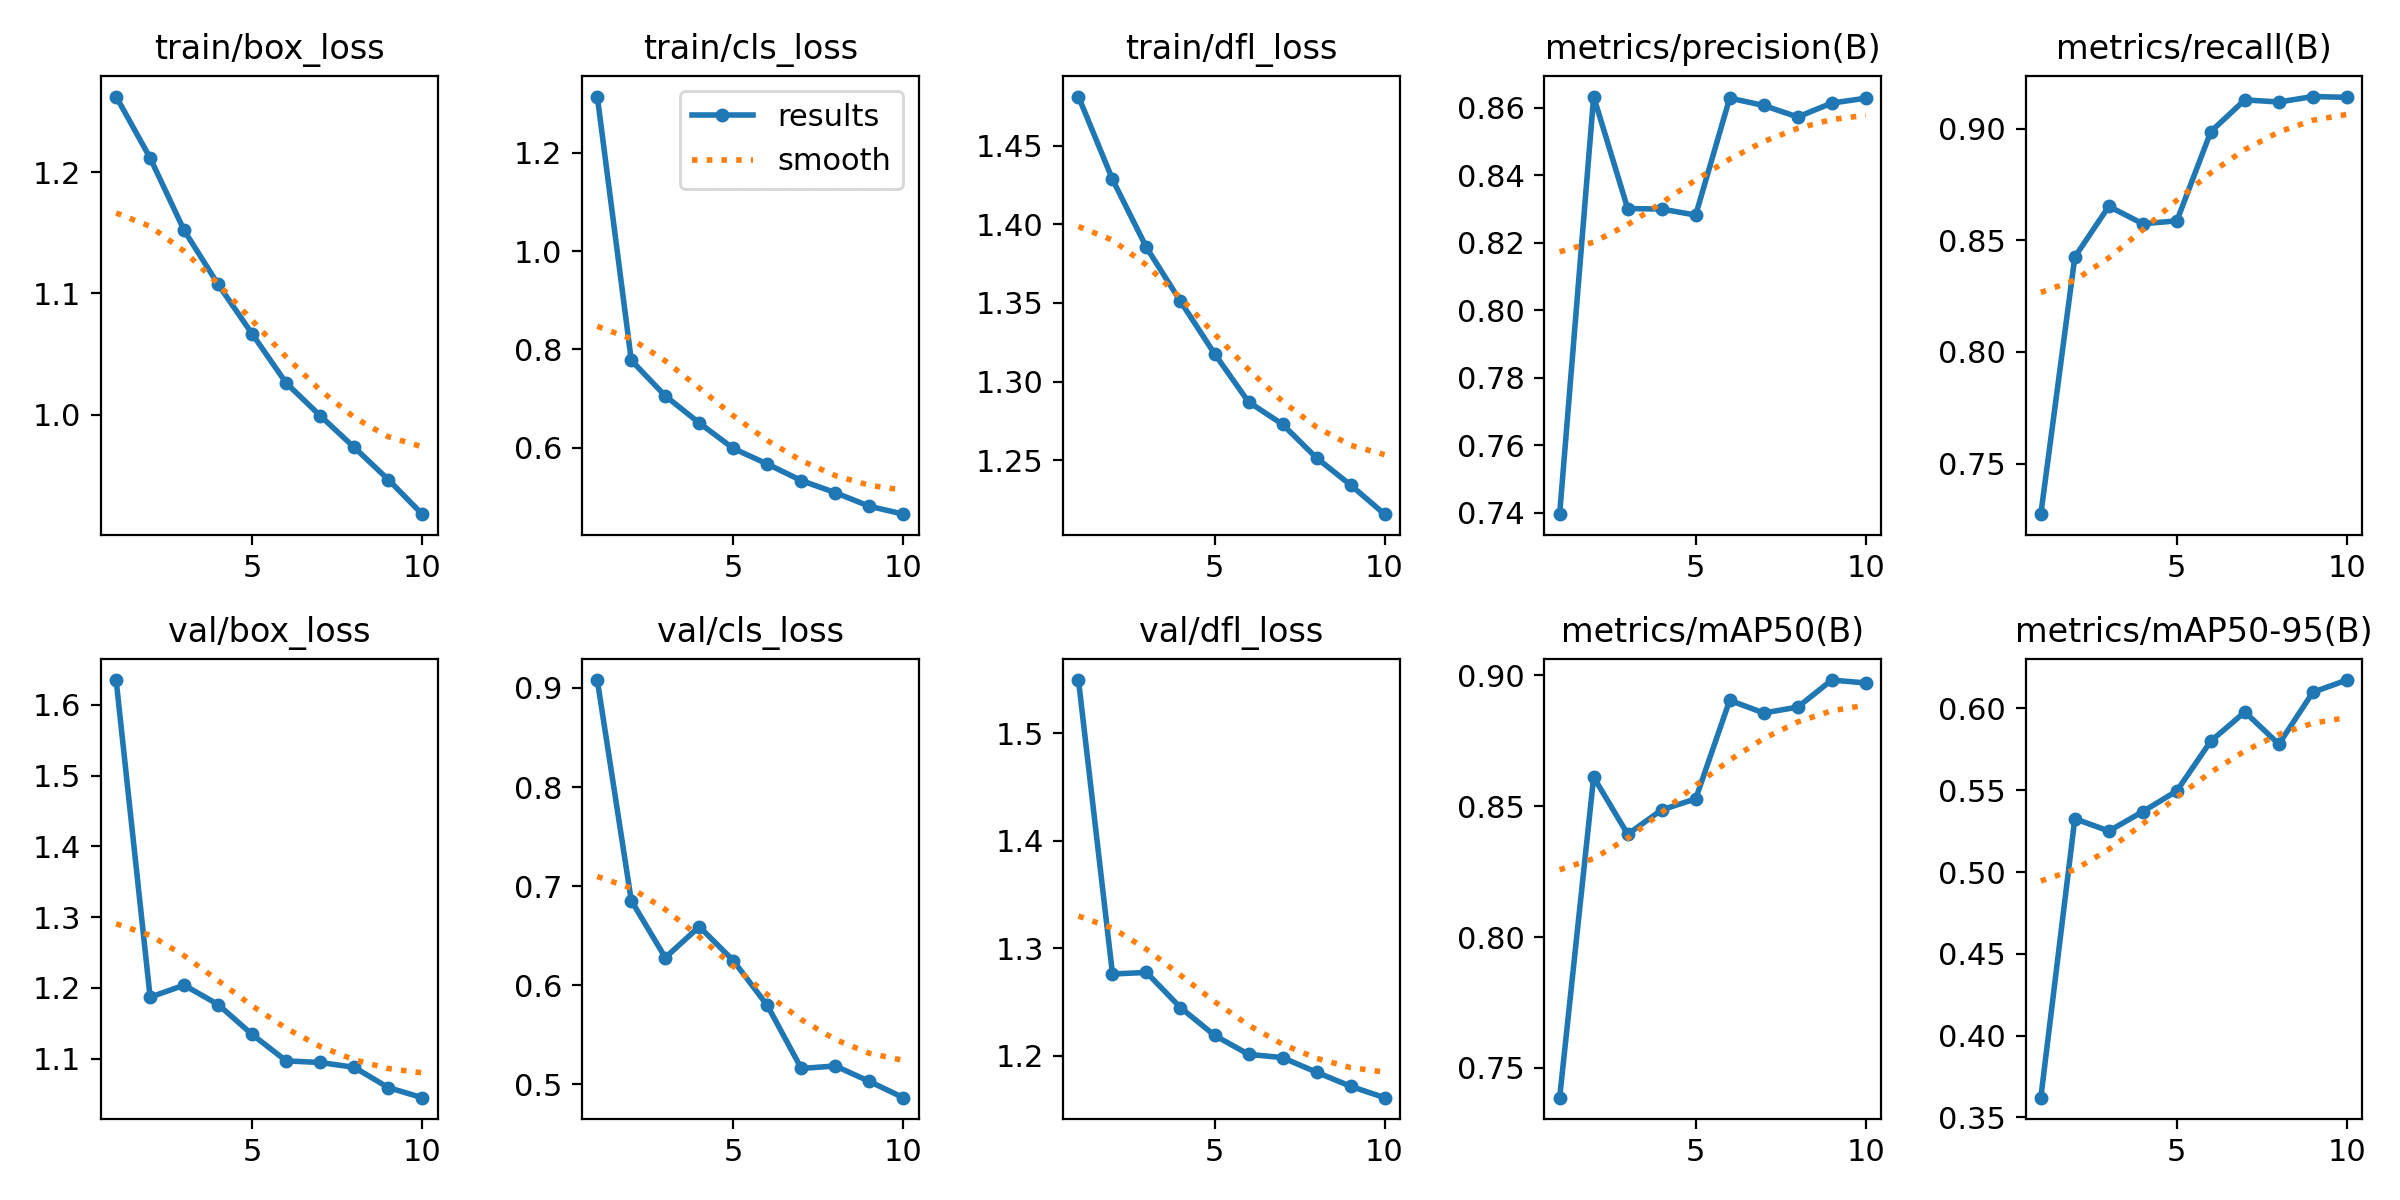
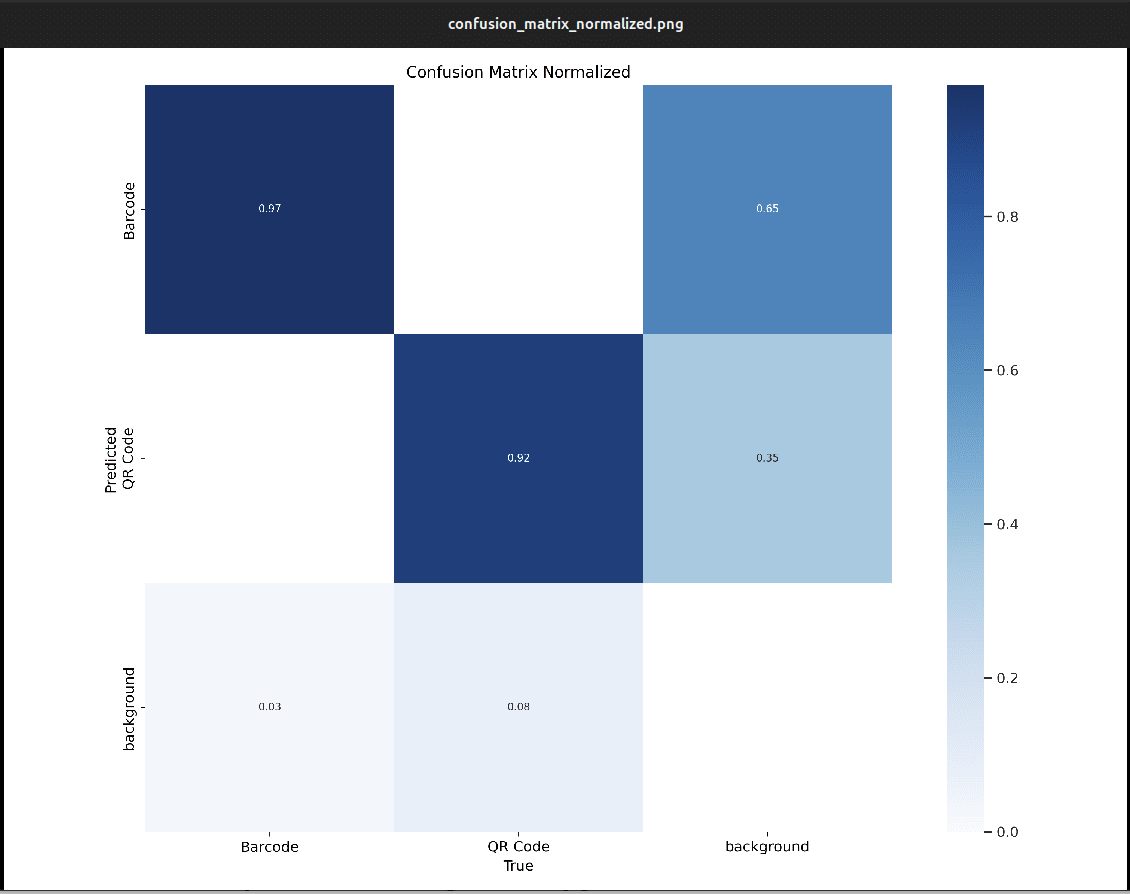
We won’t go into the details here. A quick analysis indicates that the model is not overfitting:
Some validation examples look fair enough:

However, checking out the confusion matrix shows that the model provides excessive false positives:
The model's performance can be improved using regular machine learning aproach. For example, we can increase epochs.
Model selections and evaluation are great subjects for another talk!
The model is in the runs/detect/train2/weights/best.pt file. However, it is not in a format that Hailo can recognize. Let’s see how to deal with this issue in the next step.
Hailo uses the HEF format, and there is no direct way to convert a PyTorch model into HEF. The solution is to convert best.pt to the ONNX format. This is straightforward using Ultralytics libraries:
yolo export model=runs/detect/train2/weights/best.pt format=onnx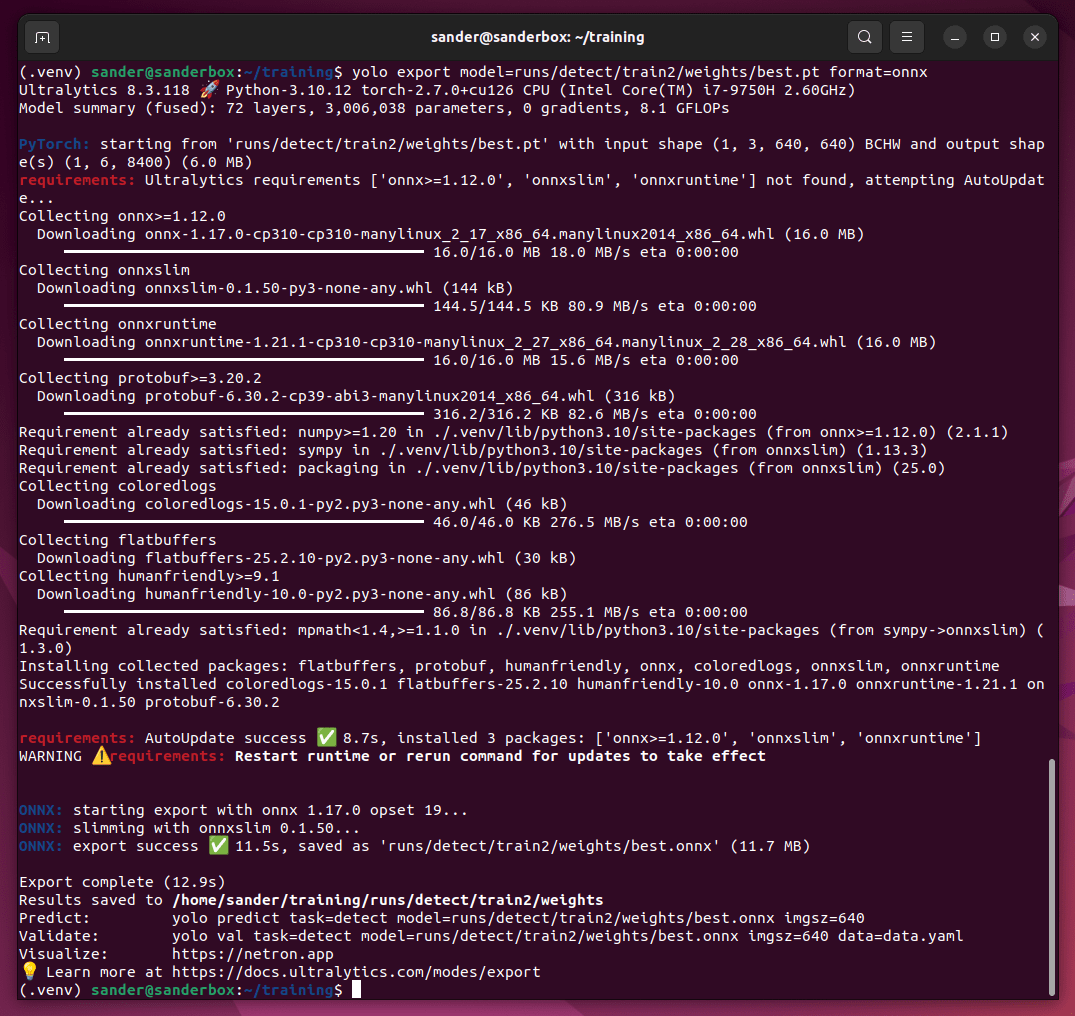
Now, we have the best.onnx file. It is time to use the Hailo software to convert it to HEF format in the next step.
Converting ONNX to HEF is not a simple task at all. In a nutshell, you need to install three software:
HailoRT:
HailoRT Python:
Hailo DFC:
First, start a new Terminal, move to a different folder than the one used in the last steps, and create a virtual environment as usual:
python -m venv .venv source .venv/bin/activate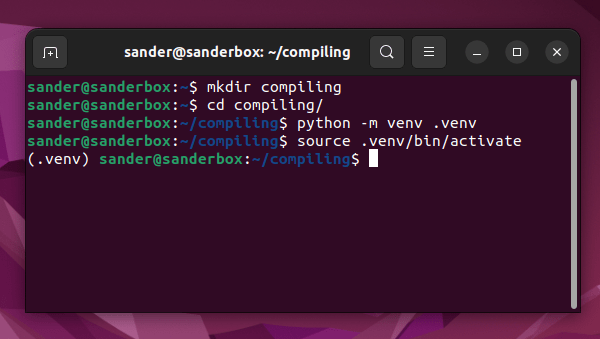
Starting a new terminal and folder is required because we need to use a different virtual environment to install the Hailo stuff.
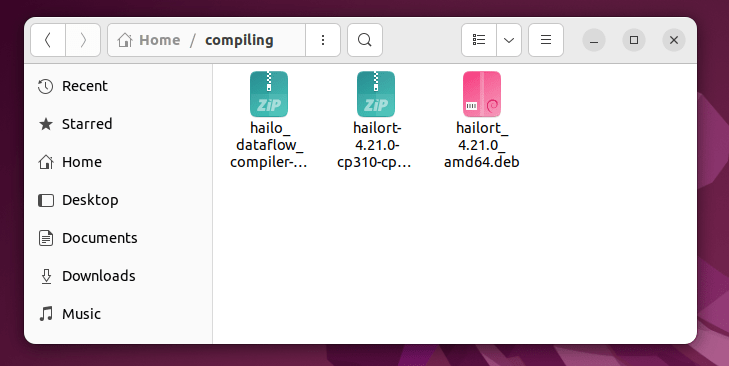
Second, access the Hailo Developer Zone. Create an account, access the Software Download area, and download the following packages:
hailort_4.21.0_amd64.deb
hailort-4.21.0-cp310-cp310-linux_x86_64.whl
hailo_dataflow_compiler-3.31.0-py3-none-linux_x86_64.whl
Note that these are the current versions in the time of the writing of this text
Save the files in the same directory:
Let’s start it up by installing HailoRT using dpkg as follows:
sudo dpkg -i ./hailort_4.21.0_amd64.debNow, install HailoRT Python API using pip:
pip install hailort-4.21.0-cp310-cp310-linux_x86_64.whlThen, install Hailo DFC:
pip install hailo_dataflow_compiler-3.31.0-py3-none-linux_x86_64.whlNow, git clone and install the Hailo model zoo:
git clone https://github.com/hailo-ai/hailo_model_zoo.git cd hailo_model_zoo git checkout 64a65cbcbc0a80d7e55aca5035c3b2651351bac5 pip install -e .Let’s define a random user:
export USER=hailoAgain, megabytes of packages are downloaded and installed on your virtual environment. Once finished, confirm that hailomz is working:
hailomz --version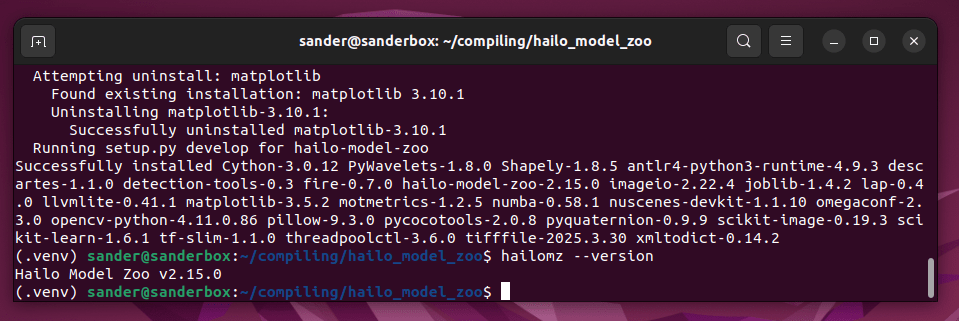
Finally, call the compiler:
hailomz compile --ckpt ../../training/runs/detect/train2/weights/best.onnx --calib-path ../../training/train/images/ --yaml hailo_model_zoo/cfg/networks/yolov8s.yaml --classes 2 --hw-arch hailo8In the first time, the compiler does not recognize Ubuntu:
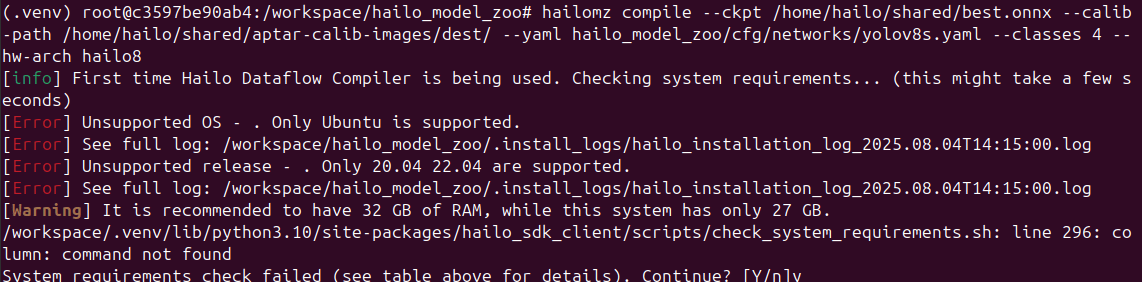
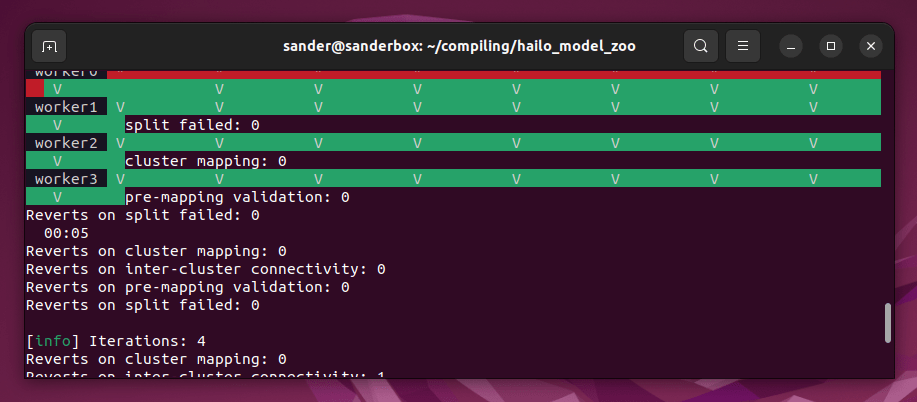
Just answer yes and keep going. During the process, the compiler outputs:
The flag --calib-path indicates the calibration files’ path. Calibration files are used by the compiler to optimize the model. The Hailo docs’ only requirement is that this set must have more than 1024 images. The optimization also requires a GPU. Thus, without a GPU, no optimization.
If you want, you can check the compile parameters using the following command:
hailomz compile --helpWhen finished, the compiler shows:

The file yolov8s.hef is the file we are looking for. Save it on a pendrive. In the next section, I show how to deploy it on the Raspberry Pi.
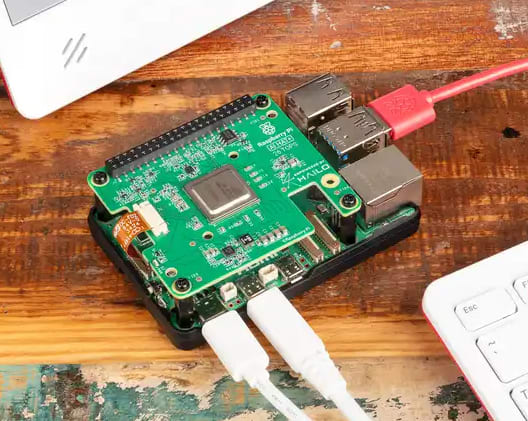
Hailo AI Hat is compatible with Raspberry Pi 5 only. Follow the instructions to assemble it on top of the RPI:
Once mounted, turn the Raspberry Pi on and plug the pendrive into it. Copy yolov8s.hef to a folder, open a terminal and type:
git clone https://github.com/hailo-ai/hailo-rpi5-examples.git cd hailo-rpi5-examples source setup_env.shAfter everything has been installed, create the barcode.json file:
{ "detection_threshold": 0.5, "max_boxes":200, "labels": [ "unlabeled", "barcode", "QR code" ] }Now, execute the following code:
python basic_pipelines/detection.py --labels-json barcode.json --hef-path /home/impuser/Documents/yolov8s_barcode.hef --input /home/impuser/Documents/barcode_qrcode.mp4 -fIf everything is ok, the video starts as shown below:

Wow. 30 fps on object detection in Full HD resolution!
I used this video from YouTube.
It is done. Mission accomplished!
We just deployed our first custom Hailo model and deployed it on a Raspberry Pi!
This was my debut on Substack, and I hope this tutorial can help someone run their models on the impressive Hailo AI Hat/Raspberry Pi.
Being sincere, realizing how to perform all steps was not easy. I spent all my last weekend working on this deployment. But the Hailo AI Hat board is great and deserves all the effort!


