.png)

Attention this is still in early development and not fully functional yet. It will work but performance needs to be improved a lot.
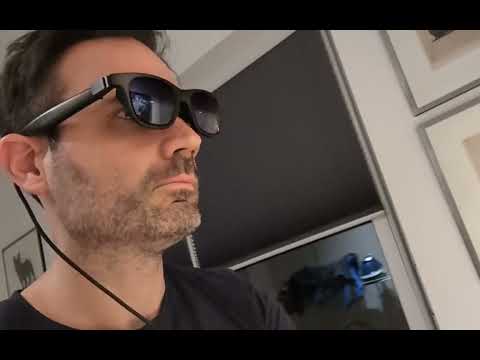
v4l2_gl captures video from a HDMI-in on an OrangePI 5 Plus using the hdmirx V4L2 device, converts frames to RGB, and displays them in real-time on a textured quad in an OpenGL window. It supports Viture headset IMU integration, test patterns, and plane geometry.

To run this as intended you need an OrangePi 5 Plus with armbian ( we are using BredOS ) that has Device Tree Overlays enabled and has the hdmi-rx device tree overlay active.
If you are using a Raspberry Pi or other device without HDMI-in you need a USB capture card that is supported on your Linux version

For testing purposes you can run it on a laptop with a webcam but that does not provide you with a virtual display.
This requires a linux based OS and installed gcc and build tools.
To compile and run this application, ensure the following libraries are installed:
-
OpenGL and GLUT libraries: These are essential for creating the window and rendering graphics. On Debian/Ubuntu-based systems, you can install them using:
sudo apt update sudo apt install freeglut3-dev -
libv4l2 library:
sudo apt install libv4l-dev -
libhidapi-dev (optional): If your are using the revers engineered protocol instead of the official Viture SDK
sudo apt install libhidapi-dev
Depending on the architecture you are running it on use the reverse engineered protocol version ( ARM ) or the official Viture SDK version ( X86 )
This will generate the executable v4l2_gl
This will generate the executable v4l2_gl_viture_sdk
Execute the compiled application from your terminal:
or
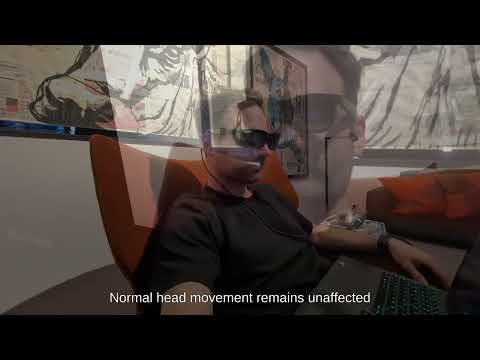
Quickly shake your head left/right 3 times to reset the rotation to the center position after the IMU has drifted too far.
The application supports the following command-line options:
-
--device <path>: Specifies the V4L2 device path (e.g., /dev/video0). Default: /dev/video0. Example: ./v4l2_gl --device /dev/video1
-
--fullscreen: Runs the application in fullscreen mode. Default: false (disabled). Example: ./v4l2_gl --fullscreen
-
--viture: Enables integration with Viture headset IMU for controlling the rotation of the displayed plane. The Viture SDK and device must be correctly set up. Default: false (disabled). Example: ./v4l2_gl --viture
-
--test-pattern: Displays a generated test pattern on the plane instead of the live camera feed. Useful for testing rendering and transformations. Default: false (disabled). Example: ./v4l2_gl --test-pattern
-
--plane-distance <distance>: Sets the distance at which the plane orbits the world origin. <distance> is a floating-point value. Default: 1.0. Example: ./v4l2_gl --plane-distance 0.5
-
--plane-scale <scale>: Sets a scale multiplier for the size of the plane. <scale> is a floating-point value (must be > 0). Default: 1.0 (original size). Values greater than 1.0 enlarge the plane, less than 1.0 shrink it. Values <= 0.0 are reset to 1.0. Example: ./v4l2_gl --plane-scale 1.5
You can combine these options:
This command would:
- Use V4L2 device /dev/video1.
- Enable Viture IMU.
- Run in fullscreen.
- Set the plane orbit distance to 0.8 units.
- Scale the plane to 120% of its original size.
- Display the test pattern.
- Add support for USB HDMI capture cards to support SBCs that don't have HDMI-in like Raspberry PIs
- Fix errors in reverse engineered viture SDK
- Improve performance of the hdmi texture conversion
- Support MJPEG format to increase framerate of USB capture cards
- Add quick gesture to recenter the rotation
- Add curved screen option